
Set up check printing
To print AP checks from Nexsyis you need blank check stock, a LaserJet printer and the check (MICR) font. Have these in place by your go-live date, and print a test check before you go live.
What you need
Section titled “What you need”Check stock
Section titled “Check stock”Buy blank business check stock, tri-fold, with the check on top. The perforations should be at 3.5” and 7”. A watermark is recommended for added security.
You can buy check stock from any vendor, for example blank check stock on Amazon.
Printer
Section titled “Printer”Use any LaserJet printer. InkJet printers don’t work. A tested option is the HP LaserJet monochrome printer.
MICR toner
Section titled “MICR toner”Standard LaserJet toner usually has enough magnetic material for most banks, but some banks require MICR toner. Check with your bank.
If you need MICR toner, use a dedicated check printer so you don’t use the more expensive toner on everyday printing. For the printer above, an optional MICR toner cartridge (CF226A) is available.
Envelopes
Section titled “Envelopes”Nexsyis AP checks, refund checks, W-2s and payroll checks fit double-window envelopes, for example:
- Staples double-window gummed envelopes
- Amazon Basics envelopes
- Self-sealing security envelopes on Amazon
Install the check font
Section titled “Install the check font”Install the check font on every computer that prints checks.
-
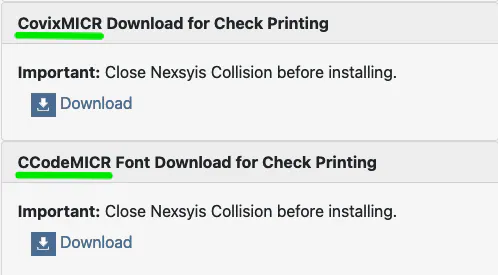
Close Nexsyis Collision.
-
Download the check font from install.nexsyis.com.
-
Open the font file:
-
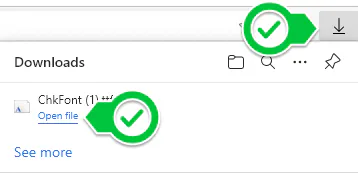
Microsoft Edge: select the Downloads icon, then Open file.
-
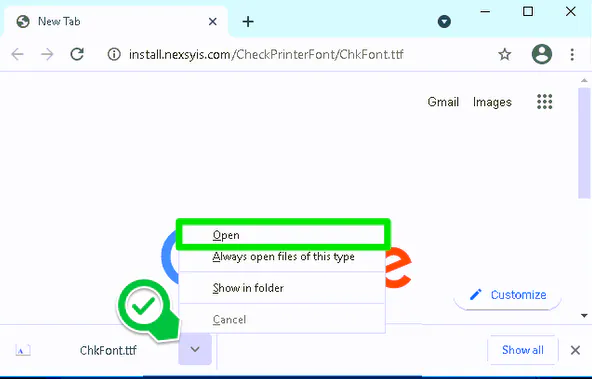
Google Chrome: select the arrow on the downloaded file, then Open.
-
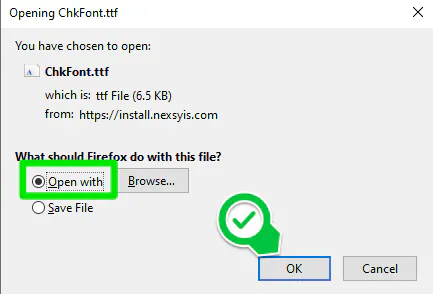
Mozilla Firefox: select Open with, then OK.
-
-
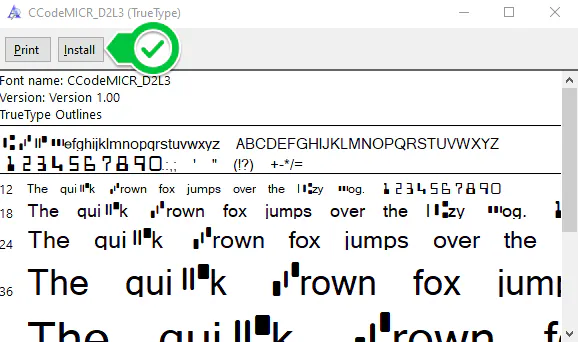
In the font window, select Install.
Print a test check
Section titled “Print a test check”After you install the font, print a test check before go-live to make sure checks print correctly. MICR scanners need the routing number, account number and check number at the bottom of the check to be spaced correctly.
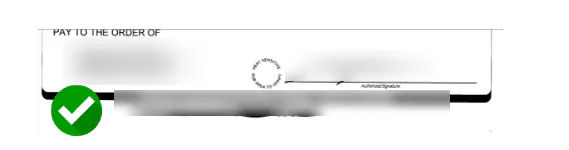
A correctly printed check has:
- White space on all sides of the banking numbers.
- Clear separation between the banking numbers and the check border.
- Numbers inside the MICR zone.
- No overlap with colored areas or design elements.
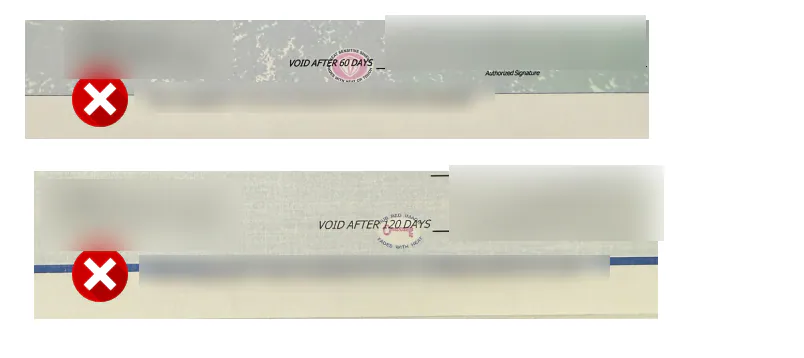
An incorrectly printed check has:
- Banking numbers touching or overlapping the check border.
- Numbers partly hidden or unclear.
- Too little white space between the border and the banking numbers.
A check like this may be rejected or delayed by the bank.
Ask your bank to confirm it accepts your test checks.