Third-party accounting: deposits
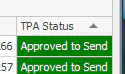
If your books are kept in an accounting system outside Nexsyis, each deposit is sent to that system after a user approves it by emailing the deposit. The TPA Status column shows where each deposit is in that process.
Add the TPA columns to the deposits list
Section titled “Add the TPA columns to the deposits list”-
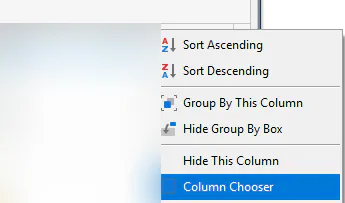
On the Deposits list, right-click a column header and select Column Chooser.
-
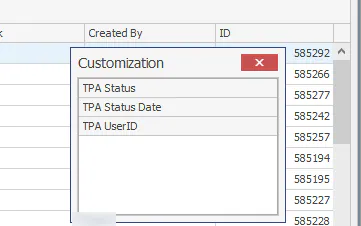
In the Customization window, double-click TPA Status, TPA Status Date and TPA UserID to add them to the grid.
-
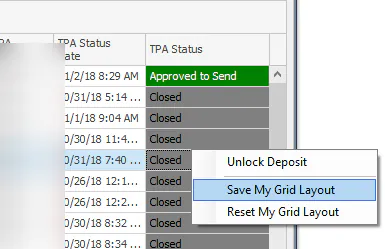
Right-click the grid and select Save My Grid Layout.
What each TPA Status means
Section titled “What each TPA Status means”| Status | Meaning |
|---|---|
| Not Sent | The deposit is open. It hasn’t been sent to your accounting system and can be reversed and edited. It isn’t sent until it’s emailed and the status changes to Approved to Send. |
| Approved to Send | A user emailed the deposit, approving it to be sent. It can’t be edited or unlocked until it’s sent and Closed. |
| Closed | The deposit has been sent to your accounting system and is locked. It can’t be reversed or edited unless it’s unlocked first, which only a Nexsyis administrator can do. |
| Unlocked | A Nexsyis administrator unlocked a closed deposit. |
Approve a deposit or batch to send
Section titled “Approve a deposit or batch to send”-
Make the deposit or batch as usual. See Make a deposit.
-
Open the Deposits list.
-
Find the deposit or batch in the grid.
-
Select the email button at the bottom of the screen.
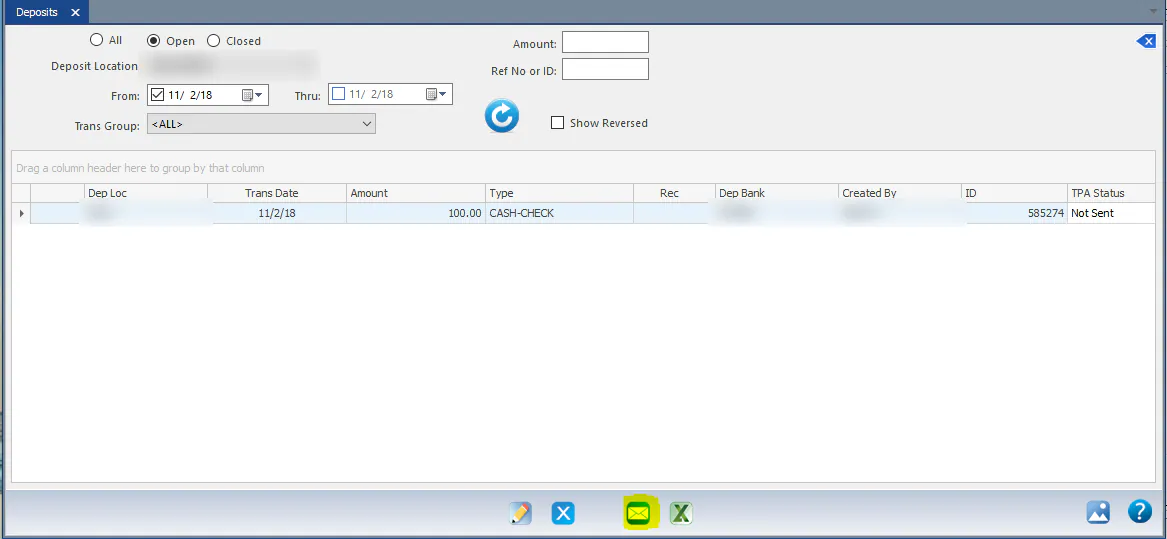
-
In To, type your company’s corporate address, then select the green check mark to send. The images attached to the payments and the deposit slip report are attached to the email automatically.
The TPA Status changes to Approved to Send.