Complete a quality control check
Quality control (QC) items are questions your shop sets up for each repair stage. Mark each item Completed or Not Applicable to finish the QC check. You can do this in desktop Nexsyis, NexsyisNow or the Nexsyis mobile app.
Before you begin
Section titled “Before you begin”- Your shop sets up the QC items for each repair stage. See Set up quality control.
- A repair stage doesn’t end until every QC item on that stage is marked Completed or Not Applicable.
Find QC items that are still open
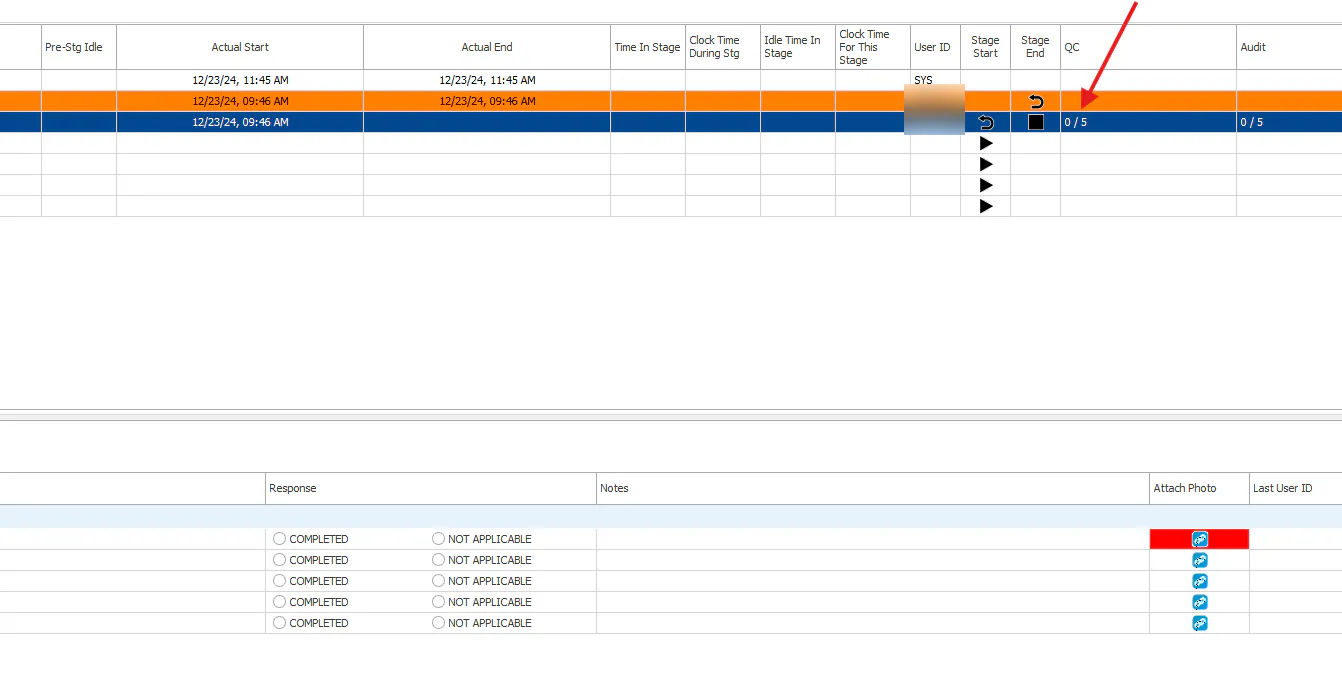
Section titled “Find QC items that are still open”On the repair plan, the QC column shows how many items are done out of the total for each stage, for example 0 / 5.
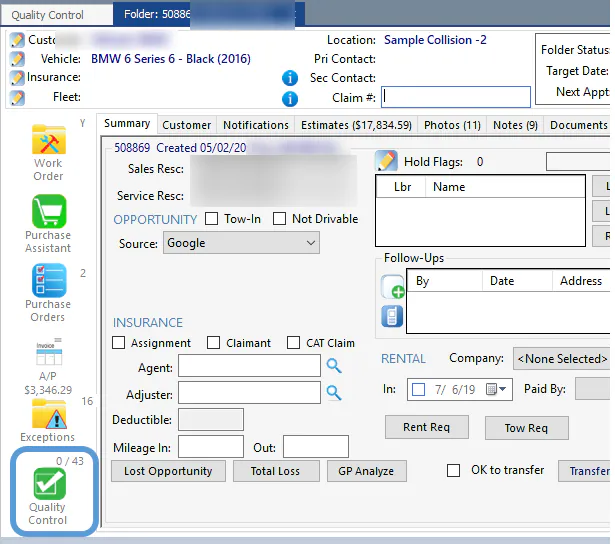
On the folder, the number above the Quality Control button shows how many items are done out of the total for the folder.
Complete the QC items
Section titled “Complete the QC items”-
On the folder, select Quality Control to open the QC form.
-
For each item, select Completed or Not Applicable. Your user ID and the response date fill in for that line.
-
If an item has a red Attach Photo background, attach a photo before it counts as completed. See Attach photos to a QC check.
-
Select the save button.
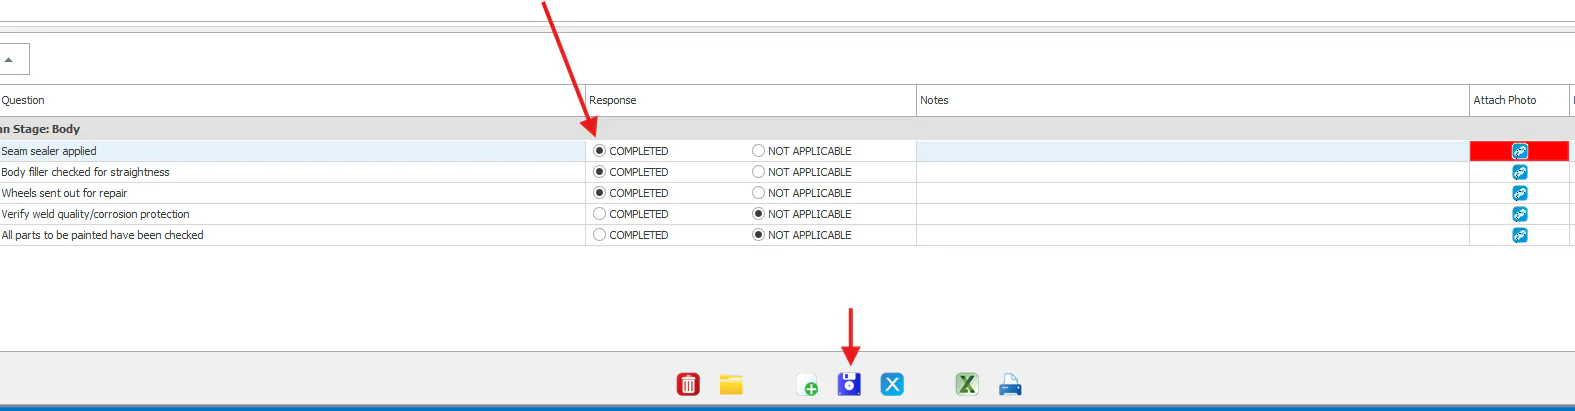
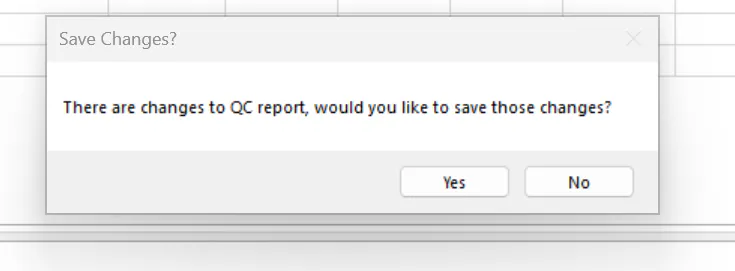
If you close the screen without saving, Nexsyis asks whether to save your changes. Select Yes.
Open Quality Control
Section titled “Open Quality Control”Open Quality Control in one of two ways:
-
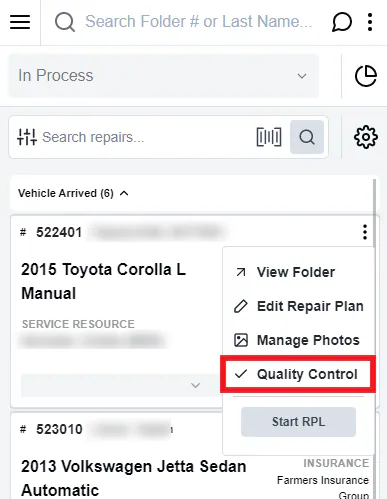
On the Production List, select the three dots on a repair, then select Quality Control.
-
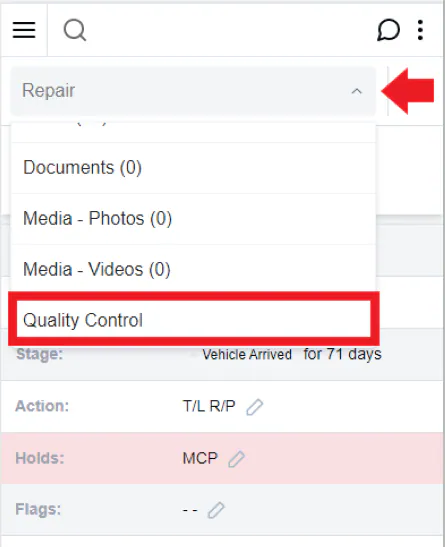
Or open the folder, select the drop-down at the top, then select Quality Control.
Complete the QC items
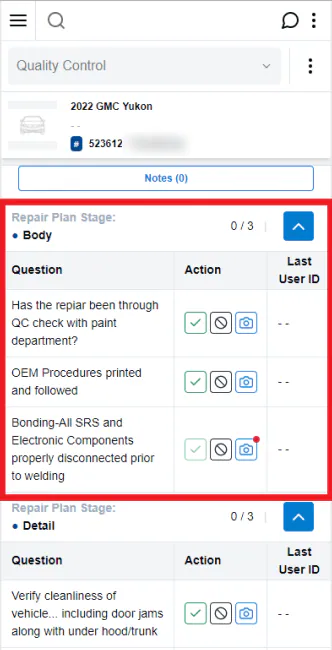
Section titled “Complete the QC items”QC items are grouped by repair plan stage. For each item, select an icon in the Action column:
- Check mark: the step is complete.
- Circle with a line through it: the step is not applicable (N/A).
- Camera: attach a photo. A red dot on the camera means a photo is required before you can mark the step complete or N/A. The check mark isn’t available until a photo is attached. See Attach photos to a QC check.
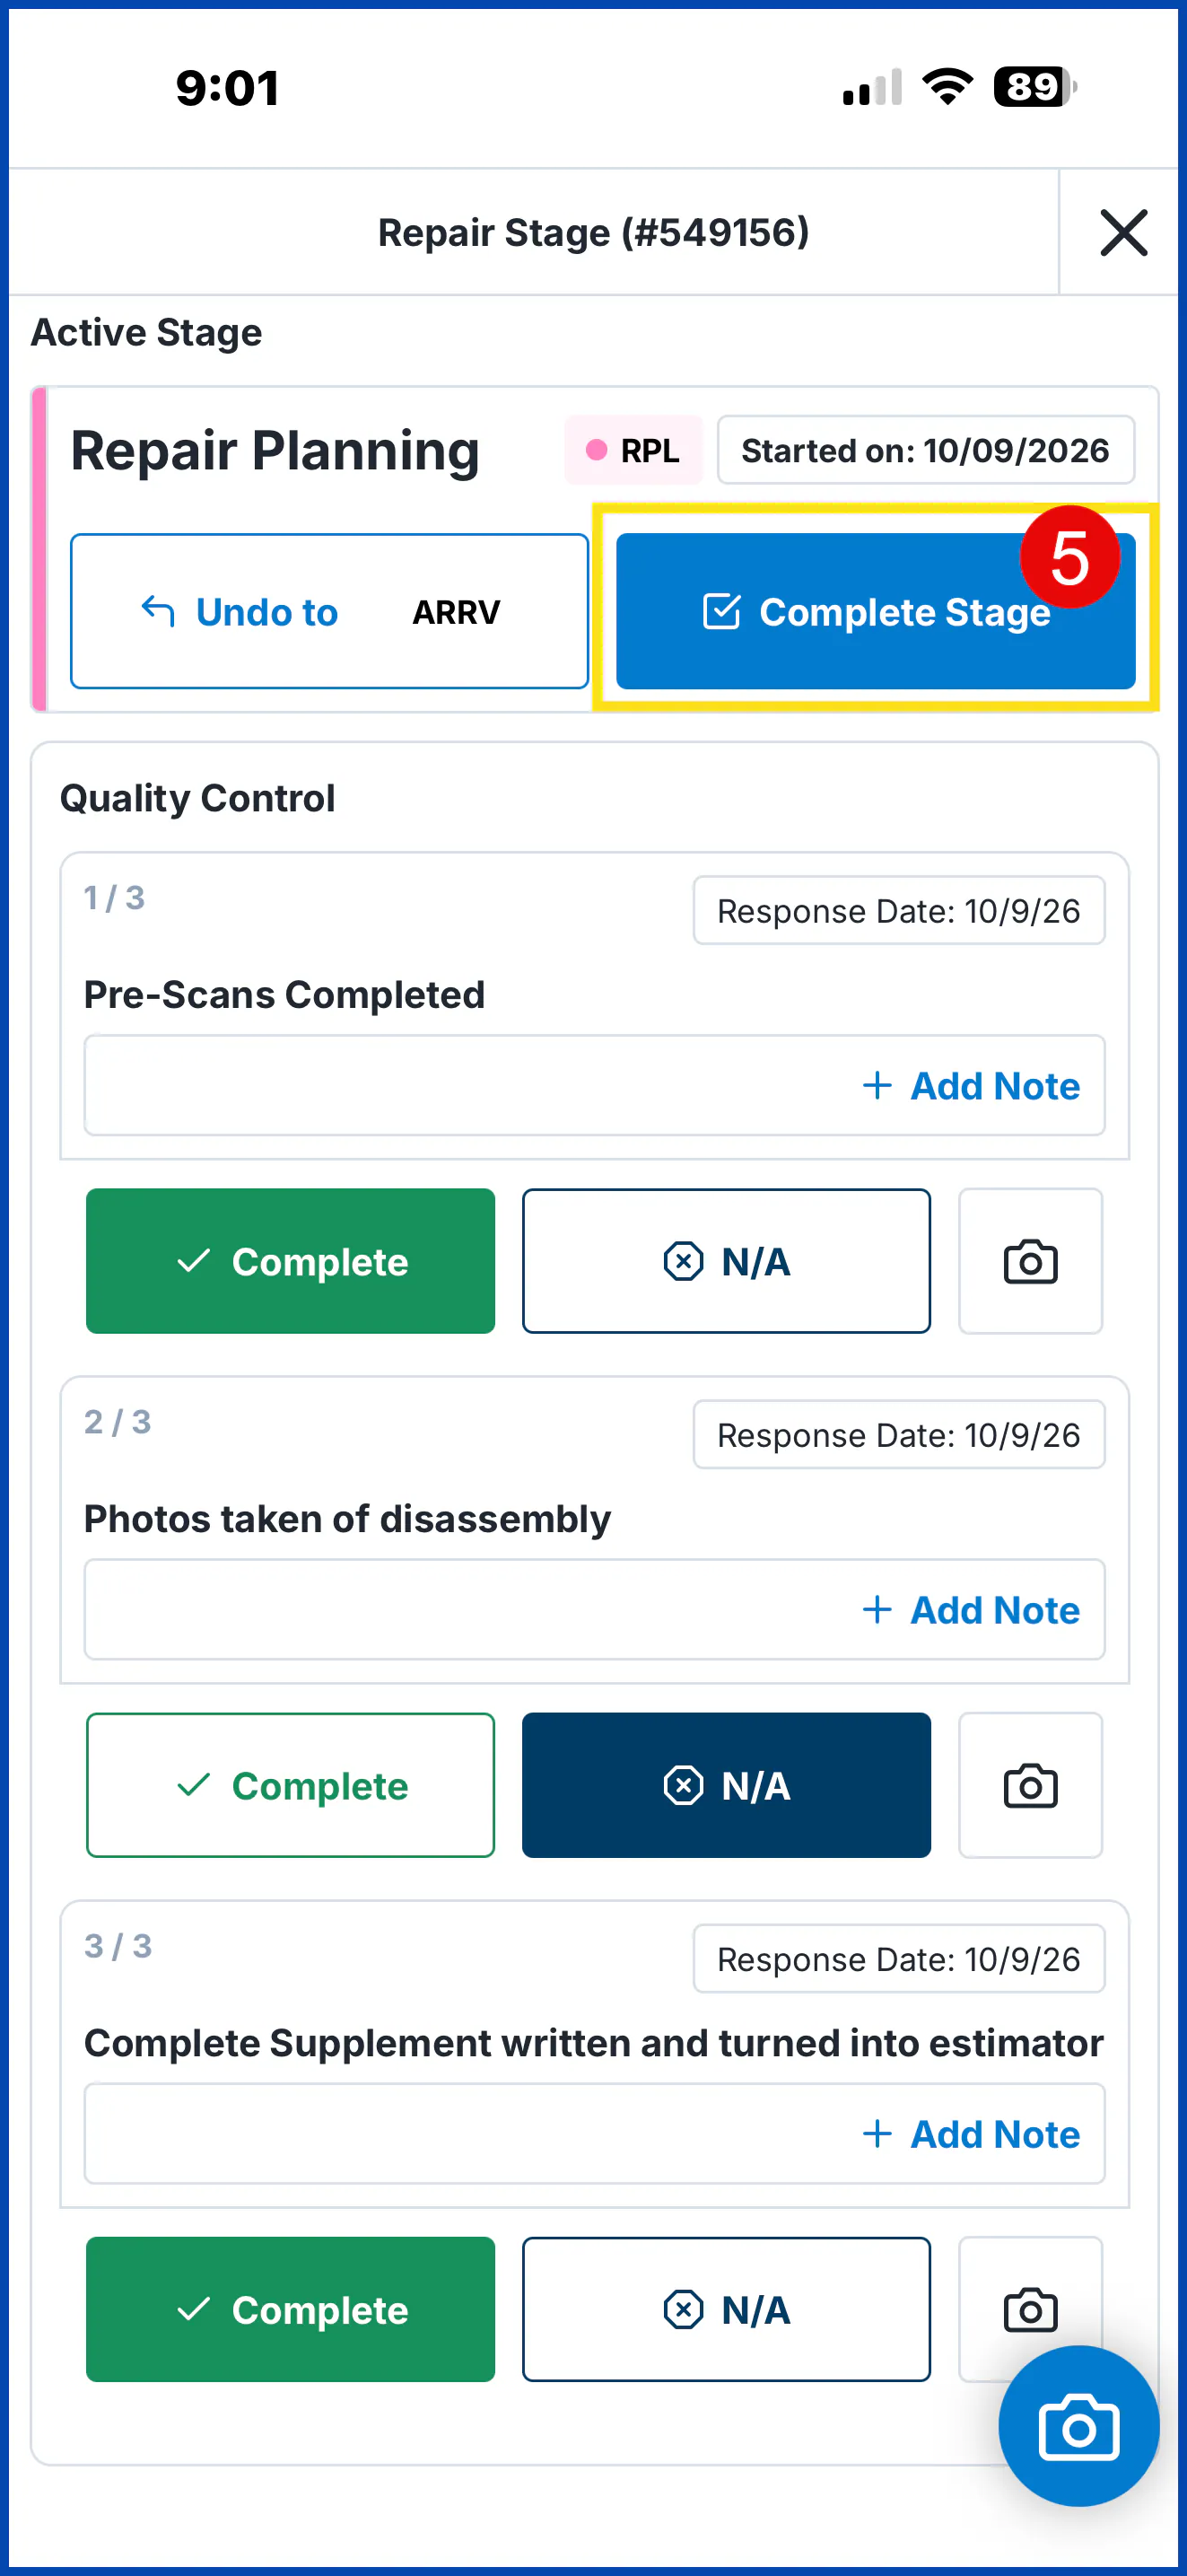
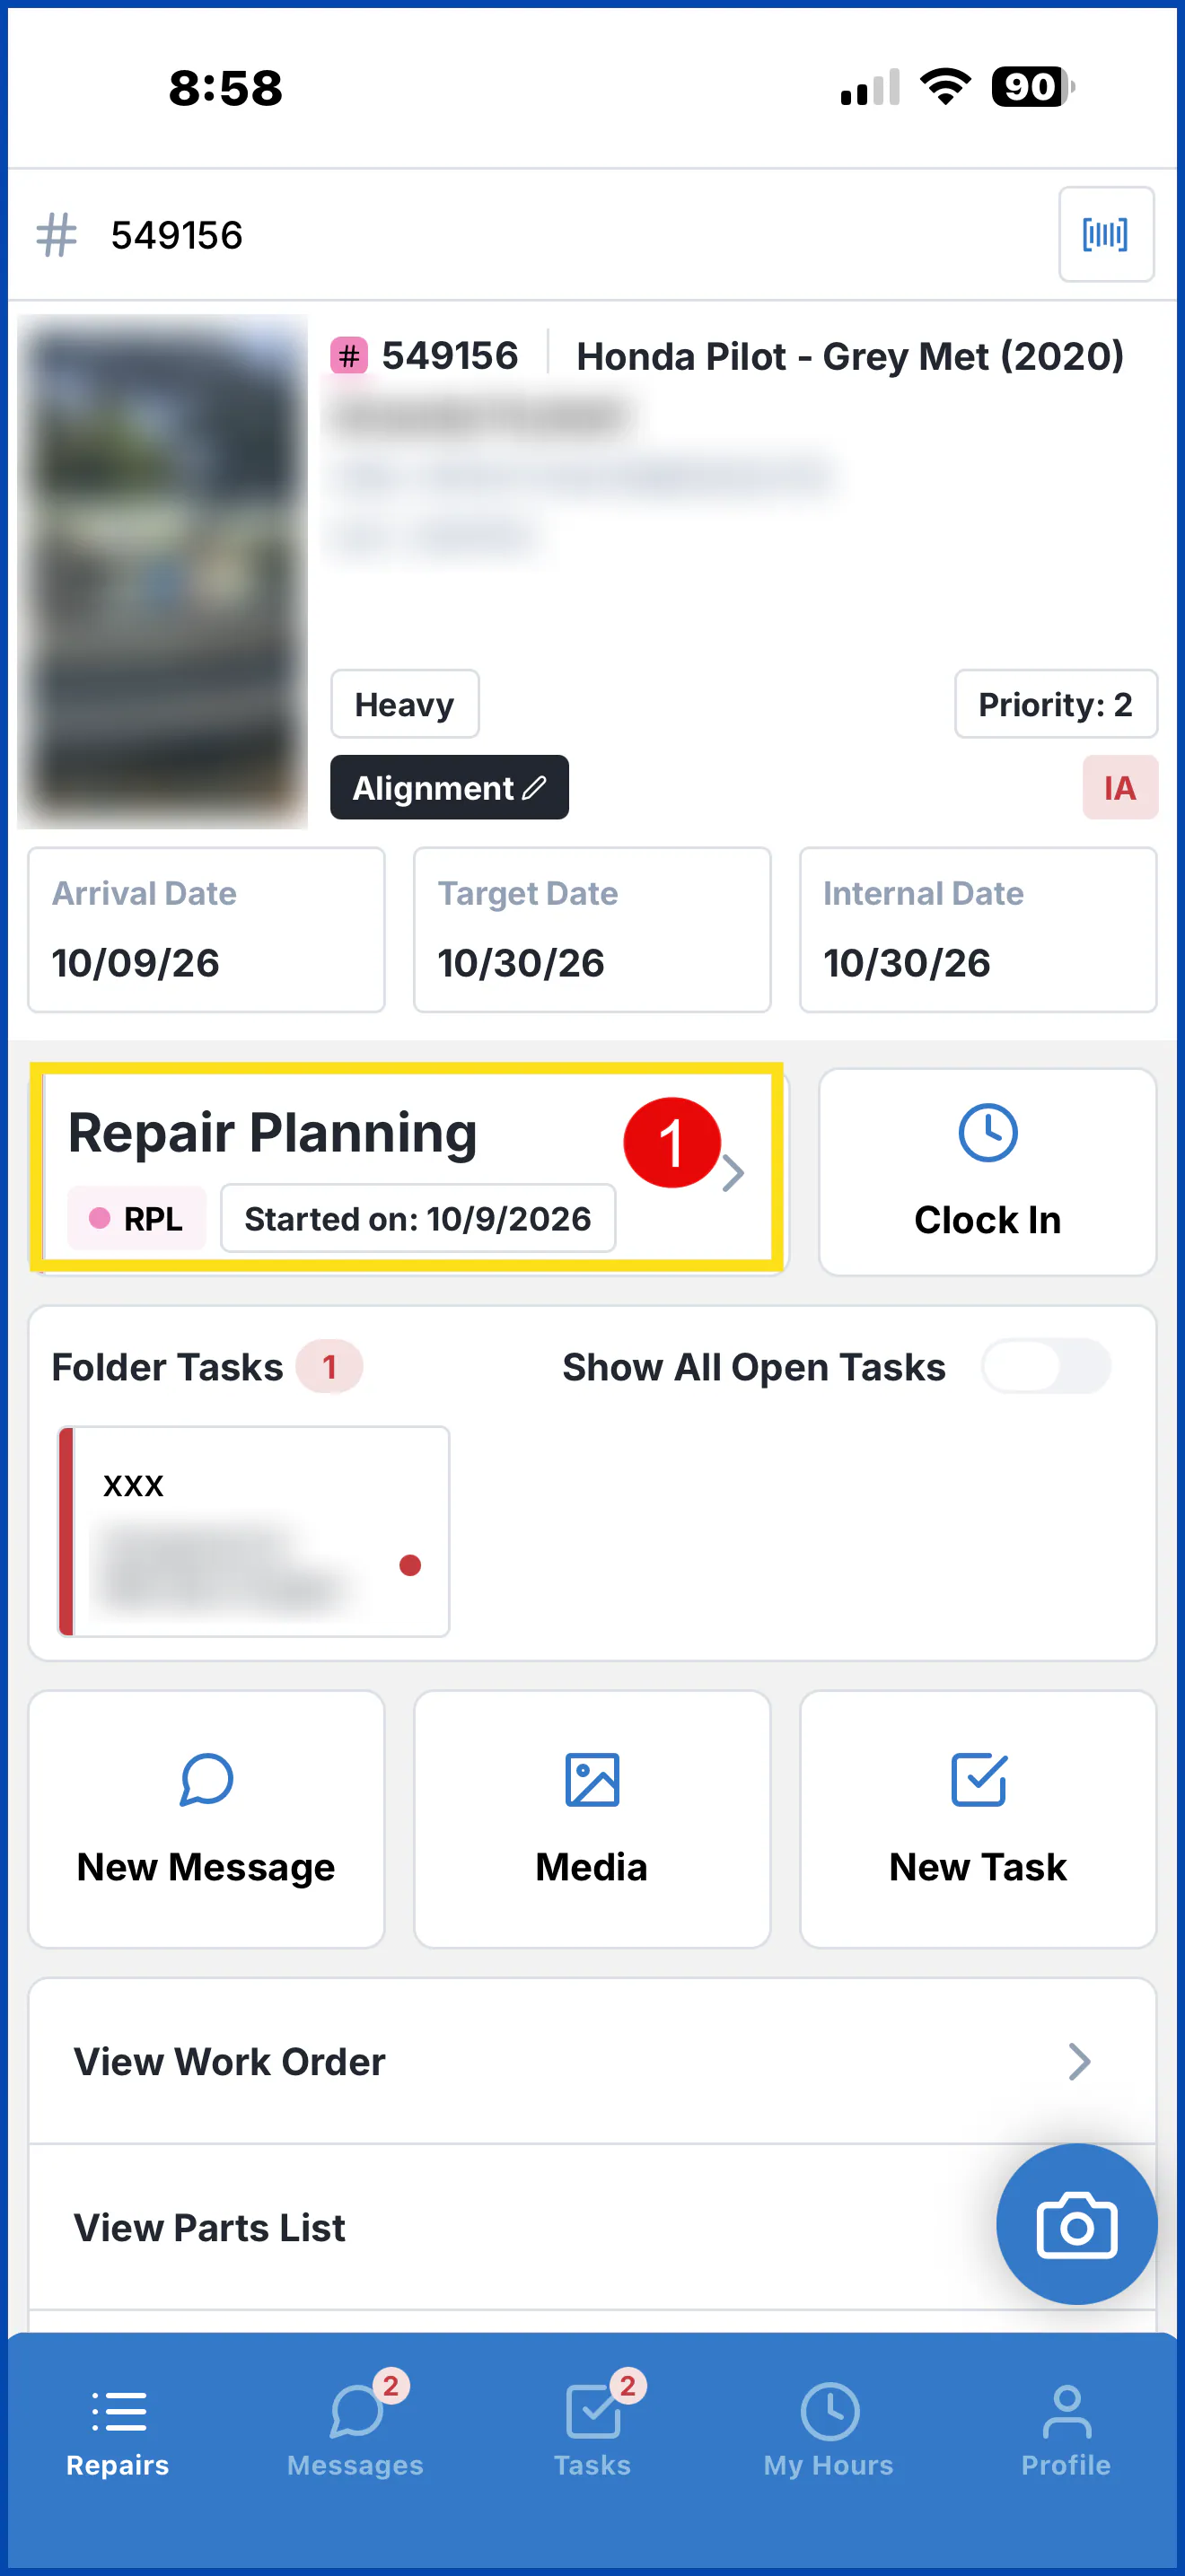
Technicians can work through repair stages, complete QC items and attach photos without going to a computer. Stages are completed one at a time.
-
Open the folder and select the stage you’re working on, for example Repair Planning.
-
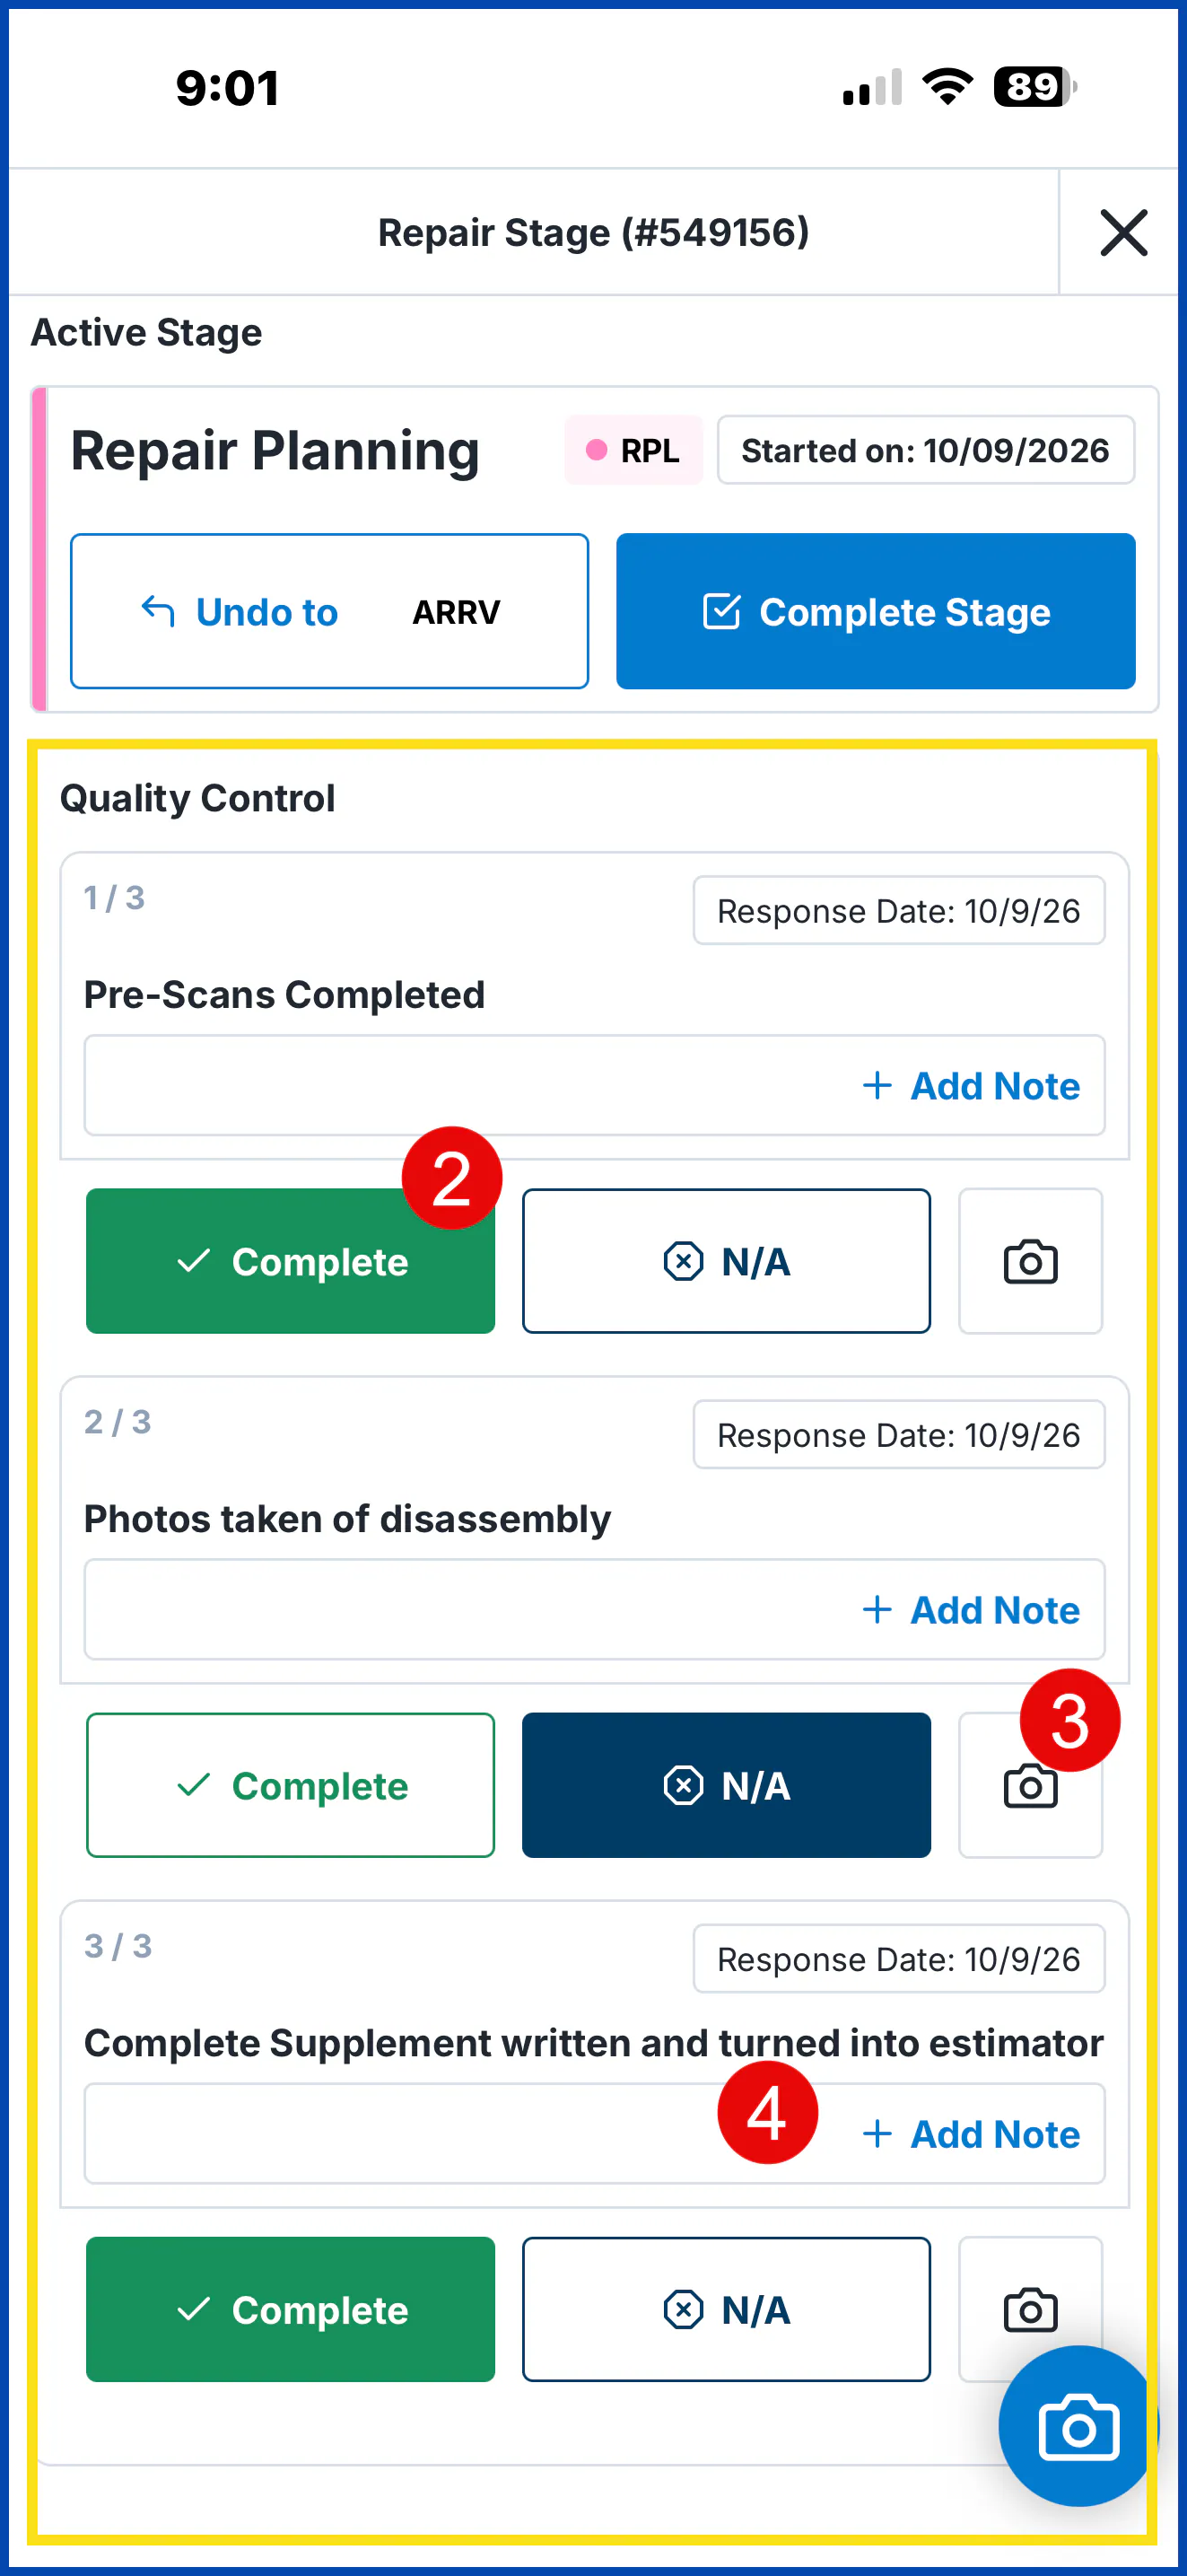
Under Quality Control, select Complete or N/A for each item.
-
Select the camera button to add a photo to an item, if needed.
-
Select Add Note to add a note to an item, if needed.
-
Select Complete Stage.