
Attach photos to a QC check
Attach a photo to a quality control (QC) item to show the work was done. Some items require a photo before they can be marked complete.
Before you begin
Section titled “Before you begin”Your shop chooses which QC items require a photo, with Require Photos in setup. See Set up quality control.
QC photos are also saved to the folder’s Photos tab.
Attach a photo
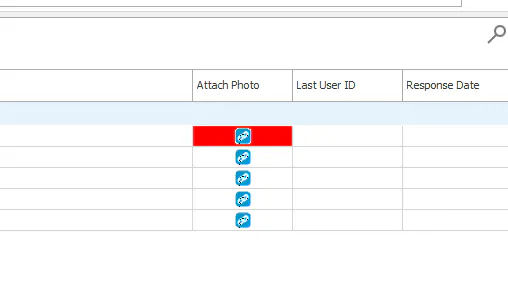
Section titled “Attach a photo”If the Attach Photo icon has a red background, a photo is required. If you mark that item Completed, it doesn’t count as completed until a photo is attached. You don’t need a photo if you mark the item Not Applicable.
-
On the QC form, select the Attach Photo icon on the item.
-
In the Document window, add the photo with Image From Scanner or Image From File.
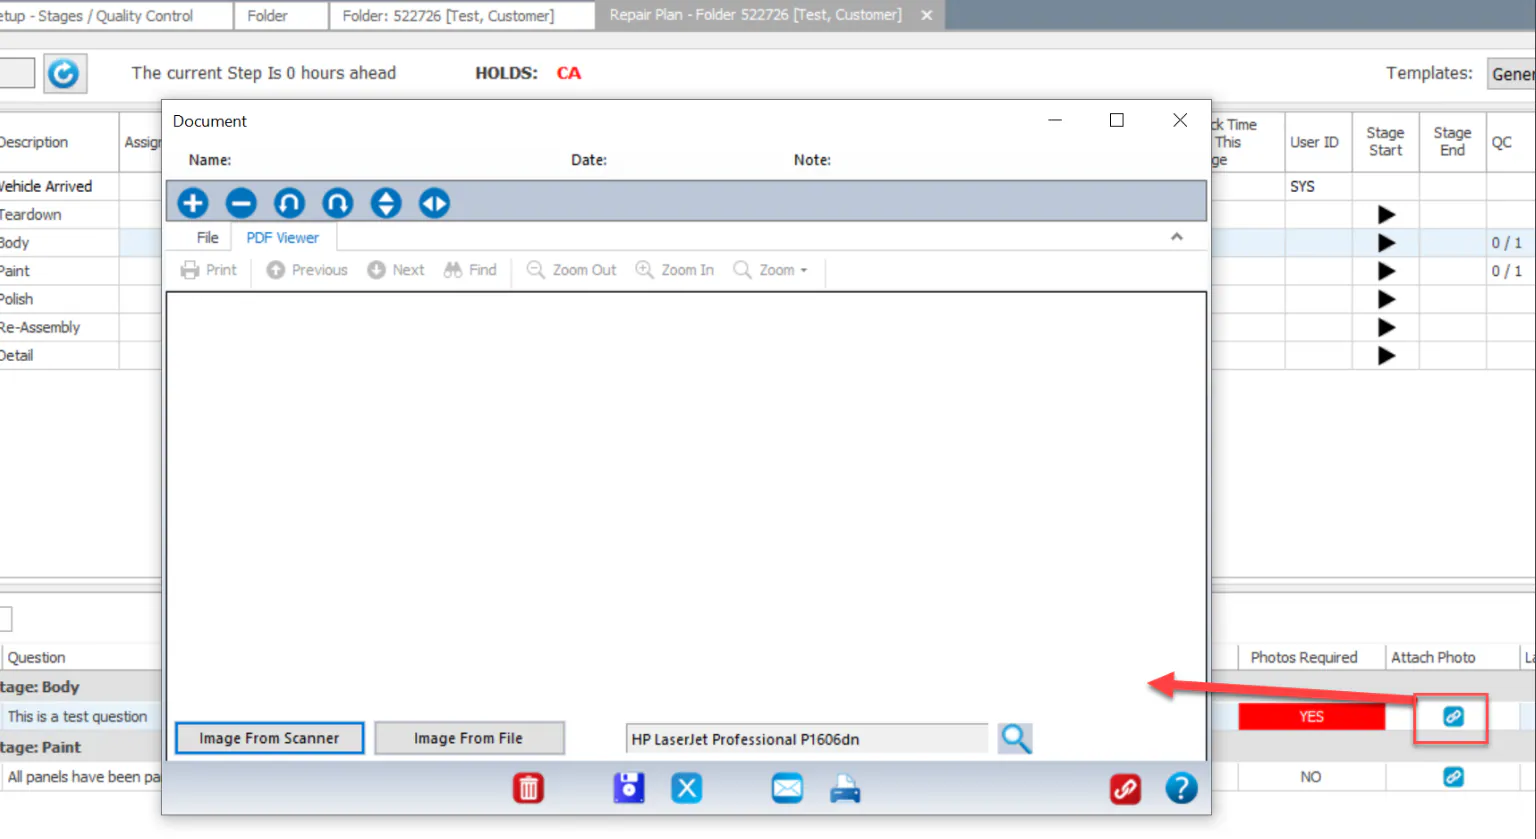
When a photo is attached, an image icon shows in the View Photos column and the Photos Required background turns green.

Attach a photo
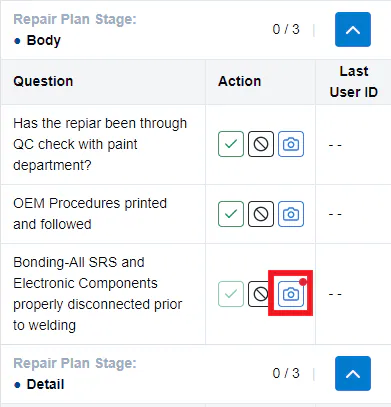
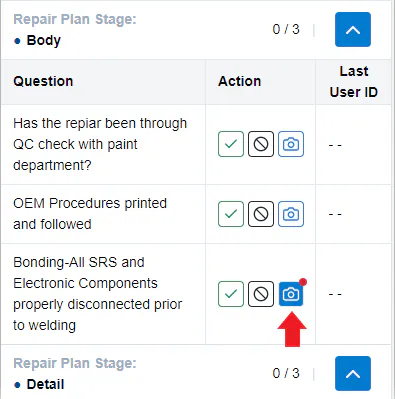
Section titled “Attach a photo”A red dot on the camera button means a photo is required before you can mark the step complete or N/A.
-
Select the camera button on the QC step.
-
Select Click here to upload a photo, then choose Take Photo or Photo Library.
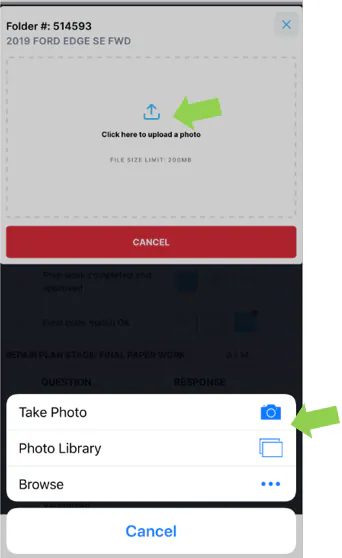
The camera button turns blue once a photo is attached.
Change the photo
Section titled “Change the photo”You can attach one photo to each step. To use a different photo:
-
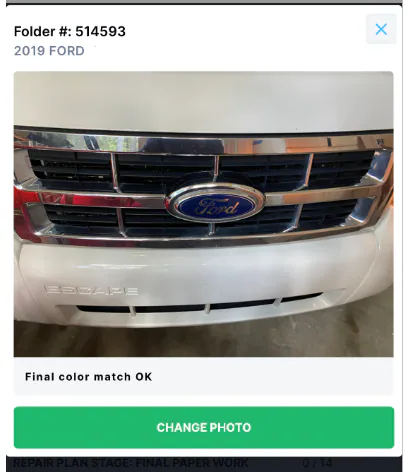
Select the blue camera button, then select CHANGE PHOTO.
-
Select Click here to upload a photo, then choose Take Photo or Photo Library.
The new photo is attached to the step.
- On the Repair Stage screen, select the camera button on the QC item.
- Add the photo.
If your shop requires photos for a QC item, a red dot appears next to it. You can’t complete the stage until the required photos are added.