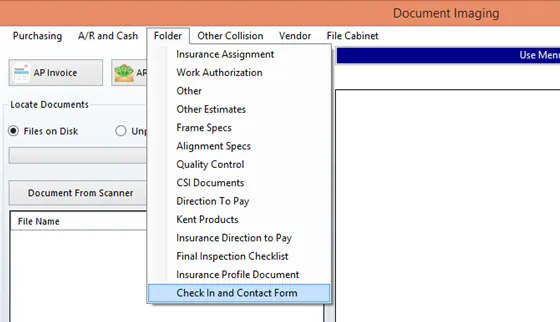
Set up the imaging menu and document names
Add a document name so it shows as an option in the Document Imaging menus, under the menu you choose.
Before you begin
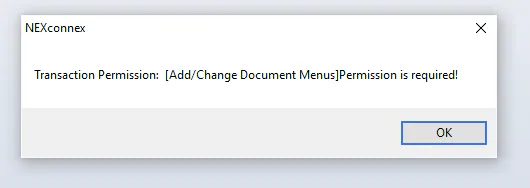
Section titled “Before you begin”You need the Add/Change Document Menus transaction permission. Without it, Nexsyis shows this message:
Add a document name
Section titled “Add a document name”-
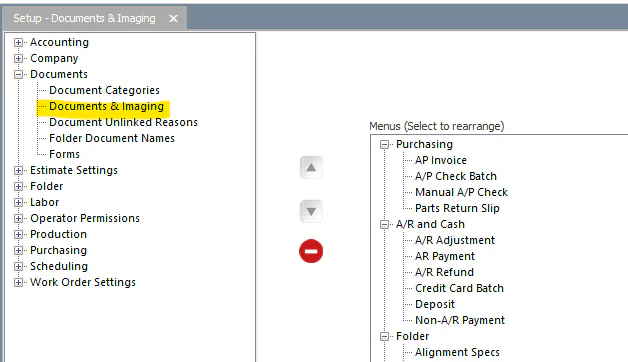
Go to Setup › Documents › Documents & Imaging.
-
At the bottom of the screen, select New.
-
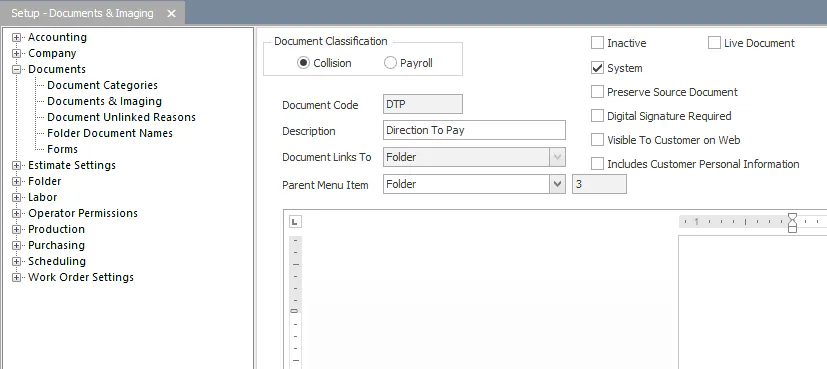
Fill in the document details, such as Document Code and Description.
-
In Parent Menu Item, choose the menu you want the document name to appear under.
-
Select any options you need. See the table below.
-
Select Save.
| Option | What it does |
|---|---|
| Inactive | The document isn’t active in your live database. |
| Digital Signature Required | The customer must sign the document. |
| Visible To Customer on Web | The customer can keep and review the document from the Customer Portal. |
| Includes Customer Personal Information | The document contains the customer’s personal information. |
Change the order of document names
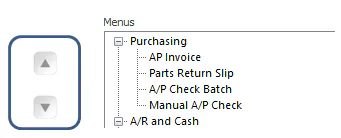
Section titled “Change the order of document names”To change where a document name shows in the list, select it under Menus, then use the up and down arrow buttons on the left.
What happens next
Section titled “What happens next”The document name is now an option in the Document Imaging menu you chose as its parent.