Link documents
Use the Document Imaging window to find a scanned or saved document and link it to the record it belongs to, such as a folder or an AP invoice.
Find the document
Section titled “Find the document”In Locate Documents, choose where the document is.
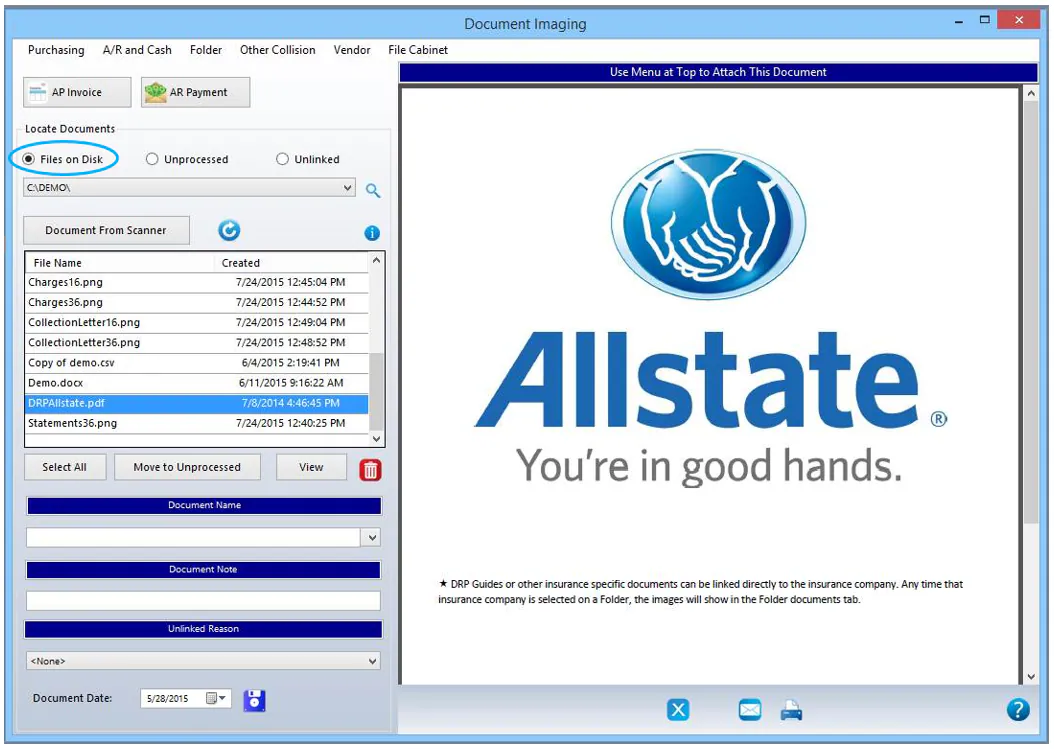
Files on Disk
Section titled “Files on Disk”Select Files on Disk to browse to files on your computer.
Unprocessed
Section titled “Unprocessed”Select Unprocessed to see documents scanned to your central network. Multi-location shops often use this to process documents centrally.
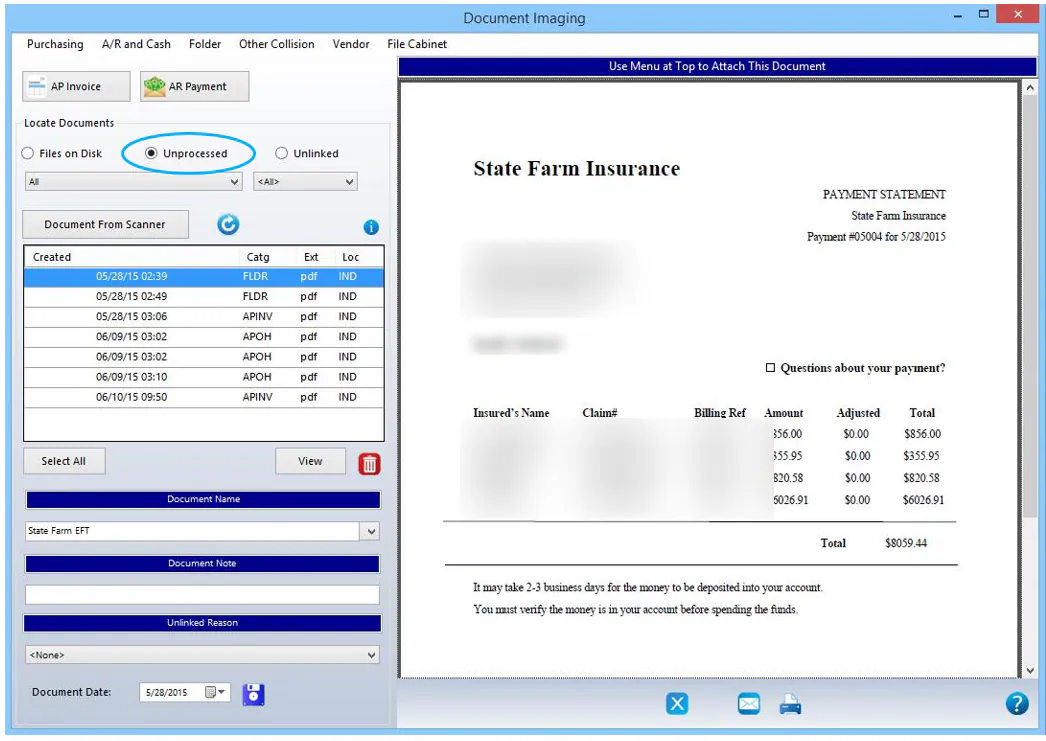
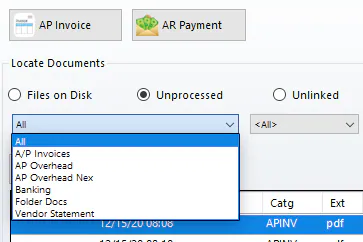
Use the left drop-down to filter by document type (set up on your scanner), and the right drop-down to filter by location.
Unlinked
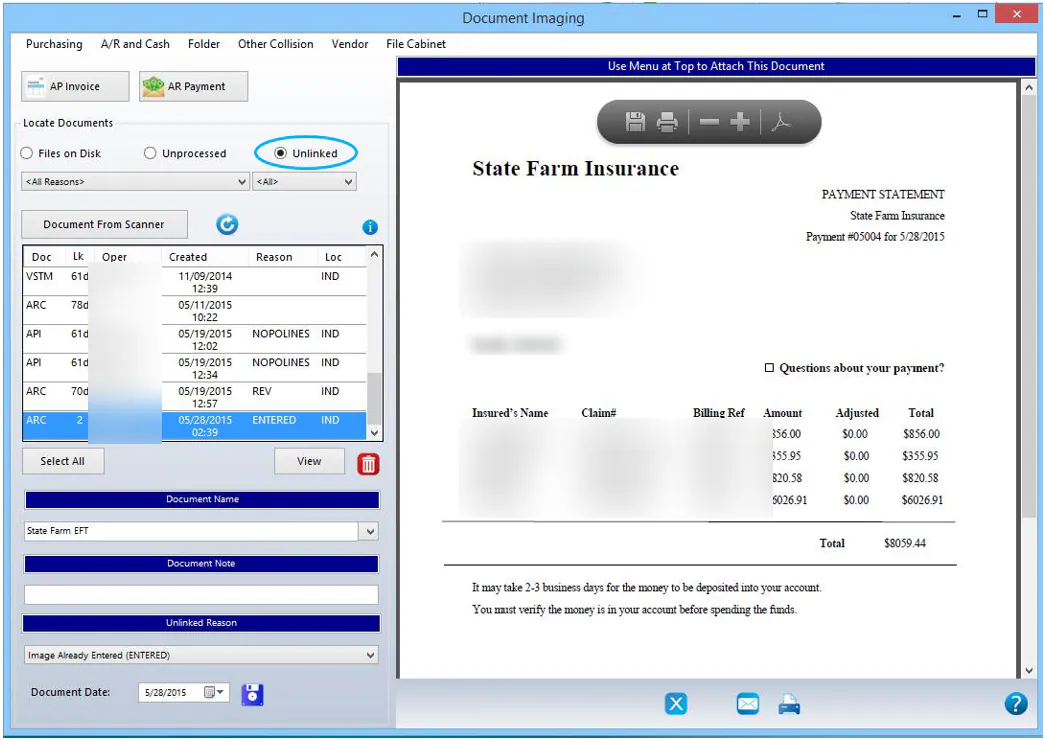
Section titled “Unlinked”Select Unlinked to see documents that were closed before they were linked, or that were unlinked from a record. The Reason column shows why.
Link the document
Section titled “Link the document”-
Select the document in the list so it shows in the preview on the right.
-
Choose the type of record to link it to. Select AP Invoice or AR Payment (the most common), or choose an option from the menus at the top, such as Folder.
-
A search screen opens for that type of record. For example, a folder document opens the folder search.
-
Find the record, then select the blue Link Image icon at the bottom right.
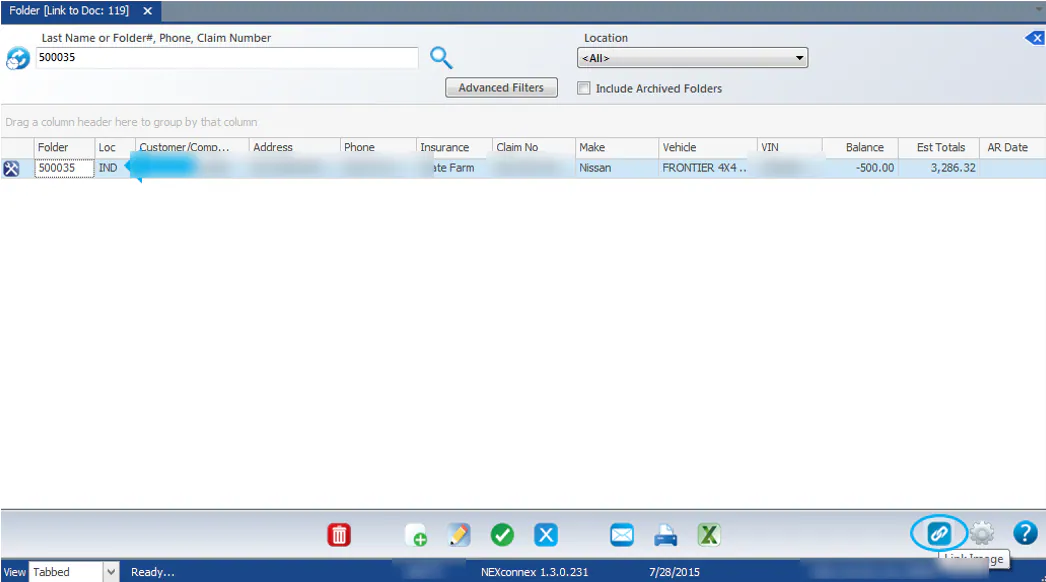
To link an AP invoice using its folder number, see Link and view AP invoice images.
If you can’t link the document
Section titled “If you can’t link the document”If you close a document without linking it, for example because a copy is already linked, Nexsyis asks why.
- Select the reason in the Specify Reason for not Linking window.
- Type a note if it helps.
- Select Save.
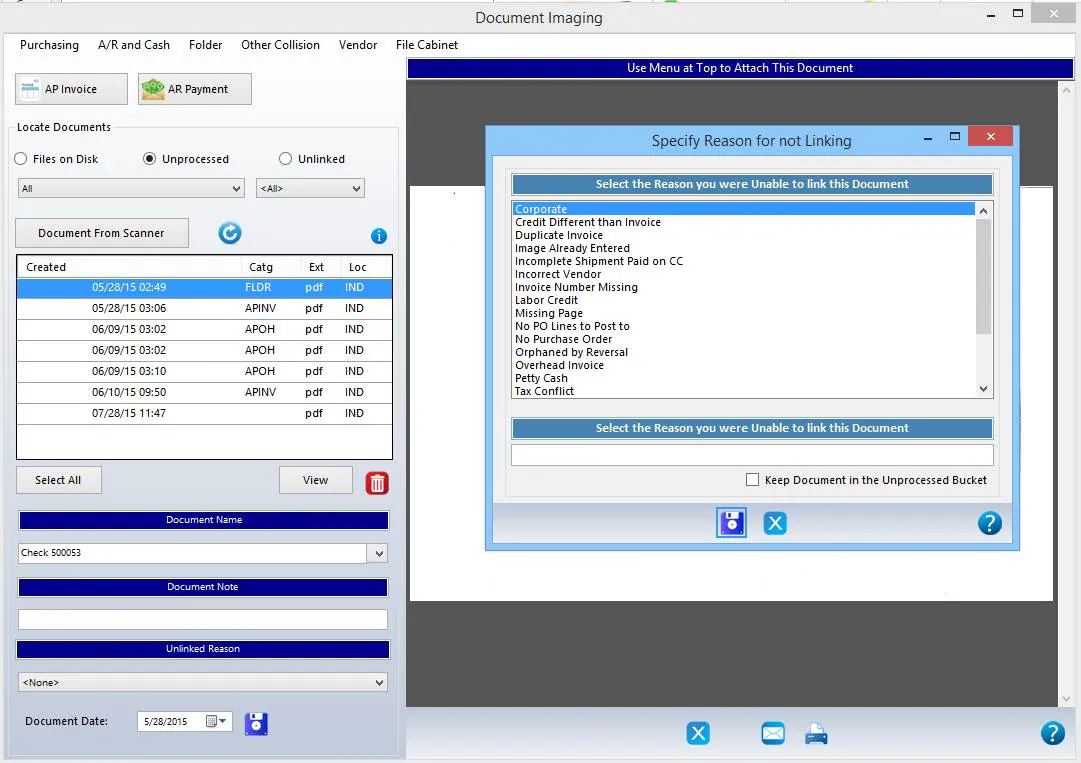
The document moves to Unlinked, with the reason you chose.