
Create a tow request
When a vehicle needs to be towed, create a tow request on the folder. Nexsyis can text or email it to the tow company, and their replies show in the Message Center.
Before you begin
Section titled “Before you begin”To send tow requests by text or email, the tow company must be set up to receive them. See Set up tow companies.
Create a tow request
Section titled “Create a tow request”-
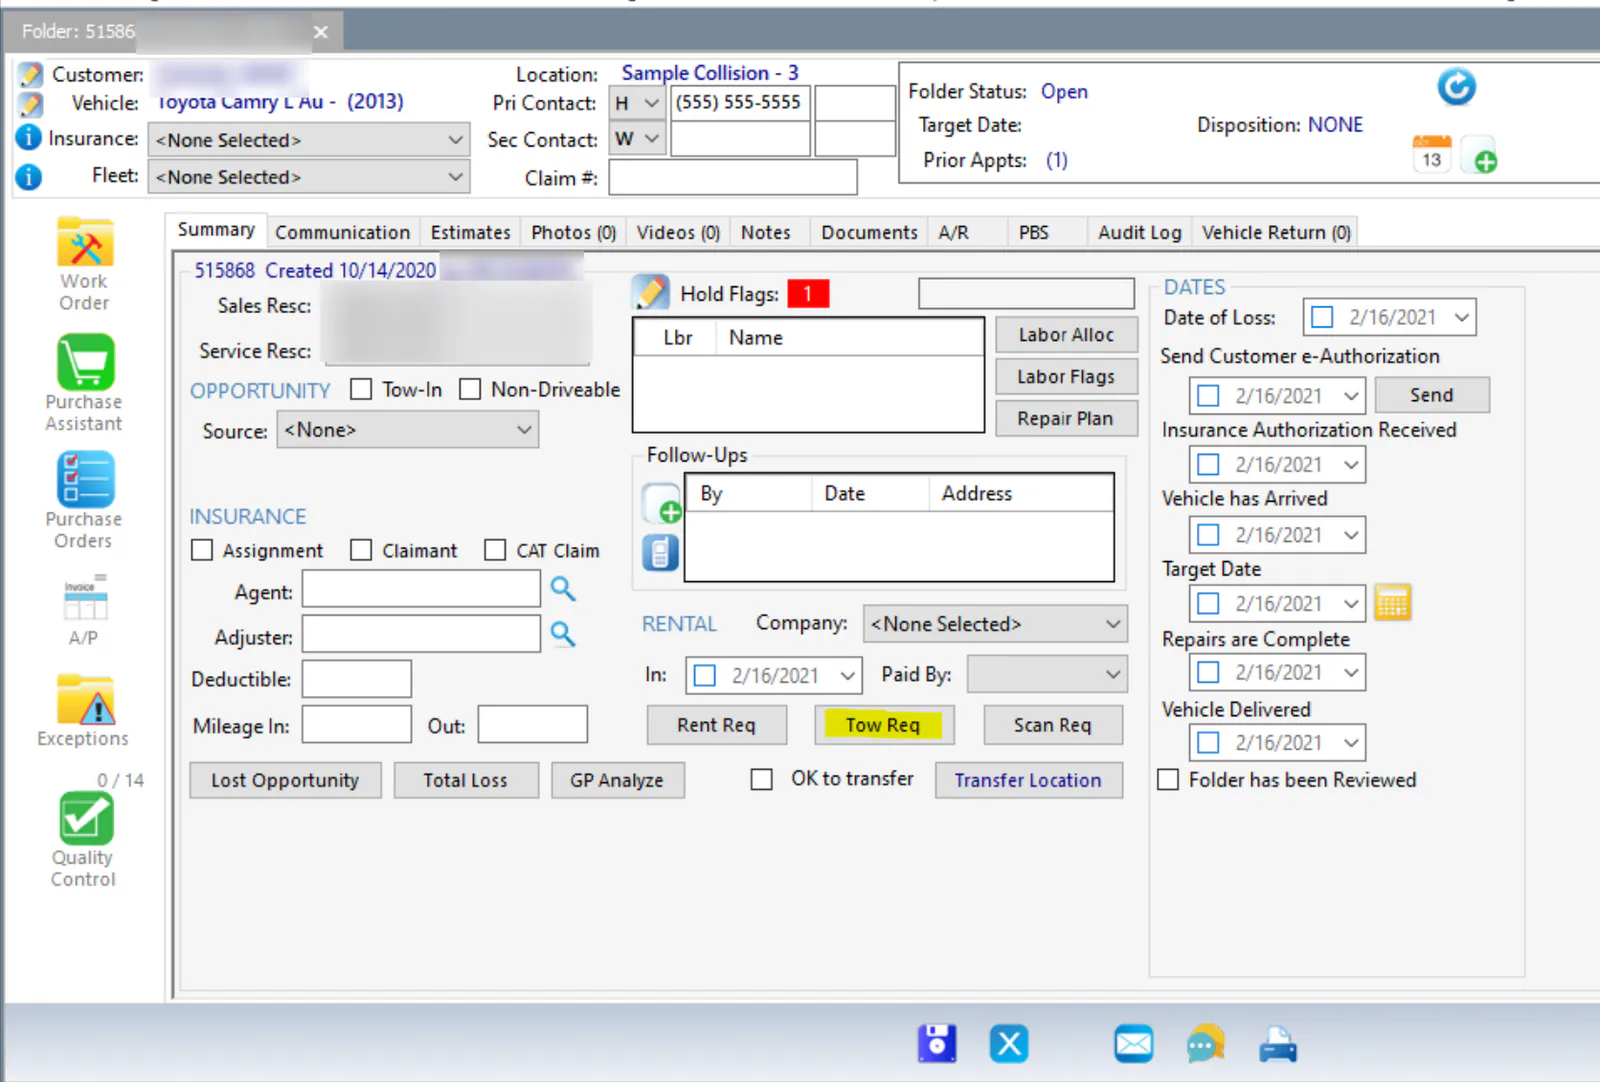
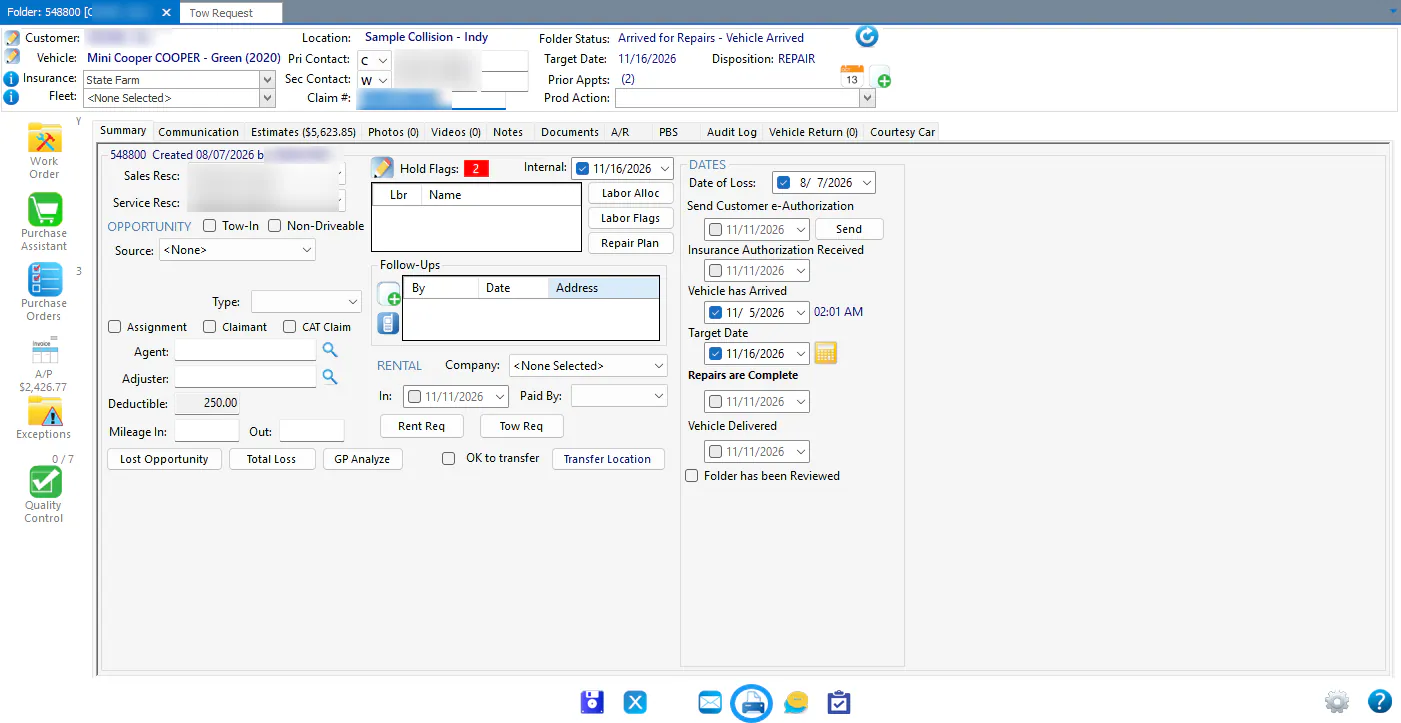
On the folder’s Summary tab, select Tow Req.
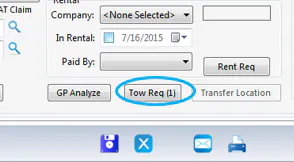
If the folder already has a tow request, the button shows Tow Req (1).
-
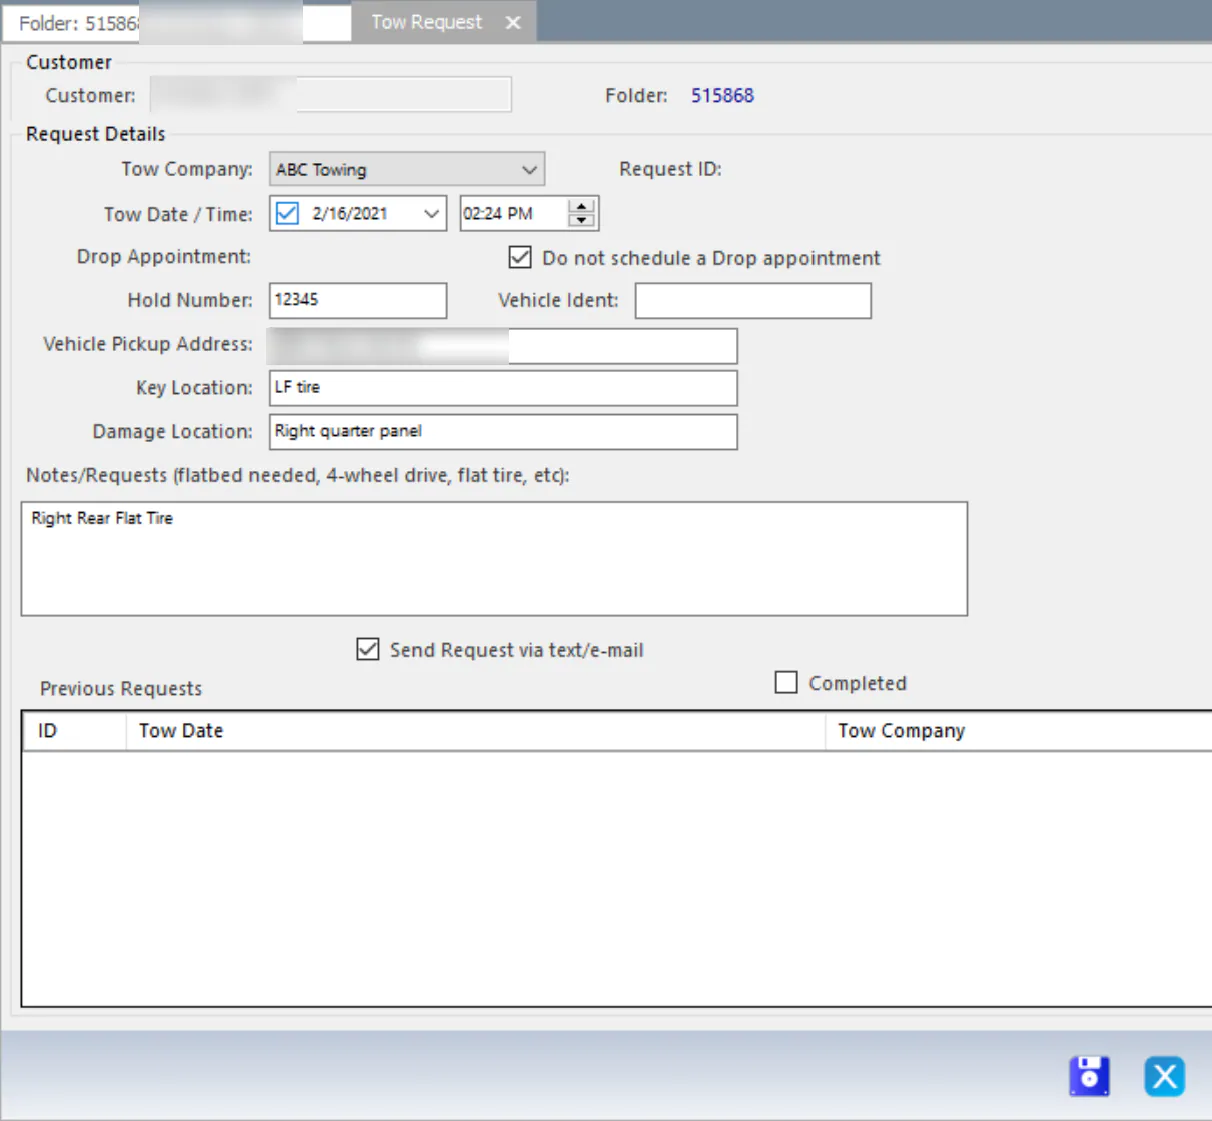
Choose the Tow Company, and fill in the details you want the tow company to receive, such as Tow Date / Time, Hold Number, Vehicle Pickup Address, Key Location, Damage Location and Notes/Requests.
-
To text or email the request to the driver, leave Send Request via text/e-mail selected.
-
Choose whether to schedule a drop-off appointment for the tow-in:
- No appointment: leave Do not schedule a Drop appointment selected, and select Save.
- Schedule an appointment: clear Do not schedule a Drop appointment, and select Save. The appointment screen opens. Set the drop appointment details, then select Save.
Text or email the tow request
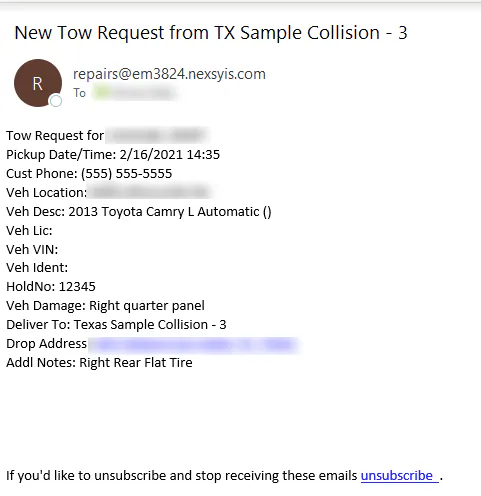
Section titled “Text or email the tow request”When you save the tow request with Send Request via text/e-mail selected, Nexsyis texts or emails the details to the addresses on the tow company’s setup. The checkbox only shows when the tow company is set up to receive texts or emails.
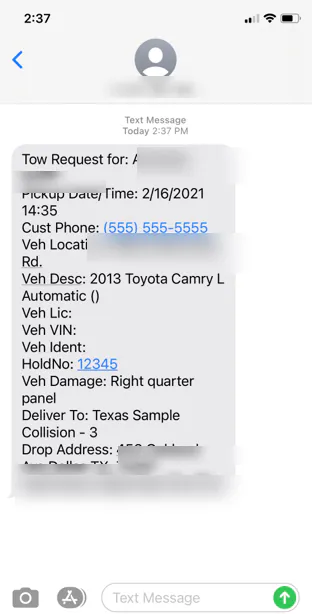
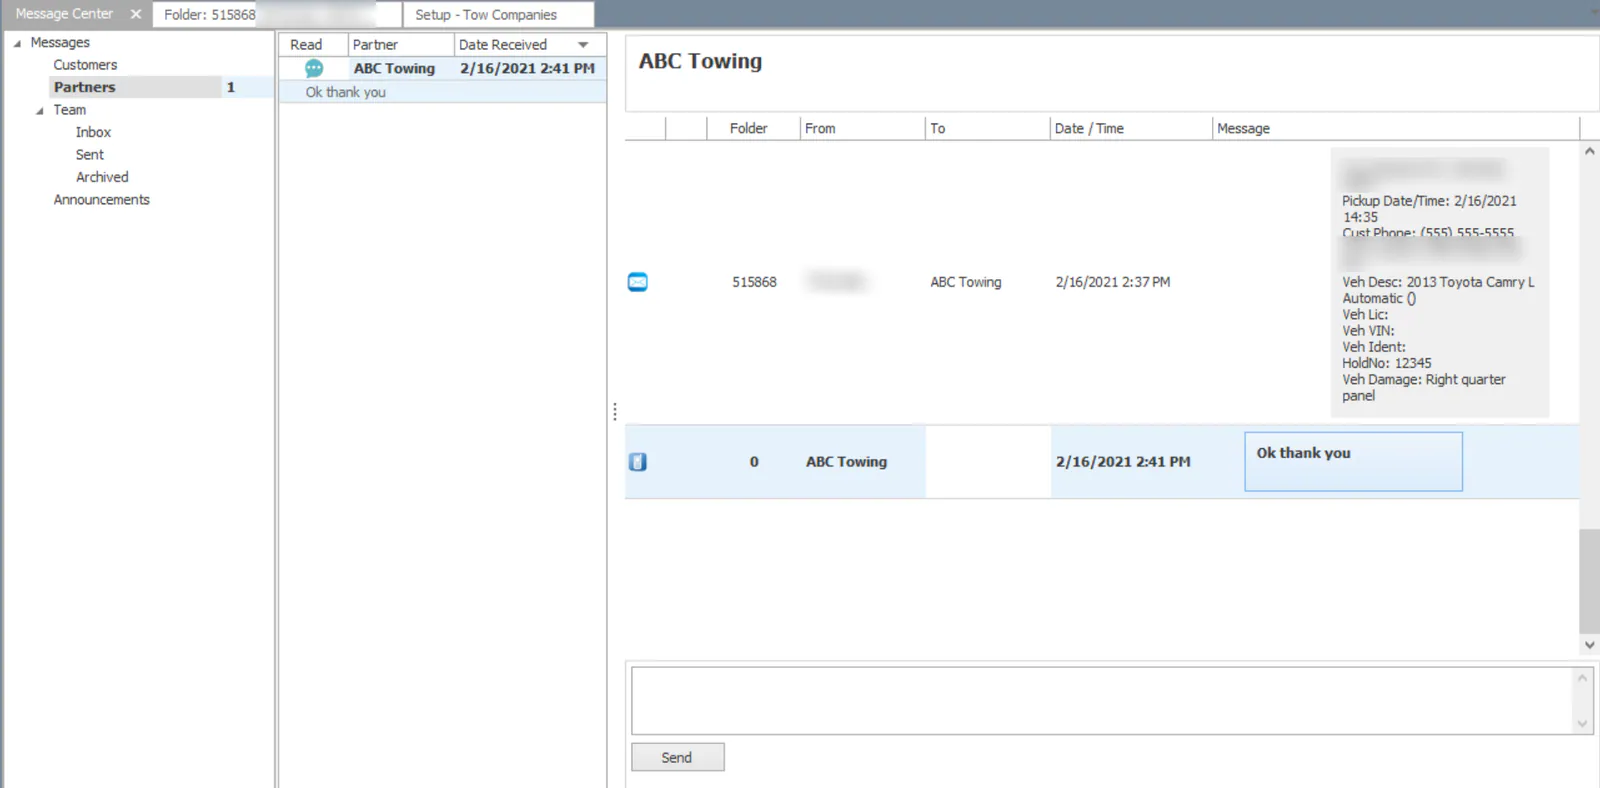
Messages to and from the driver show in the Message Center under Partners. See Message partners.
Cancel a tow request
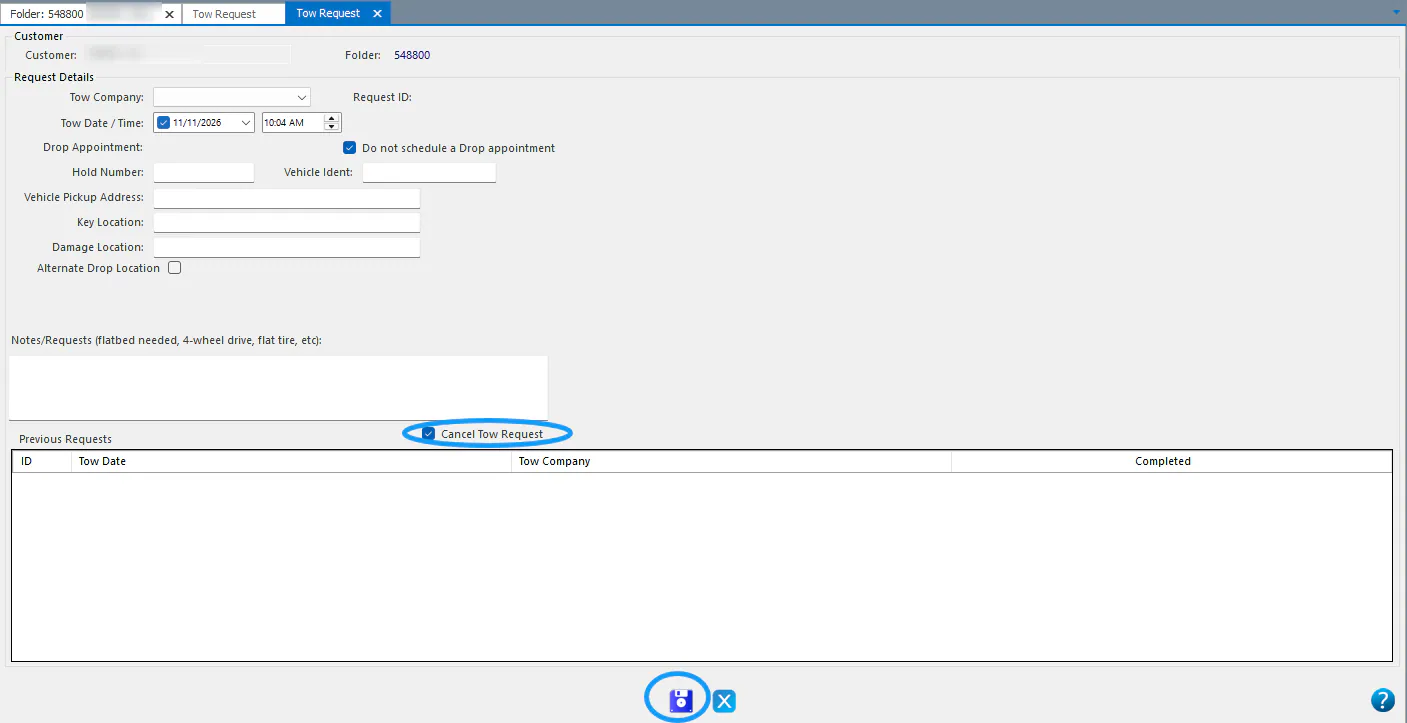
Section titled “Cancel a tow request”- On the folder’s Summary tab, select Tow Req to open the Tow Request screen.
- Select Cancel Tow Request.
- Select the save button.
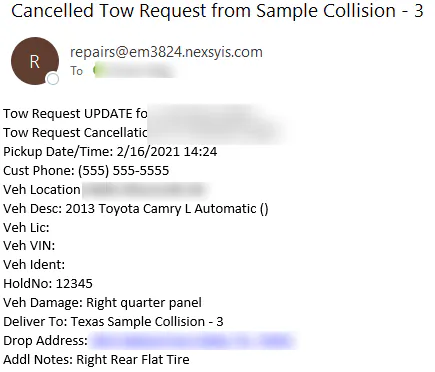
If the tow company receives texts or emails, they get a cancelled tow request message.
Print a tow request
Section titled “Print a tow request”-
At the bottom of the folder, select the print button (printer icon).
-
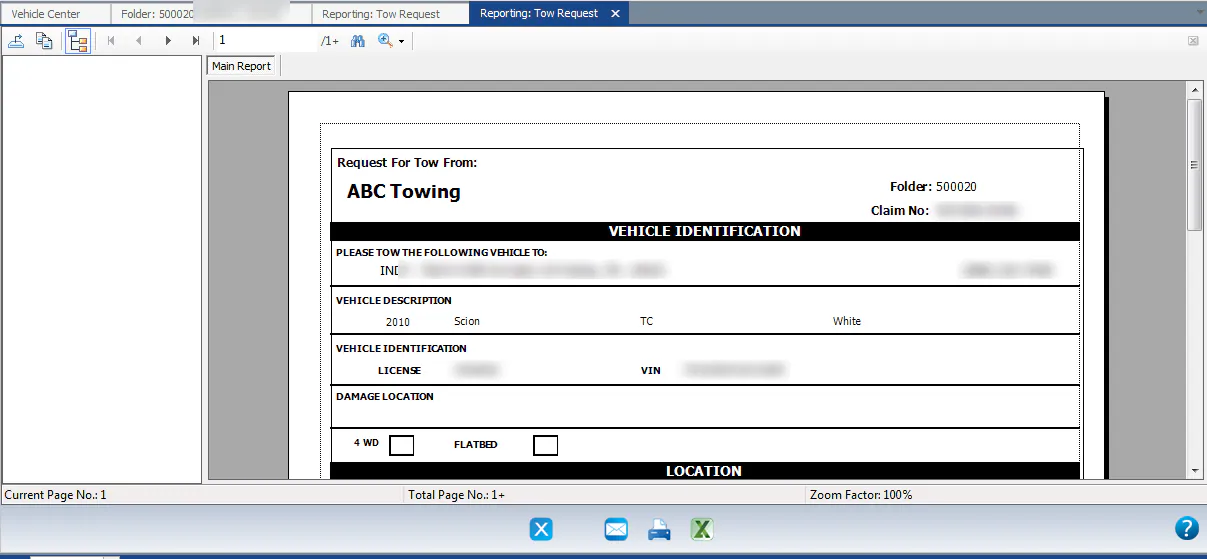
Check Tow Request under Folder Reports, then select the green check mark.
-
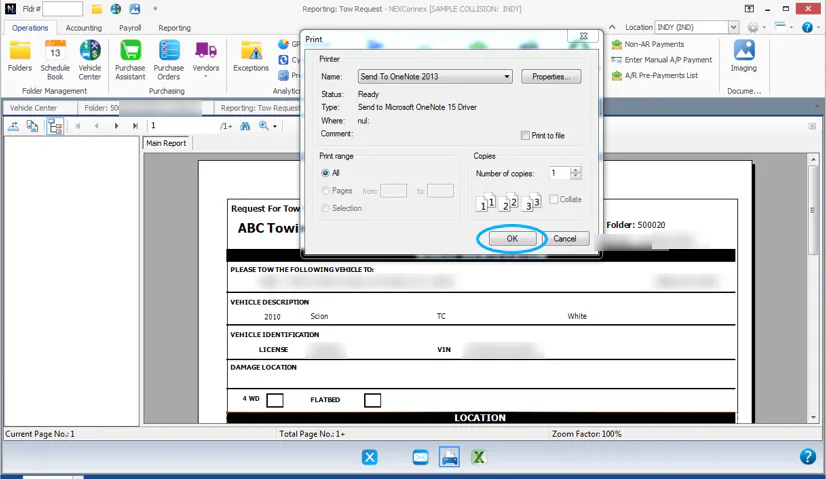
If the report opens in a preview window, select the print button, then select OK.
For more about printing, see Print from a folder.