
Set up folder print documents and e-signing
A folder print document is a document you create in Nexsyis that can fill in information from the folder, such as the customer’s name or vehicle. You can print it from a folder, or send it to customers to view or sign online as part of an e-document set.
Create a folder print document
Section titled “Create a folder print document”- Go to Setup › Documents › Documents & Imaging.
- Select the new button (green +) at the bottom of the screen.
- Under Document Classification, select Collision.
- In Document Code, type a code for the document.
- In Description, type a description of the document.
- In Document Links To, choose Folder.
- In Parent Menu Item, choose Folder.
- Select Folder Report.
- Select the save button.
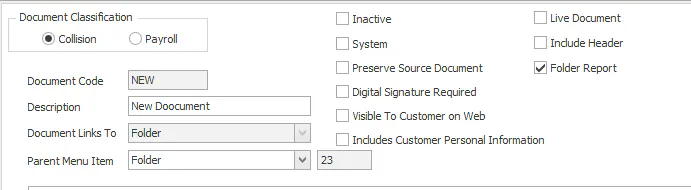
Next, write the document’s text.
Write or edit the document text
Section titled “Write or edit the document text”-
Go to Setup › Documents › Documents & Imaging.
-
Double-click the document, or select it and then select the edit button at the bottom of the screen.
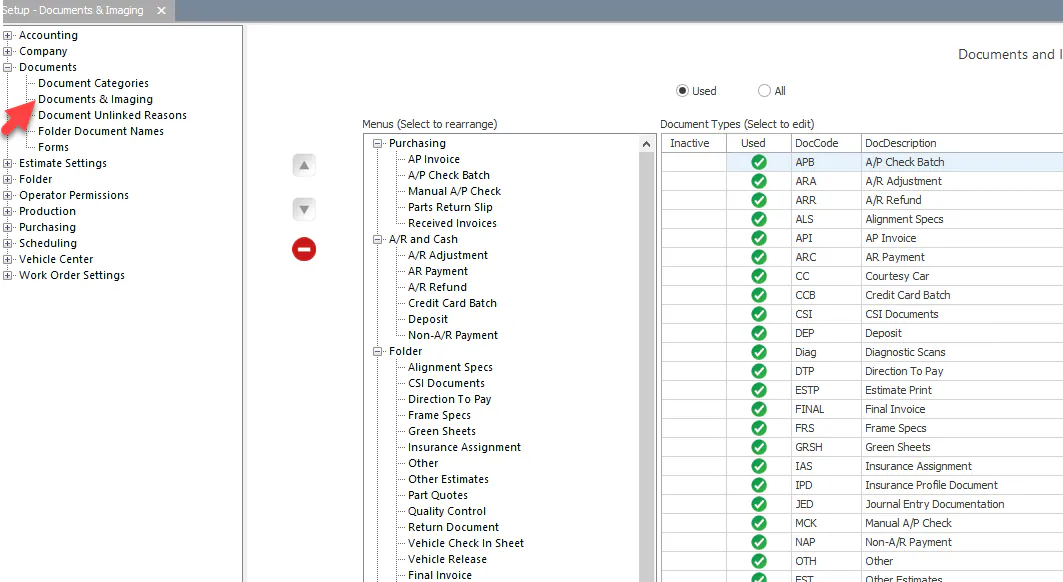
-
Select the edit button (pencil icon) at the top right of the document preview. The Editing Document window opens. The preview may be blank the first time.
-
Type the document text, or paste it from another document. To add information from the customer’s folder, such as their name or vehicle, right-click and insert a replaceable field.
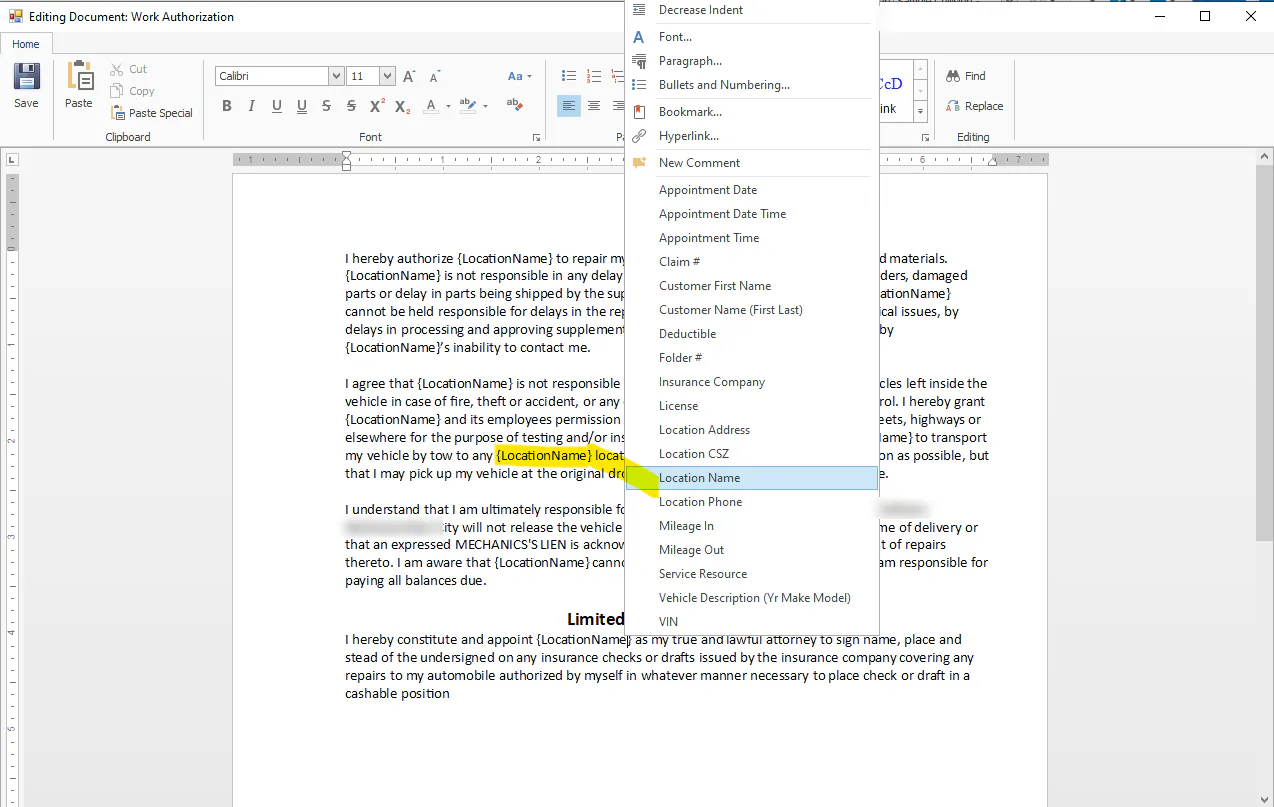
-
On the Home tab, select Save, then close the Editing Document window.
When you’ve saved, a check mark shows in the HTML column.
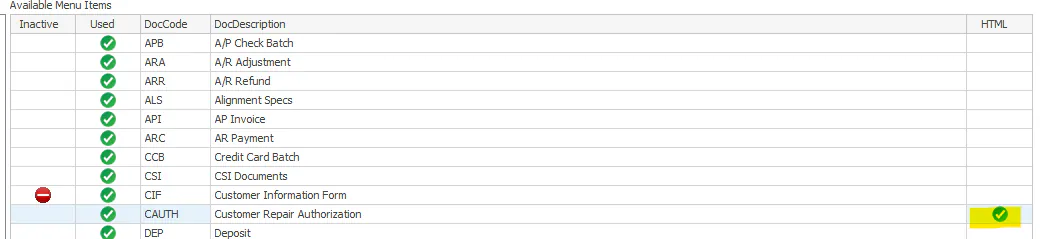
You can use formatting such as centering, bold, underline and text size, and customize the document further with tables and images.
Add a table or an image
Section titled “Add a table or an image”-
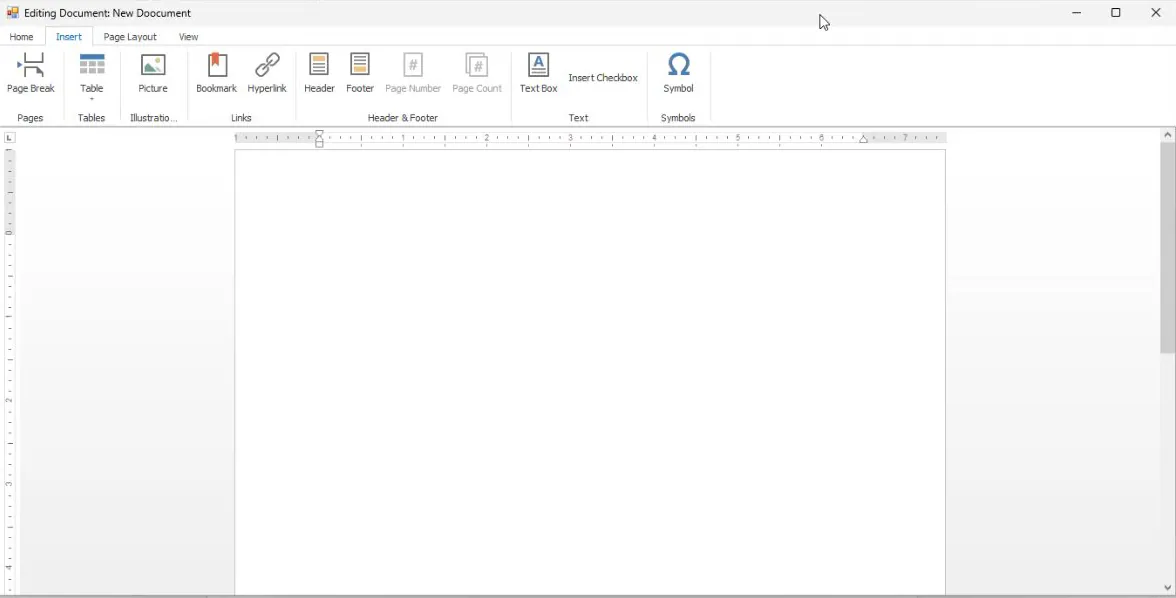
In the Editing Document window, select the Insert tab.
-
Select where you want the table or image to go in the document.
-
Choose what to add:
- Table: select Table, then choose the size of the table.
- Image: select Picture, find the image file on your computer, then select Open.
-
On the Home tab, select Save.
Move or resize an image
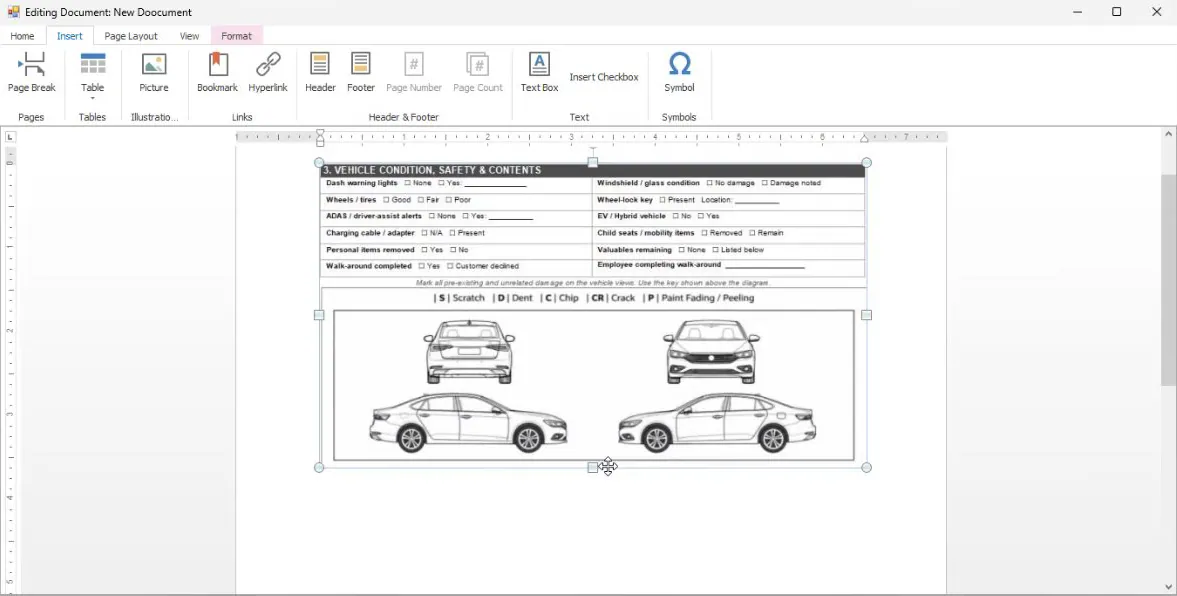
Section titled “Move or resize an image”- Select the image. Handles show around its edges, and the Format tab appears.
- To resize the image, drag a corner handle.
- To move the image, drag it to where you want it.
- On the Home tab, select Save.
Fields for amounts
Section titled “Fields for amounts”| Field | Amount |
|---|---|
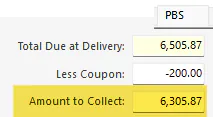
| Amount to Pay | Amount to Collect from the folder’s PBS tab |
| Primary Estimate Total | The primary estimate total |
| PrimaryEstDeductible | The deductible on the primary estimate |
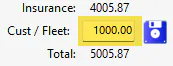
| PCEstCustomerTotal | The customer or fleet total from the Estimate tab |
Set up a document for e-signing
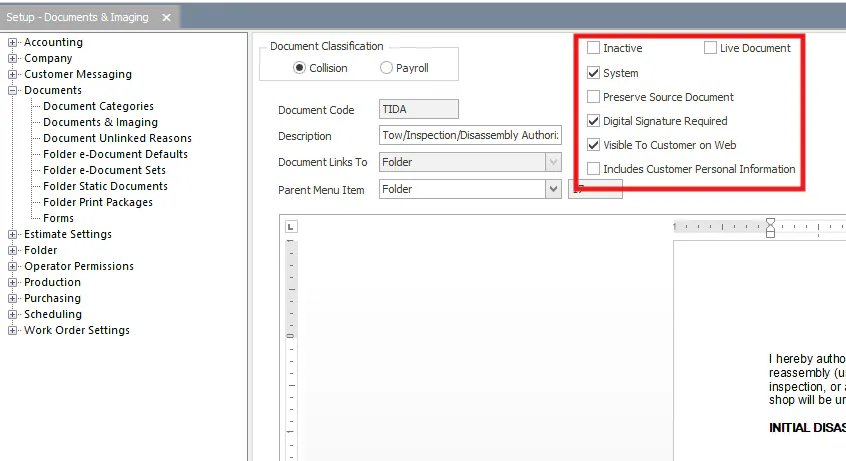
Section titled “Set up a document for e-signing”- Open the document: go to Setup › Documents › Documents & Imaging, then double-click the document.
- To let customers see the document online, select Visible To Customer on Web.
- If the customer must sign it, select Digital Signature Required.
- Select the save button.
Add the document to an e-document set
Section titled “Add the document to an e-document set”An e-document set is one or more documents you send a customer to view or sign online.
- Go to Setup › Documents › Folder e-Document Sets.
- Enter a code and a description.
- Move documents from Available on the left to Assigned on the right.
- Use the up and down arrows to put them in the order the customer should see them.
- Save.
Choose the default set for e-authorization
Section titled “Choose the default set for e-authorization”This is usually already done, but it’s worth checking.
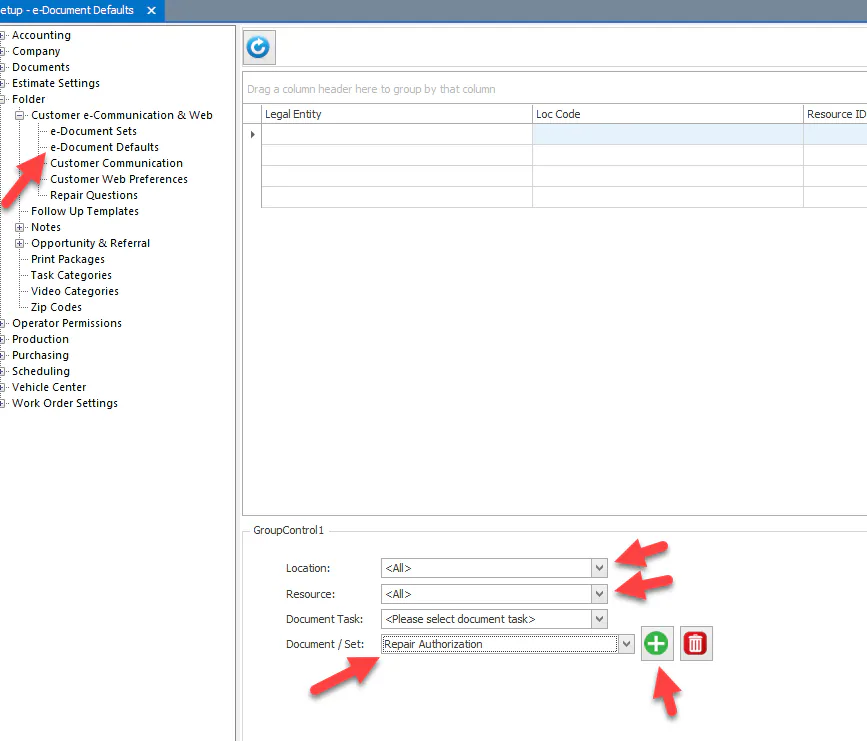
- Go to Setup › Documents › Folder e-Document Defaults.
- For all locations, choose the e-document set to send when someone selects Send next to Send Customer e-Authorization on a folder.
- To send a different set for a location, add a line for that location.
Set up the messages
Section titled “Set up the messages”Set up the text and email the customer gets with each document set. See Set up customer messaging templates.