Reject a part
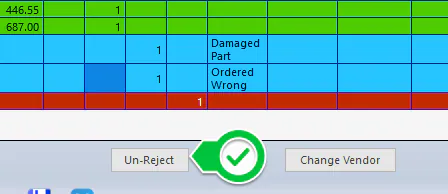
Reject a part that’s wrong, damaged or no longer needed. Rejected parts show in cyan, Rejected (Not Returned), until you return them to the vendor.
Reject the part
Section titled “Reject the part”-
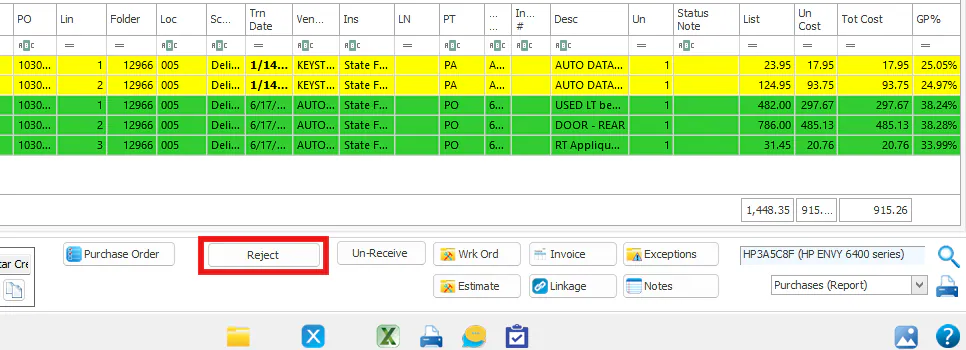
In the Purchase Assistant, select the line and select Reject.
-
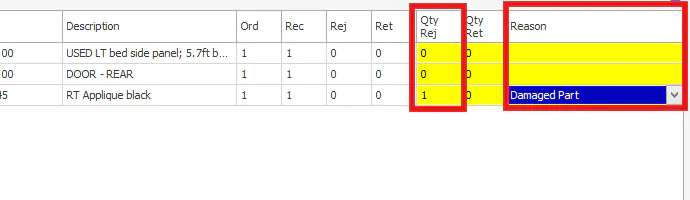
On the Purchase Order screen, enter the quantity in Qty Rej.
-
Double-click the Reason column and choose a reason.
-
If the vendor is taking the part back now, enter 1 in the Returned column.
-
Select Save.
-
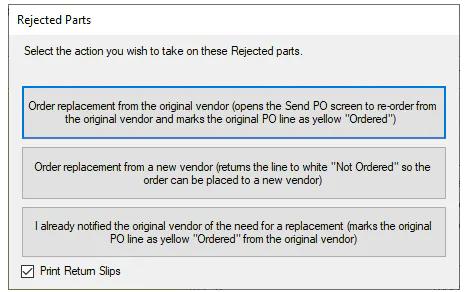
Choose what to do with the rejected part. To print return slips to attach to the part, select Print Return Slips.
The line turns cyan: Rejected (Not Returned). When the vendor picks up the part, mark it as returned.
Undo a reject
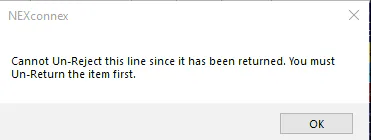
Section titled “Undo a reject”You can usually un-reject a line from the Purchase Assistant; see Undo a return. If you see an error like this when you try:
-
Select the line, then select PO.
-
Select Corrections.
-
Select the part, then select Un-Reject.