
Print parts labels
Print labels for parts, paper invoices and folders from the Purchase Assistant.
Label types
Section titled “Label types”-
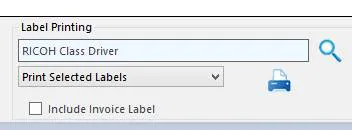
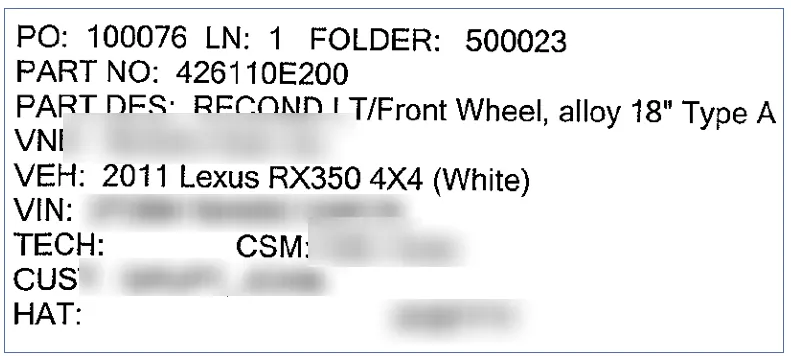
Parts labels: for putting on parts. This is the default. If you select Include Invoice Label, invoice labels print too.
-
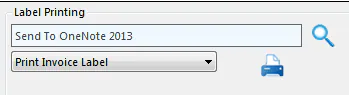
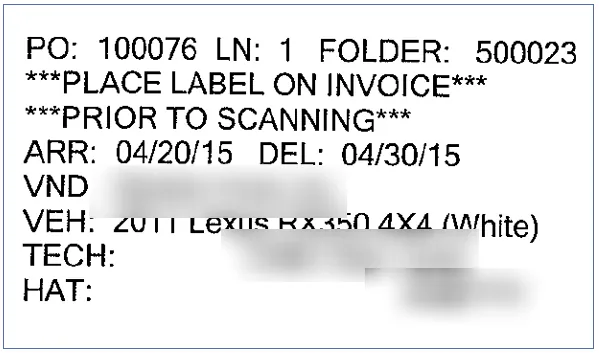
Invoice labels: for putting on paper invoices. Many shops label the invoice when they receive the part, then scan it so everything needed to enter the invoice later is on it.
-
Folder labels: for a paper folder or folder documents.
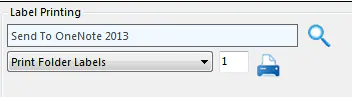
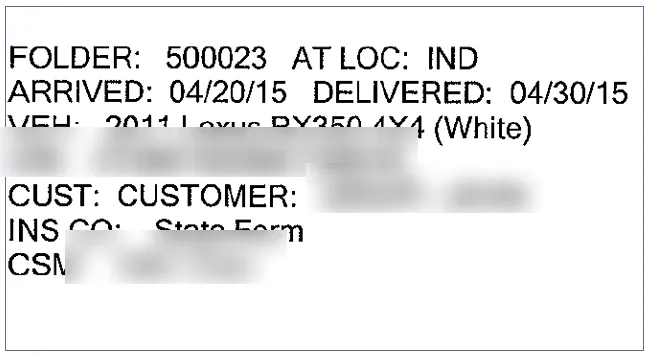
Print labels
Section titled “Print labels”-
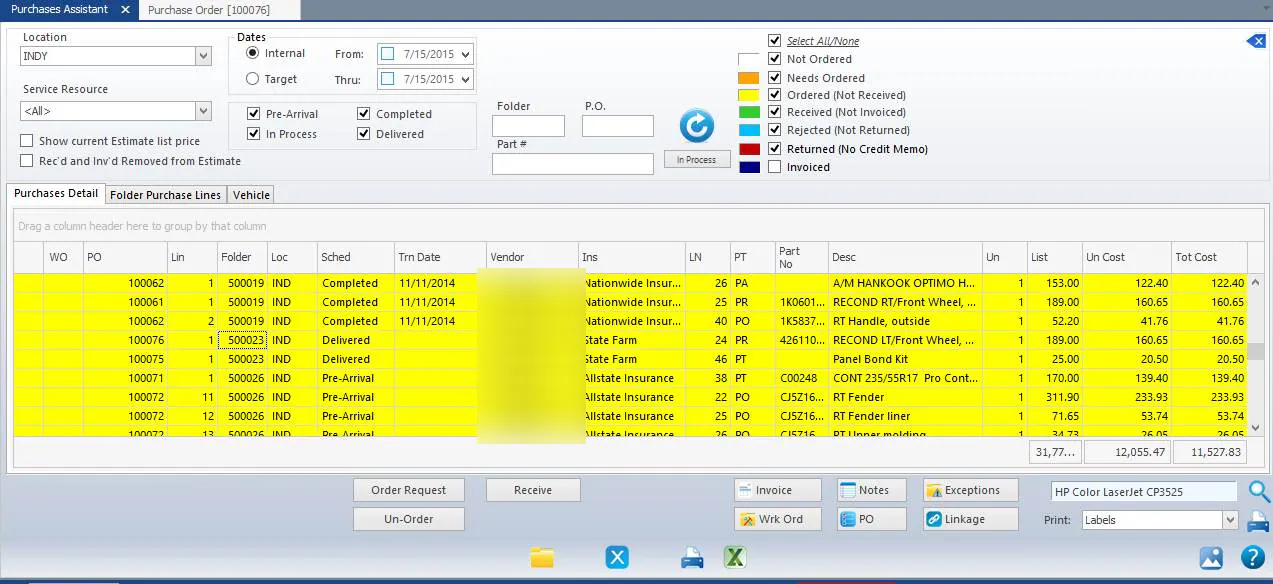
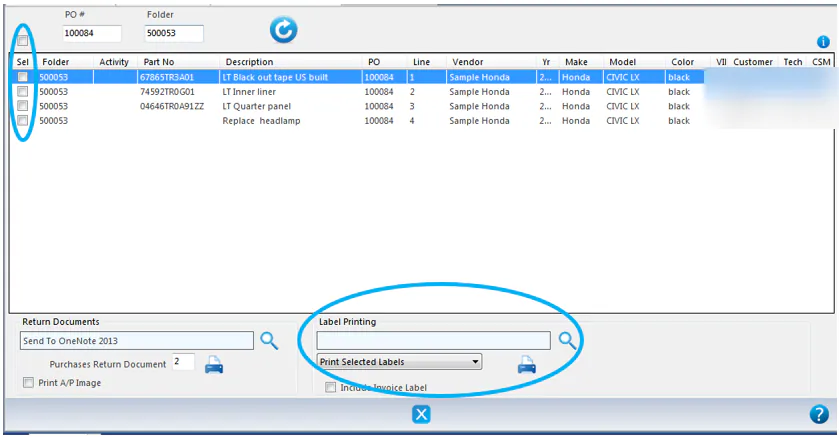
In the Purchase Assistant, select the folder you want labels for.
-
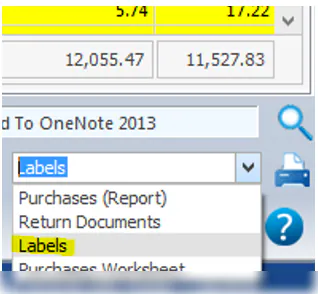
In the Print list at the bottom right, choose Labels, then select the print icon.
-
Select the Sel box for each label you want.
-
Under Label Printing, choose your label printer, for example WASP Label Printer.
-
Select Print Selected Labels.
Set up a WASP label printer
Section titled “Set up a WASP label printer”Load the labels
Section titled “Load the labels”-
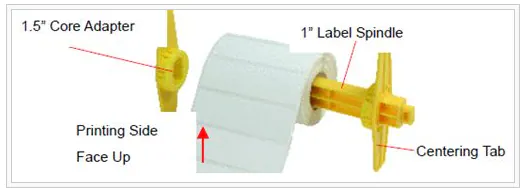
Put a 1-inch label spindle into the label roll. If the paper core is 1 inch, remove the 1.5-inch core adapters from the centering tab. If the labels are 4 inches wide, you don’t need the two centering tabs.
-
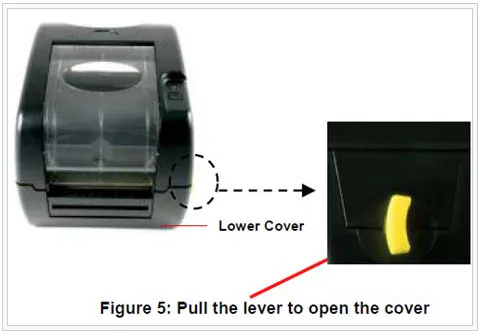
Open the top cover by pulling the yellow levers on each side and lifting the cover. A support at the back holds it open.
-
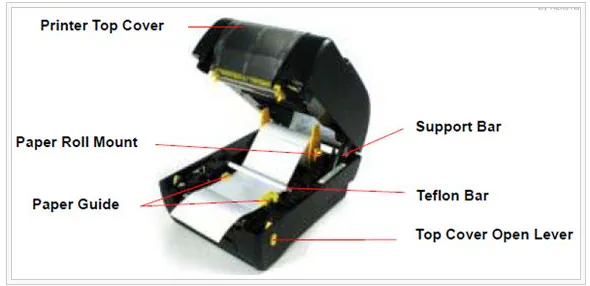
Put the roll on the center of the paper roll mount.
-
Feed the labels, printing side up, under the Teflon bar and the paper guide, and over the platen.
-
Slide the yellow paper guides until they just touch the edges of the label backing.
-
Lift the cover all the way open, then close it gently with both hands until the latches lock.
Calibrate the printer (WASP 305)
Section titled “Calibrate the printer (WASP 305)”- Turn the printer off.
- Hold down the feed button while you turn the printer back on. The light flashes orange, then red five times, then orange.
- Release the button when the light flashes orange twice.
- When the printer stops feeding, press the feed button once to set the top of the label.