
Install the Nexsyis services
Install the Nexsyis Windows services a location needs: the EMS service, the Document service or the PartsTrader service. The installer also adds the NEX Admin Tools.
Before you begin
Section titled “Before you begin”- You need the location’s install key. Nexsyis Support provides it: email nexsupport@nexsyis.com.
- The service installer needs Microsoft .NET Framework 4.7.1 or higher. You can download the latest version from Microsoft’s .NET Framework 4.8 download page.
Install the services
Section titled “Install the services”-
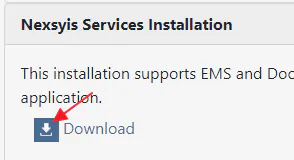
Go to install.nexsyis.com and select Download under Nexsyis Services Installation.
-
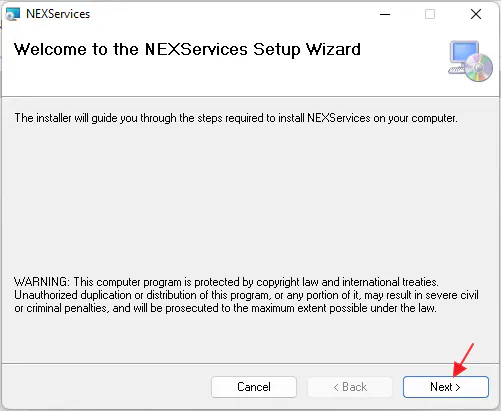
Run the nexservices_install.msi file you downloaded, and select Next through the default options.
If .NET 4.7.1 or higher isn’t installed, you’re asked to install it at this point.
-
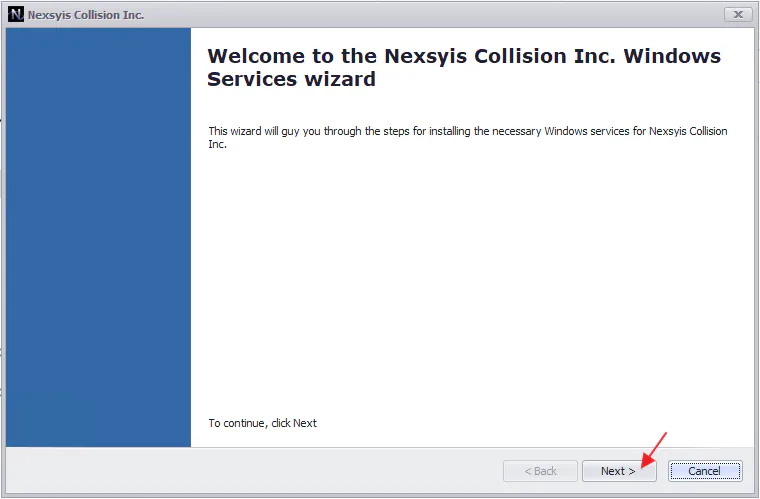
When the Windows Services wizard opens, select Next.
-
On the Install Services screen, paste the location’s install key into Enter Location Key.
-
Select the green icon next to the key to validate it.
-
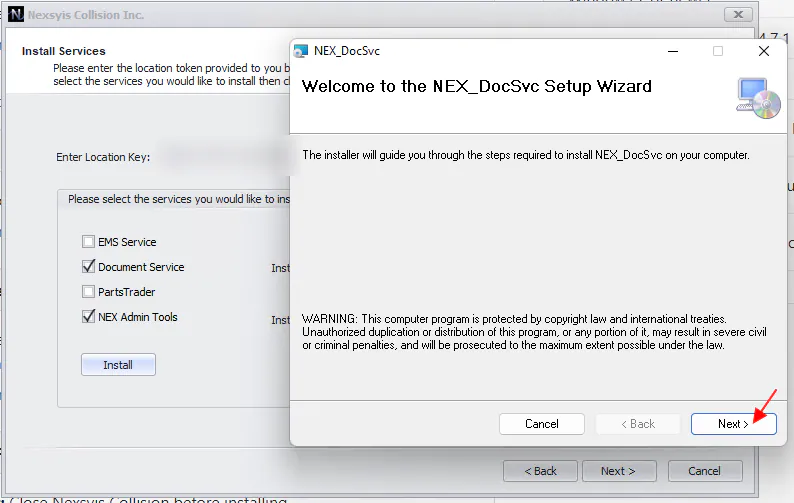
Check the box for each service you want to install, and NEX Admin Tools. Then select Install.
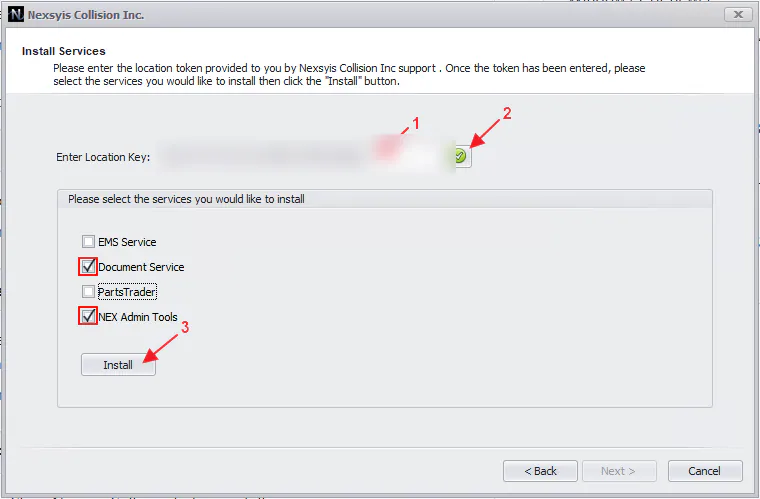
The NEX Admin Tools let you manage the Nexsyis Windows services, for example start and stop them, and review logs to troubleshoot problems.
-
A setup window opens for each service you selected and for the NEX Admin Tools. Select Next through each one until it’s complete.
-
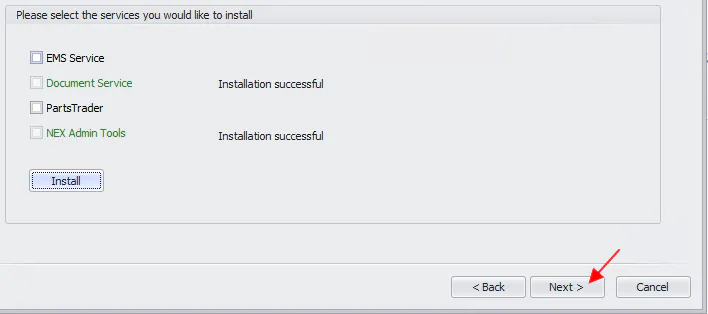
Each item you installed shows Installation successful. Select Next, then Finish.
Set the services to start automatically
Section titled “Set the services to start automatically”-
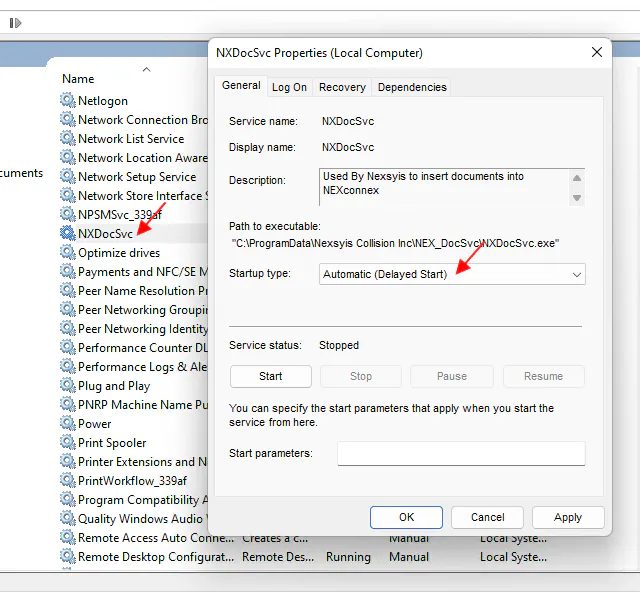
Open the Windows Services manager and find each service you installed.
-
Open the service and set Startup type to Automatic (Delayed Start).
If the server restarts, this makes the Nexsyis service wait until the important Windows services have started before it starts itself.
-
Select Start, then OK.
The install is complete.