Enter a journal entry
Use a journal entry to post amounts to the general ledger that don’t come from another transaction, such as payroll, depreciation, accruals or adjustments from your accountant. A journal entry must balance: total debits must equal total credits.
Before you begin
Section titled “Before you begin”- Date the entry in the month it should affect. Don’t backdate an entry without a specific reason.
- Journal entries can’t post to Accounts Receivable, Accounts Payable or Inventory. See Why a journal entry can’t post to AR, AP or inventory.
- If the GL period is closed, open it first or choose a date in an open period. See Manage GL periods.
Create a standard journal entry
Section titled “Create a standard journal entry”-
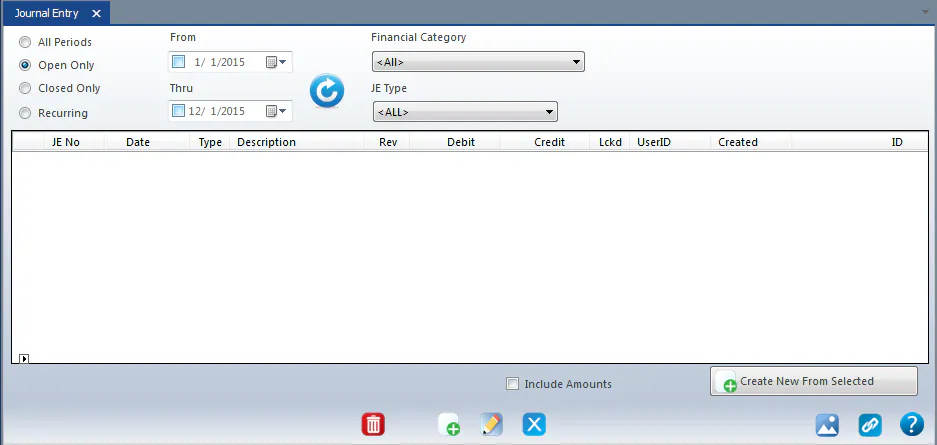
Go to Accounting › General Ledger › Journal Entries.
-
Select the new button at the bottom of the screen.
-
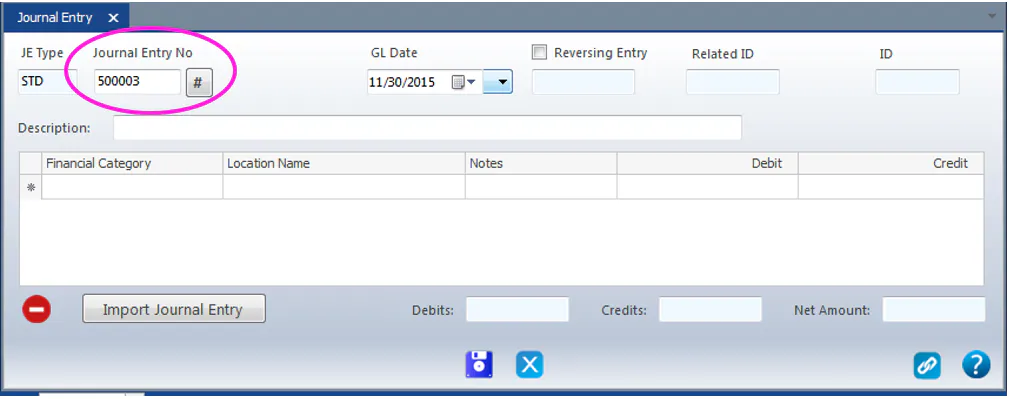
Type the Journal Entry No, or select # to assign the next number automatically.
-
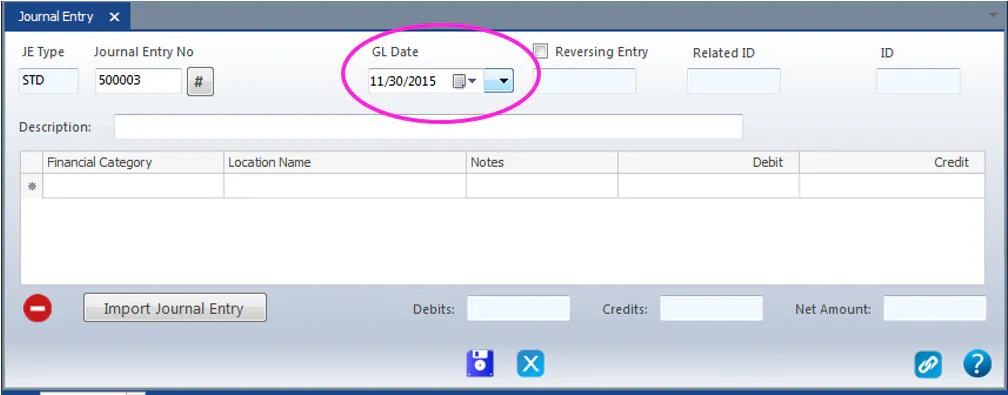
Type or select the GL Date for the entry.
-
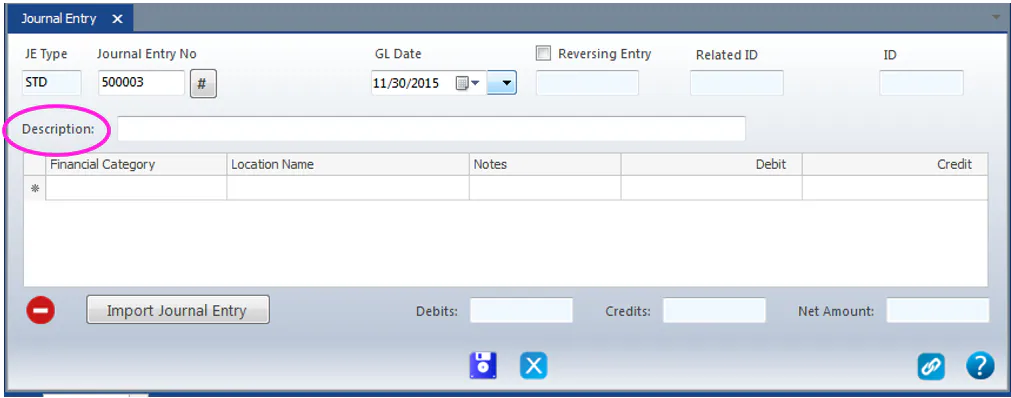
Type a short Description.
-
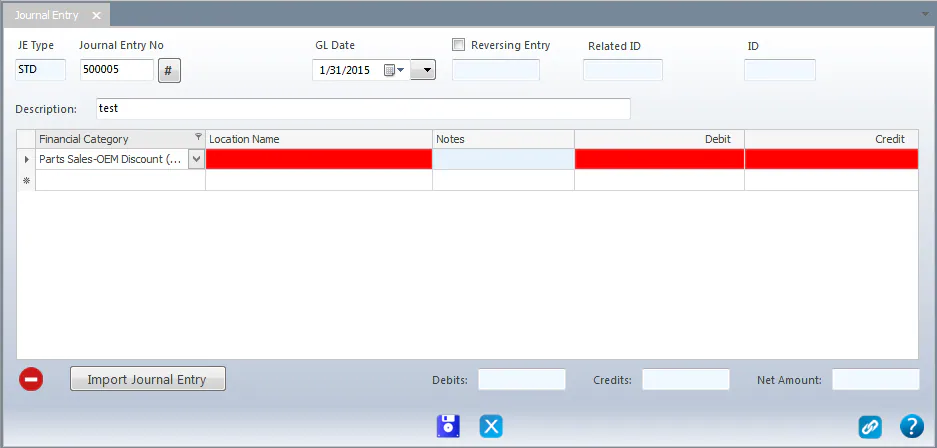
In the grid, select the Financial Category from the list. Fields you must fill in before saving are highlighted in red.
-
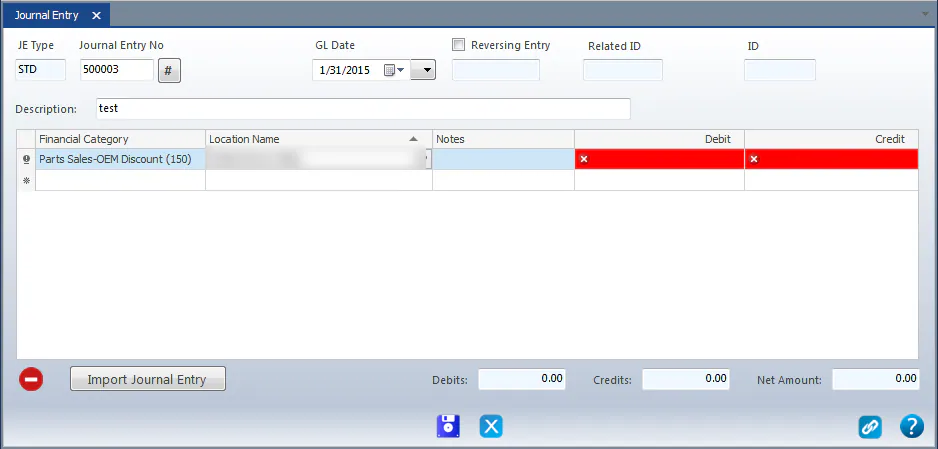
Select the Location Name. Only locations that are valid for the financial category you chose are listed.
-
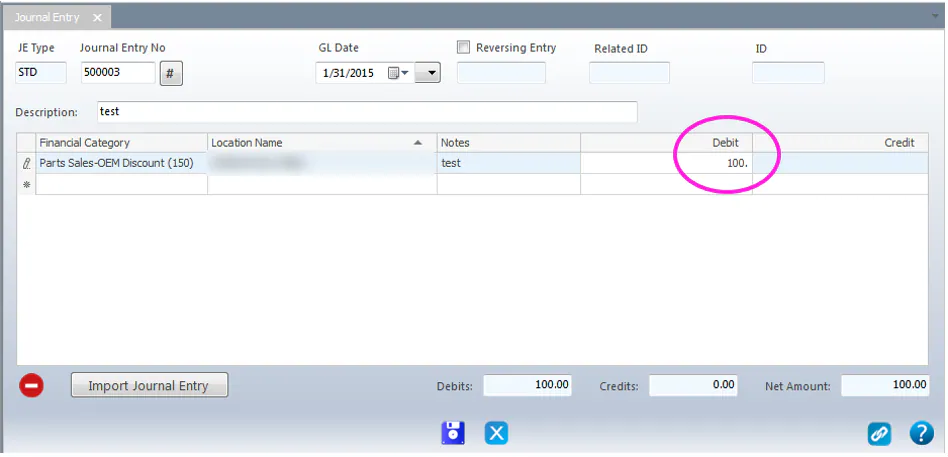
Type any line Notes, then the Debit or Credit amount.
-
Press Enter, or select the row below, to add another line.
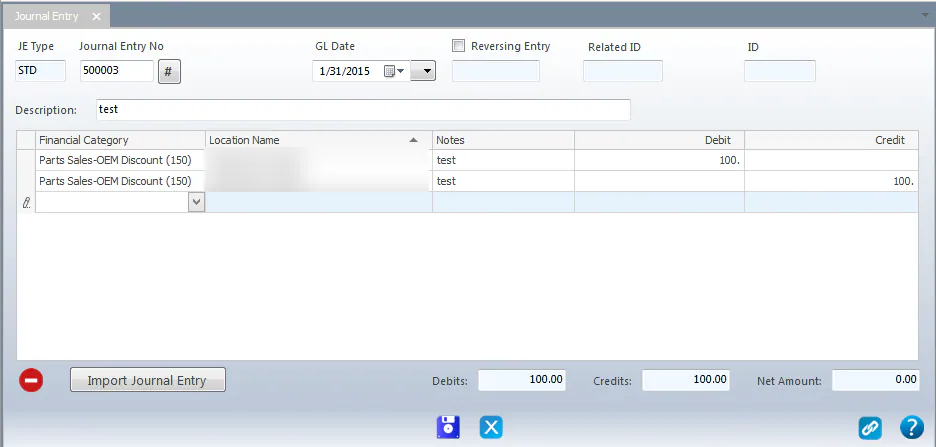
-
To remove a line you added by mistake, select it, then select the red – button below the grid.
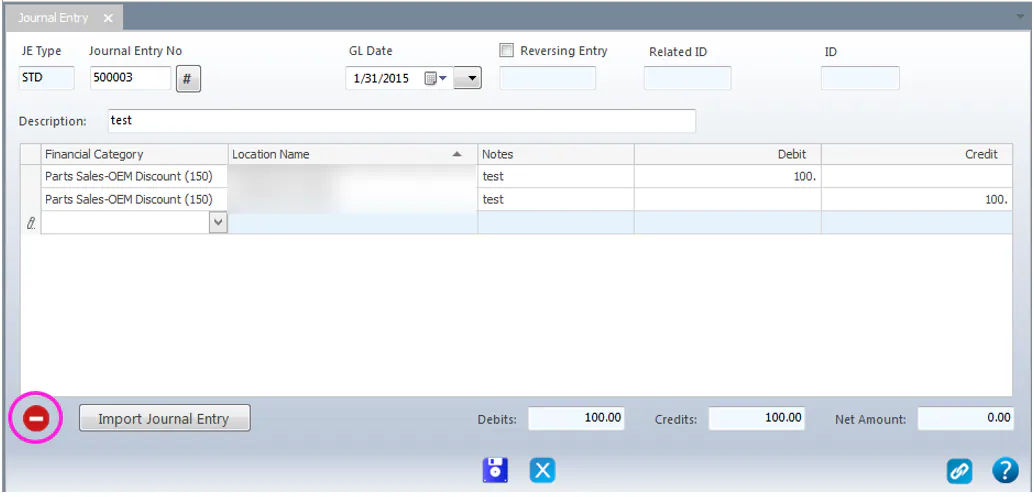
-
When Debits and Credits are equal, select the save button.
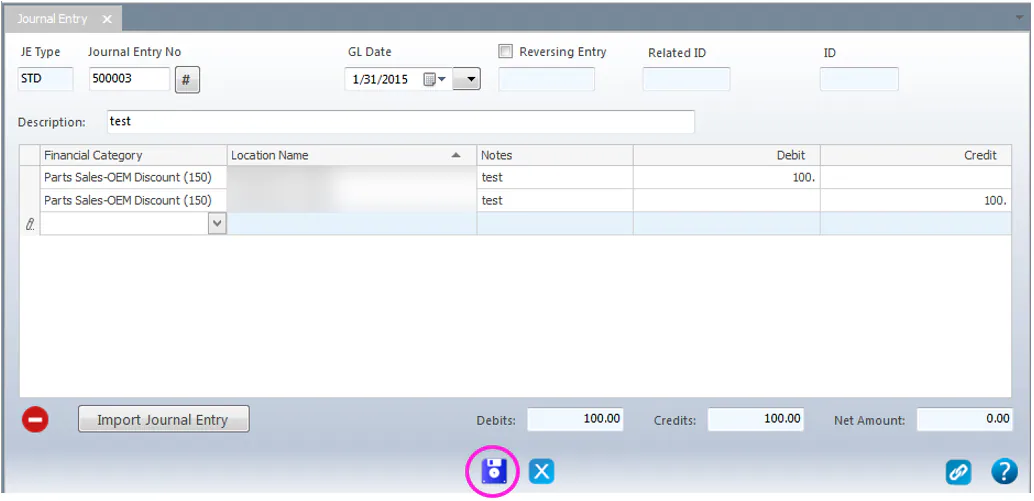
Invalid lines
Section titled “Invalid lines”If you choose a combination that isn’t valid, for example a location and then a financial category that isn’t valid for that location, a red circle x icon shows on the line. Change the financial category or location.
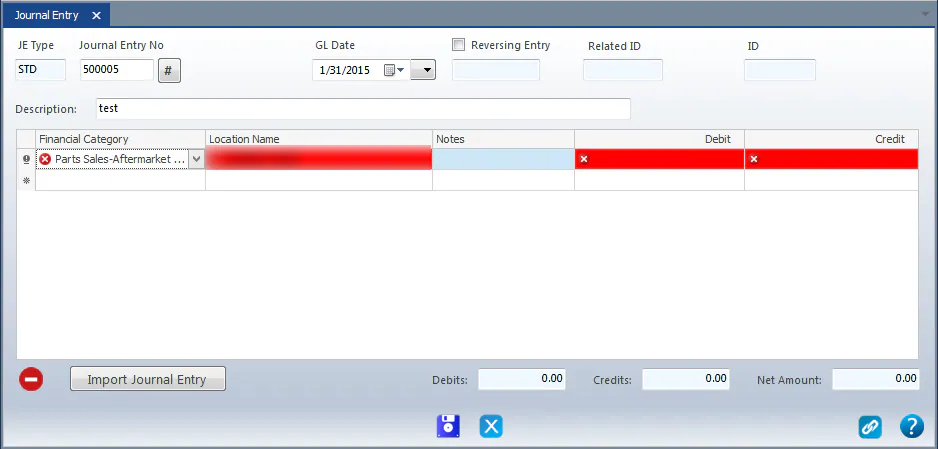
Show inactive financial categories or locations
Section titled “Show inactive financial categories or locations”The Financial Category and Location Name lists show only active items by default (Inactive = 0).
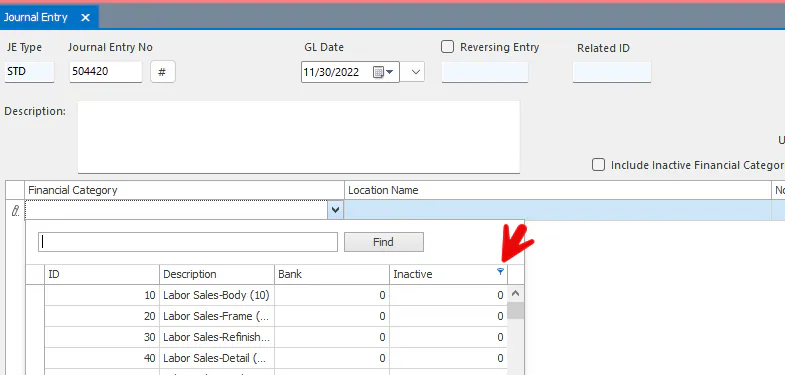
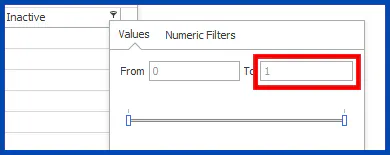
To show inactive items, select the filter icon on the Inactive column and change the To value to 1.