
Reconcile vendor statements
Use a vendor’s statement to check what you owe before you pay. Nexsyis gathers the vendor’s unpaid invoices for the statement period into a statement batch for each location, and you compare each batch total to the paper statement.
You can:
- Reconcile to the total of each statement.
- Reconcile several months at once.
- Scan the statement and attach it to the statement batch.
- Let Create Statements assign the period’s invoices to each statement for you.
Before you begin
Section titled “Before you begin”You need A/P Vendor Class permission for the vendor.
Reconcile a statement
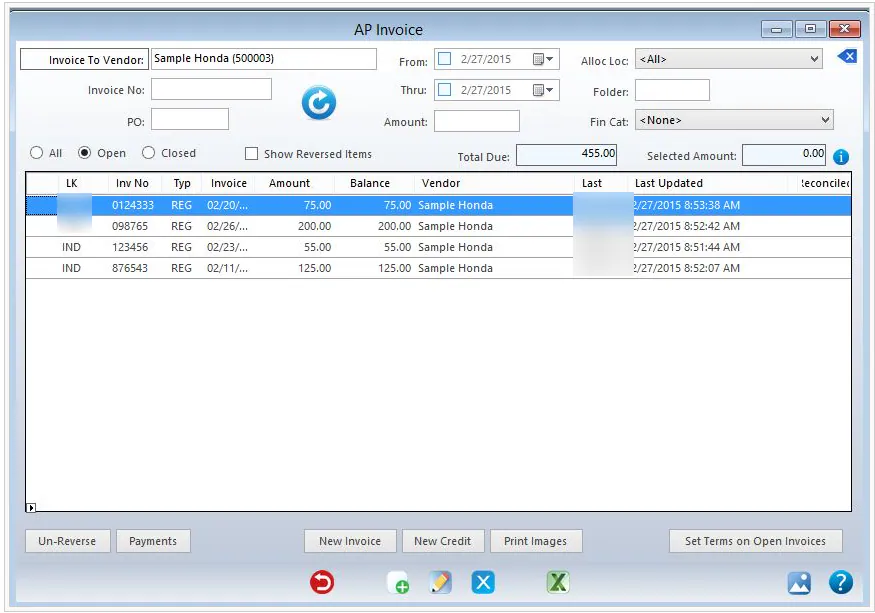
Section titled “Reconcile a statement”In this example, Sample Honda has four open invoices.
-
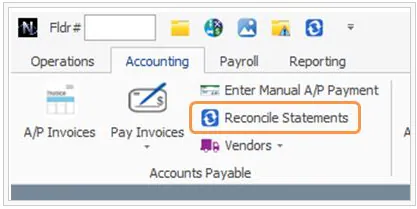
On the Accounting tab, select Reconcile Statements in the Accounts Payable group.
-
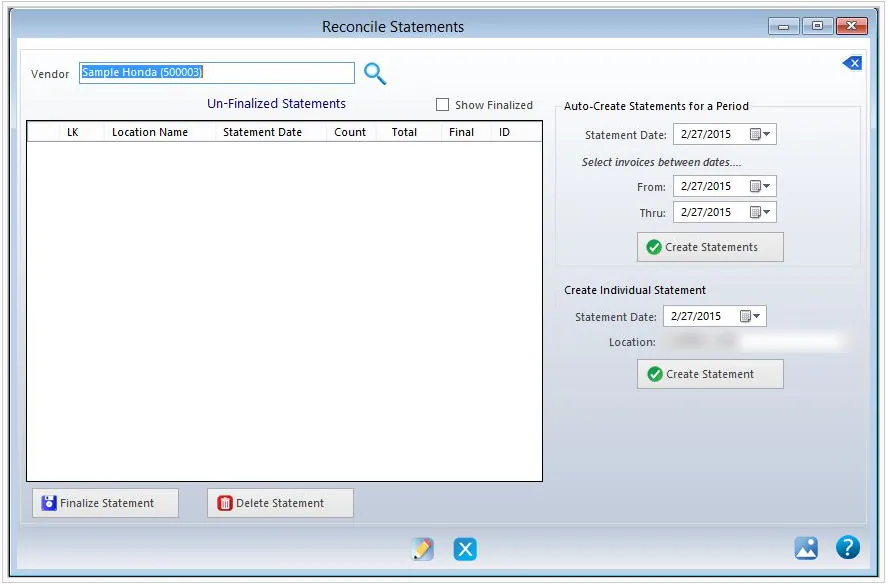
Find the Vendor by ID or name.
-
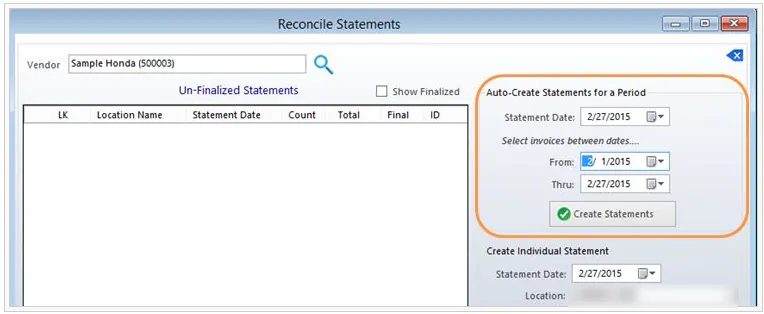
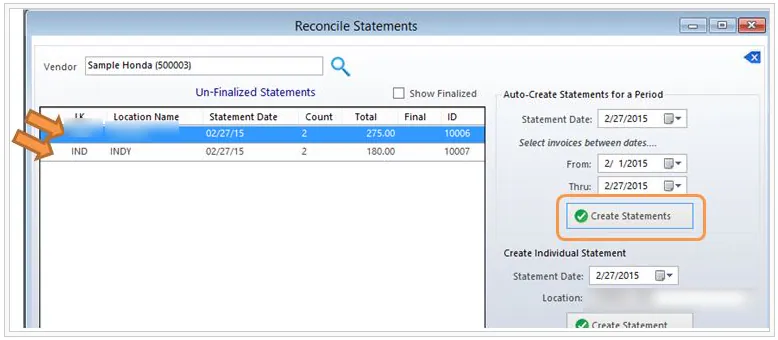
Under Auto-Create Statements for a Period, enter the Statement Date, and the From and Thru dates the statement covers. You can have only one statement per vendor, per date, per location.
-
Select Create Statements. Nexsyis creates a statement batch for each location (LK) that has AP invoices between those dates, and assigns the invoices to it.
-
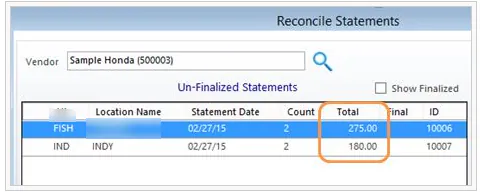
Compare each paper statement to the batch’s Total.
-
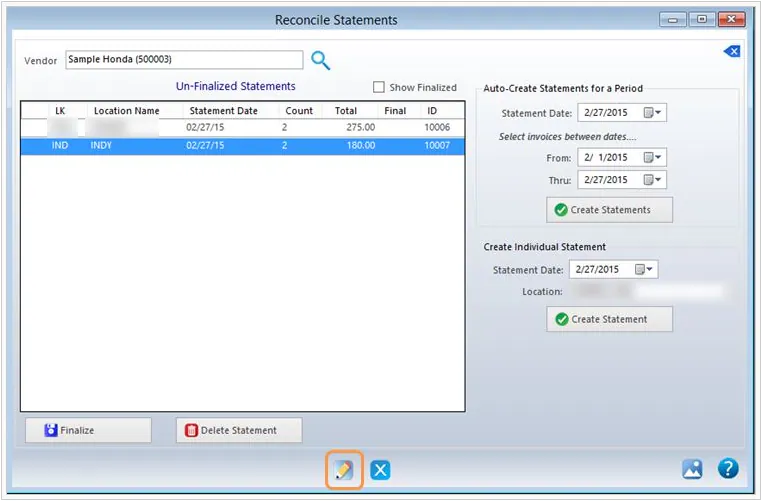
If a total doesn’t match, select the statement and select Edit to see its invoices.
-
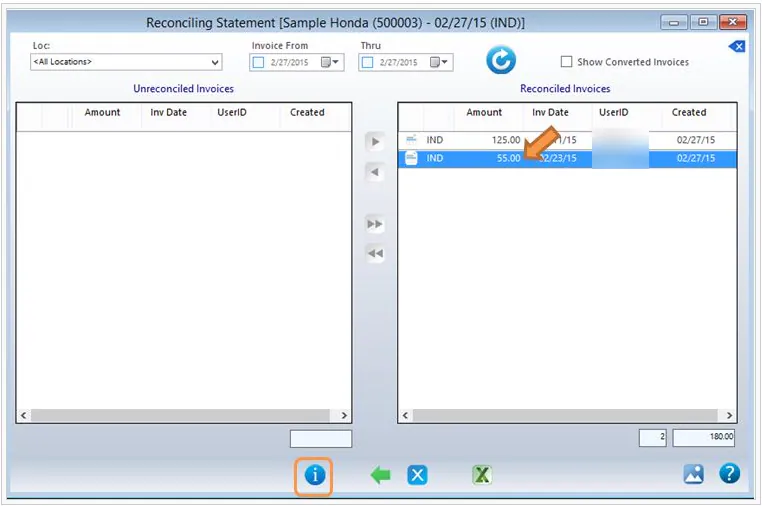
Select an invoice on the right and select the details button to open and correct it.
-
When the total is correct, select the back arrow to return to the statements.
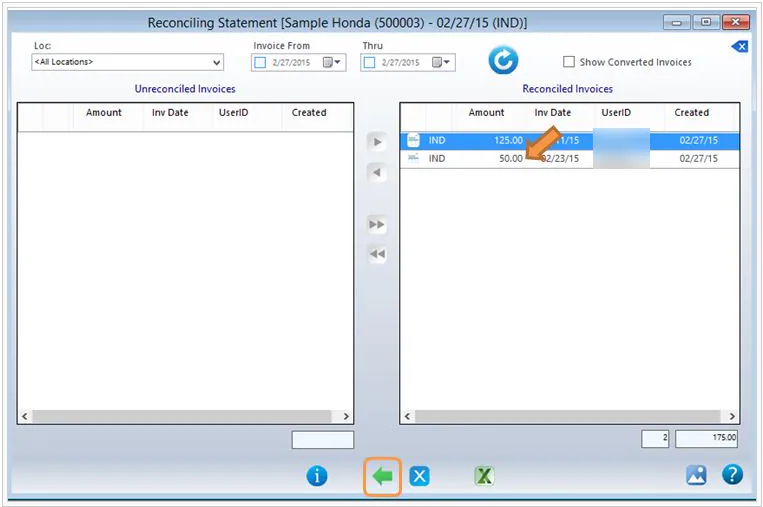
-
If you entered new invoices, select Create Statements again with the same Statement Date. Nexsyis creates any missing statements and assigns any unassigned invoices.
-
When a statement matches, select it and select Finalize Statement.
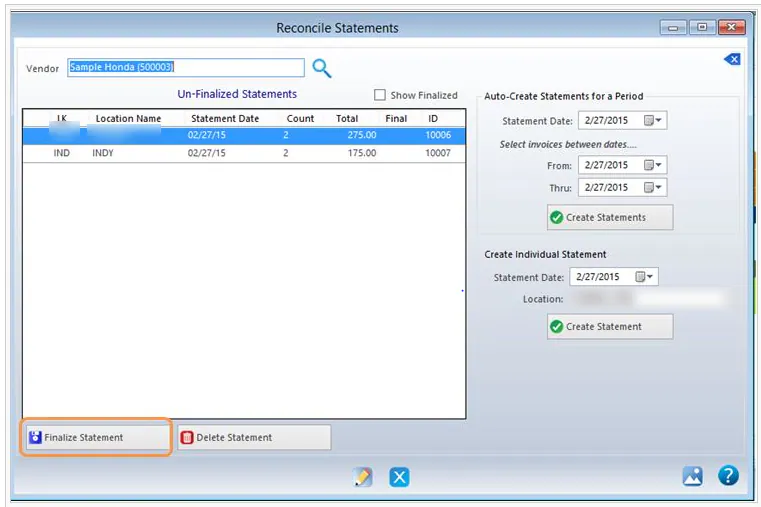
-
To attach the statement document, use Document Imaging. Vendor Statement (Statement) links the document to the statement batch. Vendor Statement (Vendor) links it to the vendor record. See Store vendor documents.
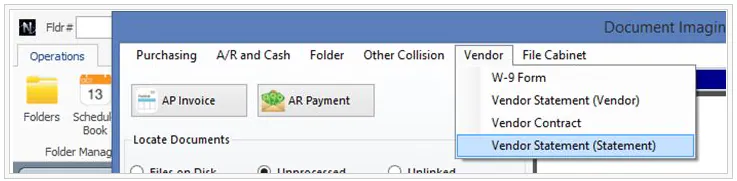
Once the statements are reconciled, pay the invoices. See Print a check batch.
More about statements
Section titled “More about statements”-
To create a statement for one location, use Create Individual Statement. It starts with a total of 0. Select Edit and move the invoices on the statement from the left to the right.
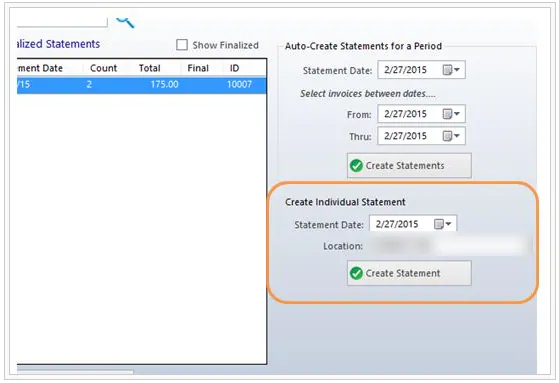
-
You can delete a statement. Its invoices go back to unreconciled.
-
To un-finalize a statement, check Show Finalized, select the statement and select Un-Finalize.
-
A statement that isn’t finalized shows only unpaid invoices. A finalized statement shows all its invoices, paid or not.