Review sales by folder
The Sales by Folder screen shows sales for each folder, based on the filters you choose. You can print the results or export them to Excel.
Open Sales by Folder
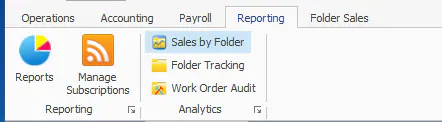
Section titled “Open Sales by Folder”On the Reporting tab, select Sales by Folder.
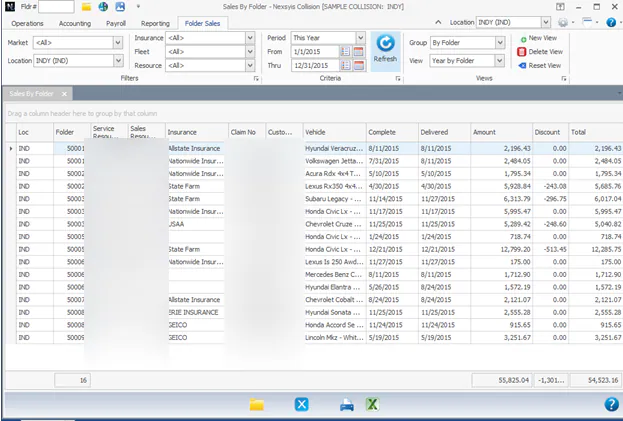
The screen shows your filters, criteria and views across the top, and the matching folders in the grid.
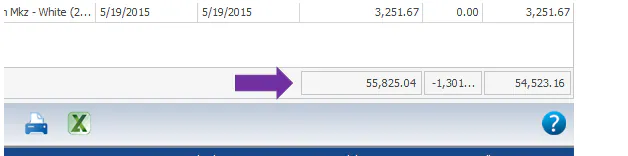
Sales totals for your filter selections are shown at the bottom right of the screen.
Folders with transactions in more than one GL period
Section titled “Folders with transactions in more than one GL period”A red folder number means the folder has transactions in more than one GL period.
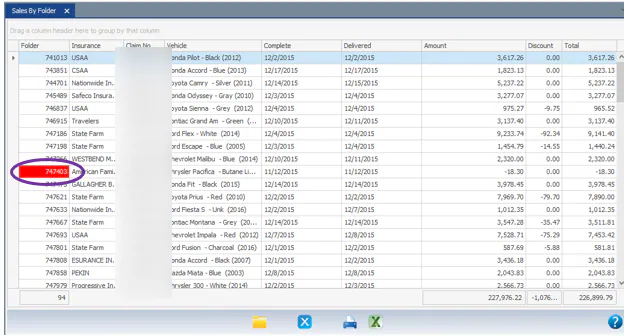
To see the GL dates and amounts of its transactions:
-
Right-click the folder number.
-
Select View Transaction Details.

The Details for folder window lists each transaction’s GL Date, Amount, Discount and Total.

Set the date range
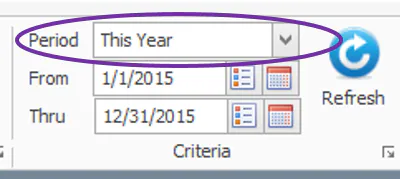
Section titled “Set the date range”Set the time period in one of three ways:
-
Select a period from the Period drop-down.
-
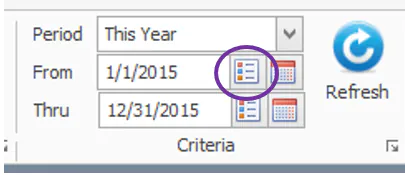
Select the Year No Period icon to choose a year and period range.
-
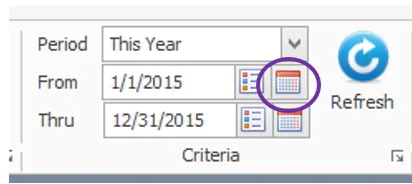
Select the calendar icon to choose a custom date range.
Group the results
Section titled “Group the results”Select an option from the Group drop-down. The grid totals change to match.
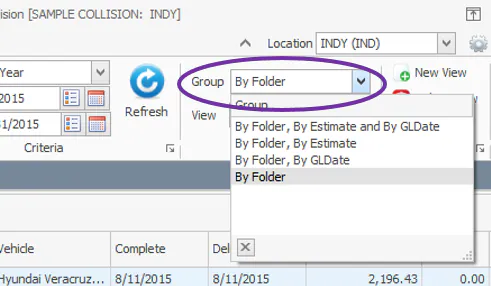
| Group option | What the grid totals show |
|---|---|
| By Folder, By Estimate and By GLDate | Totals by GL date, with each of the folder’s estimates shown separately. |
| By Folder, By Estimate | Totals for each estimate. A folder can have several estimates, so all of them are listed. |
| By Folder, By GLDate | Totals by folder and GL date. A folder can be listed more than once, depending on how many times it was invoiced. |
| By Folder | Totals for each folder. |
Filter and arrange the grid
Section titled “Filter and arrange the grid”You can filter and group the grid, and add or remove columns. See Search, filter and save grid views.
Save your settings as a view
Section titled “Save your settings as a view”-
Set your filters and columns.
-
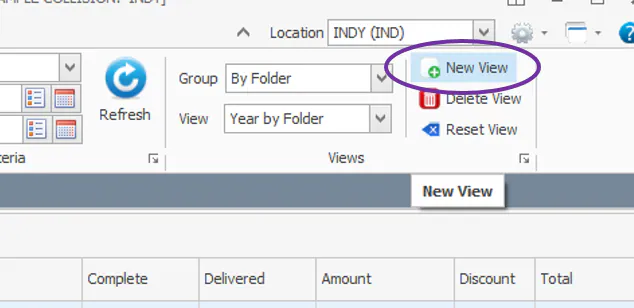
Select New View.
-
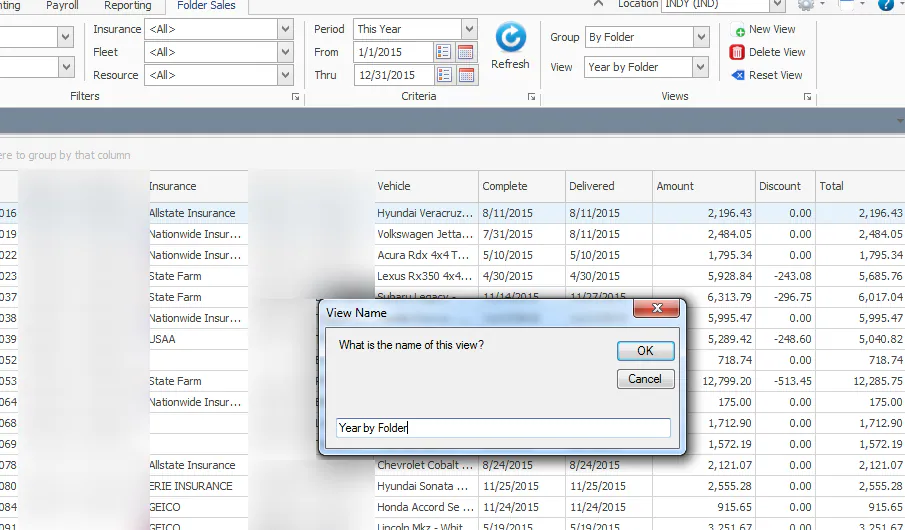
Enter a name for the view and select OK.
-
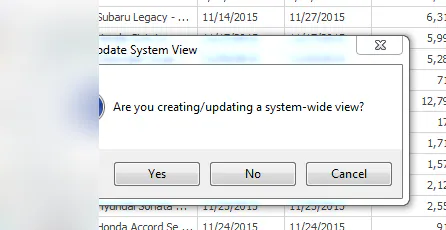
When asked whether you’re creating a system-wide view:
- Select Yes to make the view available to all employees. You need permission to do this.
- Select No to keep the view for yourself.
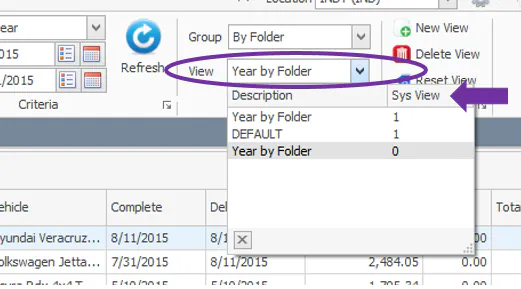
To see all views, open the View drop-down. System-wide views show 1 in the Sys View column.