
Set up an AP vendor
Every company you pay through accounts payable is set up once as an AP vendor. The vendor record holds the payment terms, who can see the vendor, which financial categories its invoices use, and its 1099 details.
Find and open a vendor
Section titled “Find and open a vendor”-
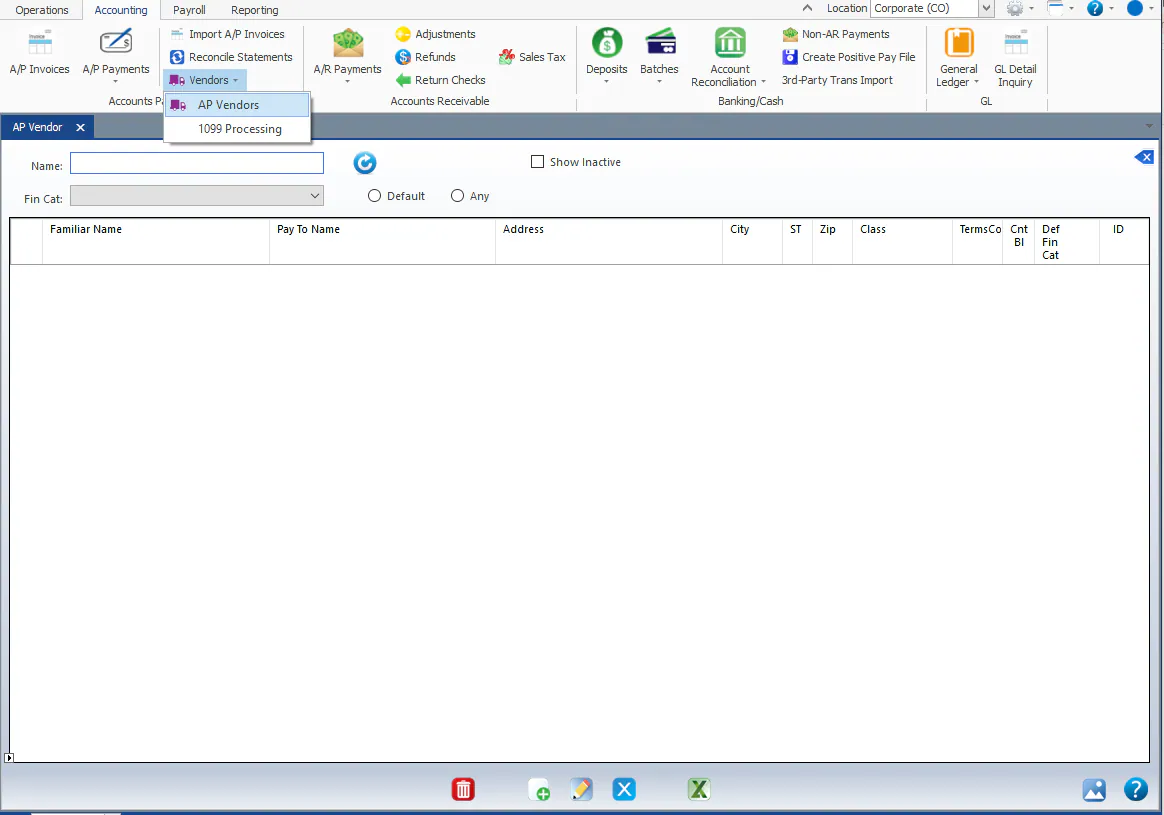
Select Accounting › Vendors › AP Vendors.
-
In Name, type the first 3 or 4 letters of the vendor name and press Enter.
-
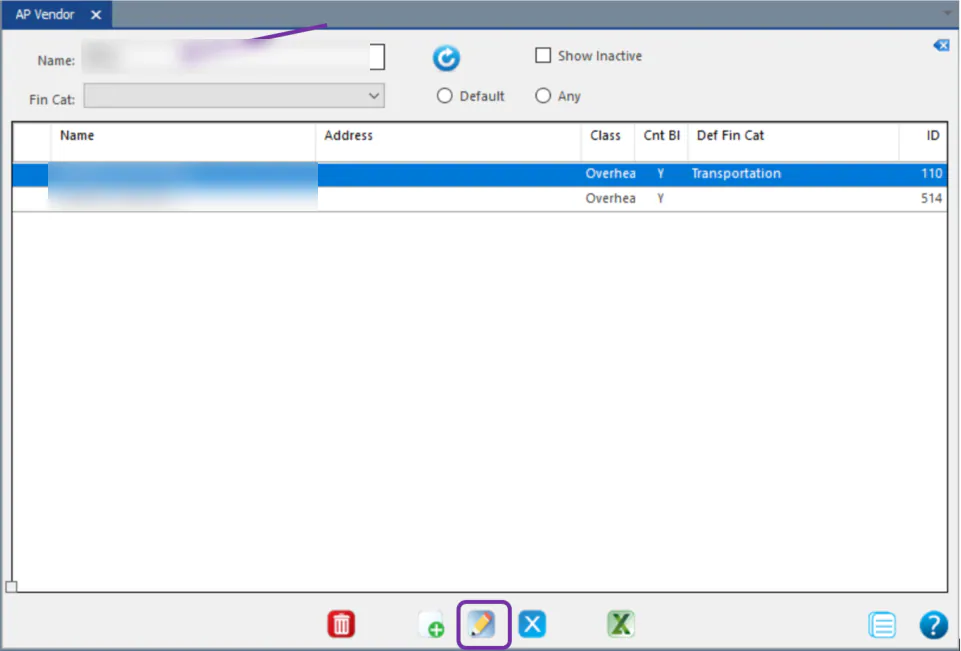
Double-click the vendor, or select it and then select the edit button at the bottom of the screen.
Add a vendor
Section titled “Add a vendor”-
Search for the vendor name first, to make sure it isn’t already set up.
-
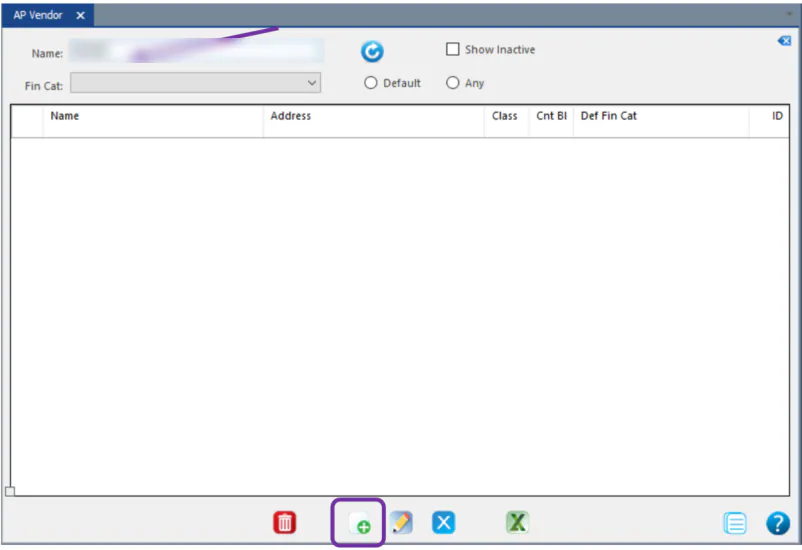
If it isn’t found, select the new button at the bottom of the screen.
-
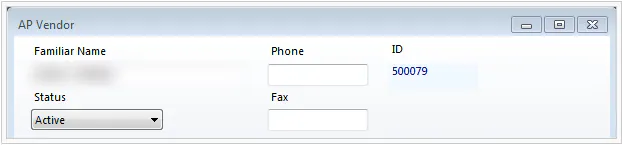
At the top, enter the Familiar Name, Phone and Fax.
-
Complete the tabs described below, then save.
General tab
Section titled “General tab”Select the Terms and Vendor Class. If you pay this vendor electronically, select Available to select from EFT list on Non-AR Payments screen.
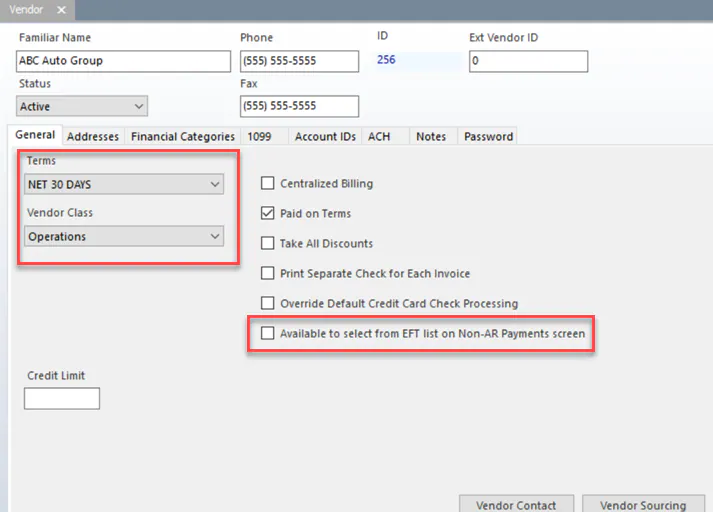
- New AP invoices use the vendor’s terms. An AP invoice can have only one terms code.
- To set up discounts on terms (for example, 2% if paid within 10 days), go to Setup › Accounting › Accounts Payable › AP Terms.
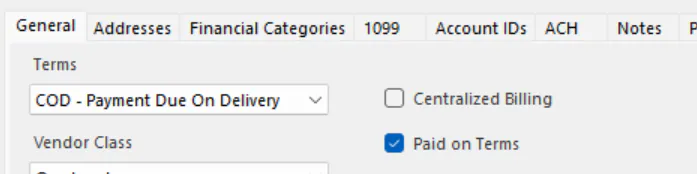
- The COD - Payment Due On Delivery terms work with an operator’s bank permissions. An operator with the COD Vendors Only permission can print checks only for vendors with COD terms. See Pay checks on delivery (COD).
Vendor class
Section titled “Vendor class”Most vendors are one of two classes:
- Operations: parts, sublet and labor vendors. Operations vendors are also set up for vendor sourcing.
- Overhead: equipment, utilities, rent, insurance and professional services.
The vendor class controls who can see the vendor. It ties to the A/P Vendor Class tab in operator permissions, so, for example, shop-level users see only Operations vendors and can’t see Overhead vendor names or their AP invoices.
You can also set up a credit card or an employee as a vendor (classes Credit Card and Employee). Then you can choose them as the Pay To on an AP invoice when a part was paid for by credit card, or by an employee you need to reimburse.
Checkboxes
Section titled “Checkboxes”- Paid on Terms: lets you pay this vendor by check. If it’s cleared, you can’t pay the vendor by check. For a vendor you always pay by credit card at the time of purchase, clear Paid on Terms and choose the credit card when you save the AP invoice.
- Centralized Billing: the vendor sends one statement for the whole company, rather than treating each location as a separate customer.
- Print Separate Check for Each Invoice: prints one check per invoice, which is common for utilities. Otherwise Nexsyis prints one check per vendor, with all its invoices on one remittance.
When you group several AP invoices into a payment batch, they must be on terms, because they weren’t paid at the time of purchase.
Addresses tab
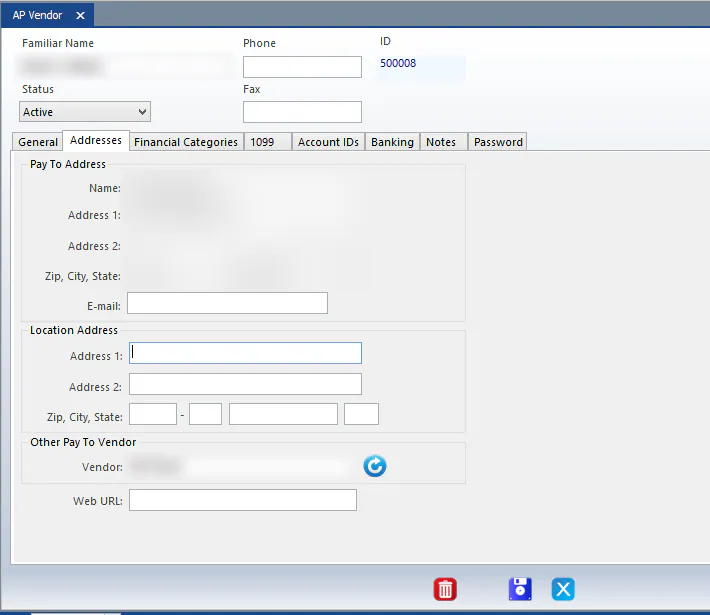
Section titled “Addresses tab”Enter the Pay To Address, and the Location Address if it’s different.
If you order from one vendor but pay another (for example, a local store orders the parts but a central billing office sends the invoice and receives payment), enter the vendor you pay in Other Pay To Vendor.
Financial Categories tab
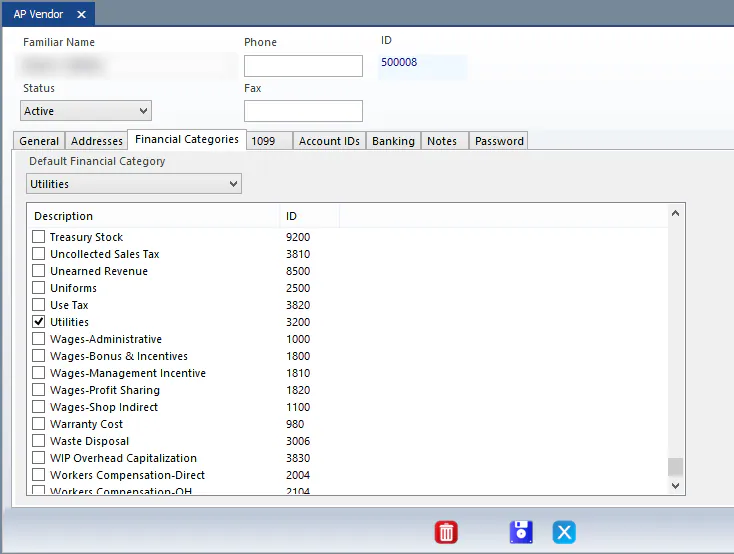
Section titled “Financial Categories tab”Choose which financial categories are available when you enter an AP invoice for this vendor.
- Select the checkbox for each financial category the vendor can use.
- In Default Financial Category, choose the category the vendor’s AP invoices use automatically. For example, a parts vendor might default to a parts cost category.
1099 tab
Section titled “1099 tab”Fill in the 1099 tab to send a new vendor a W-9. The address defaults to the pay-to address. If the W-9 goes to a different address, change it here. Signed W-9 forms are listed under W-9 Documents.
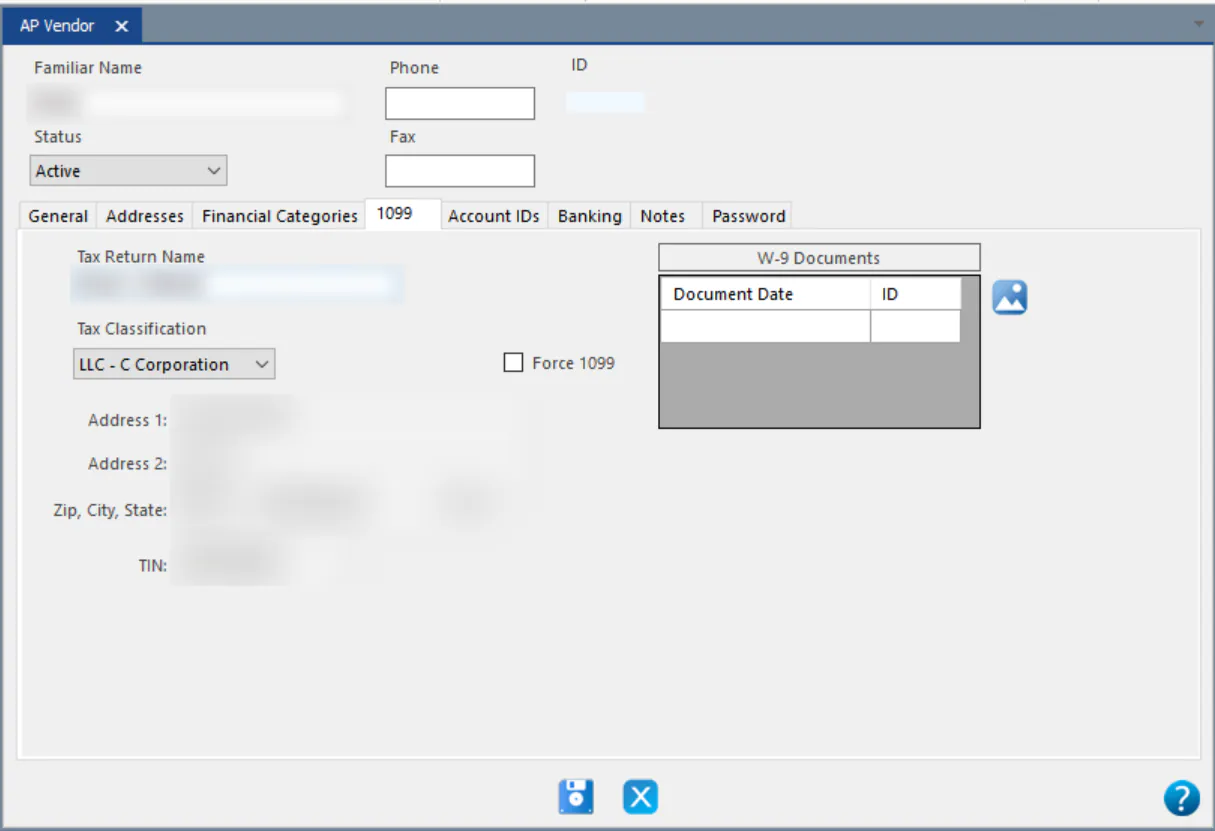
See Store vendor documents and Process 1099s.
Several accounts with one vendor at one location
Section titled “Several accounts with one vendor at one location”When you have more than one account with the same vendor at one location (for example, several utility meters), use one of these methods.
One vendor (preferred)
- On the vendor’s General tab, select Print Separate Check for Each Invoice.
- On each AP invoice, enter the account number in Check Comment. The comment prints on the check stub next to the invoice.
A separate vendor for each account
- Include the location code in each vendor’s Familiar Name.
- Enter the account ID on the vendor’s Account IDs tab.