Create a Microsoft 365 app registration
To email from Nexsyis with a Microsoft 365 email account, your organization needs an app registration for Nexsyis in Azure. After it’s set up, each user adds an Office 365 profile in Nexsyis.
Before you begin
Section titled “Before you begin”You need to be able to sign in to the Azure portal and create app registrations for your organization. If you have questions, email Nexsyis Support at nexsupport@nexsyis.com.
Create the app registration
Section titled “Create the app registration”-
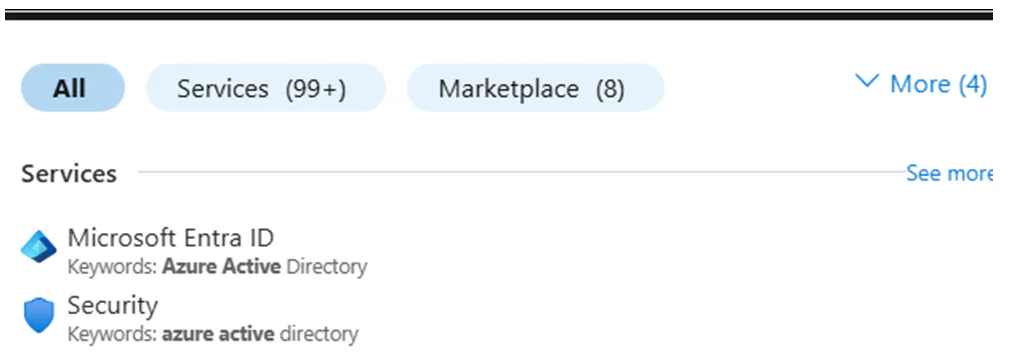
Sign in to the Azure portal at https://portal.azure.com and open Microsoft Entra ID (formerly Azure Active Directory).
-
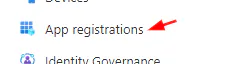
In the menu on the left, under Manage, select App registrations.
-
Select New registration.

-
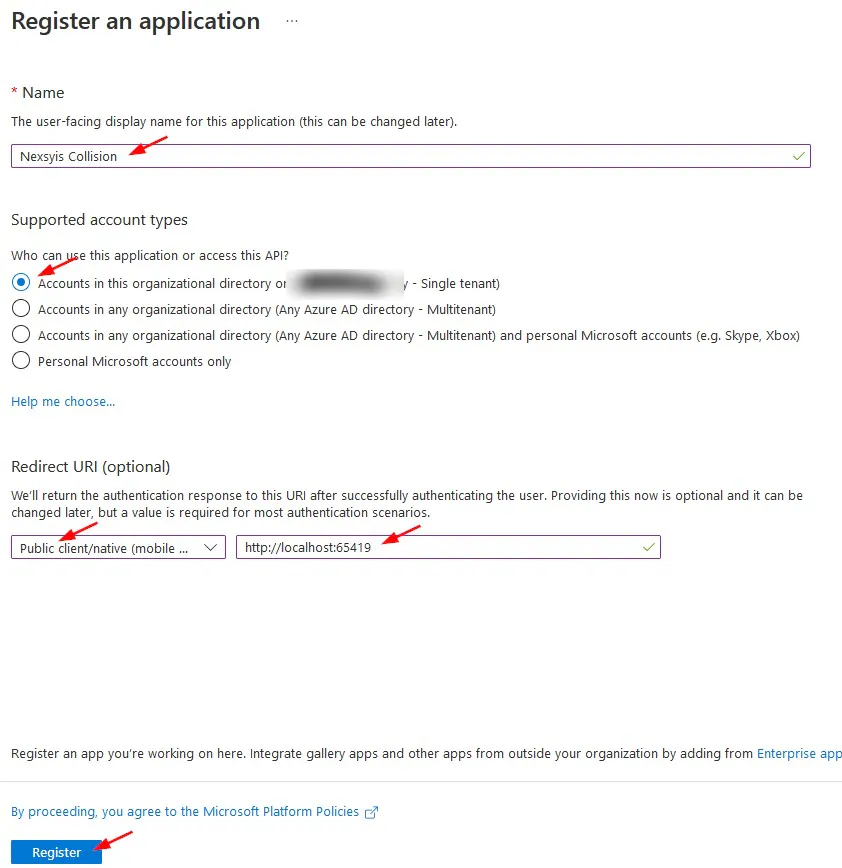
On the Register an application screen:
- In Name, enter a name for the registration. We recommend Nexsyis Collision, because this is the name users see when they give Nexsyis access.
- Under Supported account types, select Accounts in this organizational directory only.
- Under Redirect URI, select Public client/native, then enter
http://localhost:65419in the box next to it. - Select Register.
-
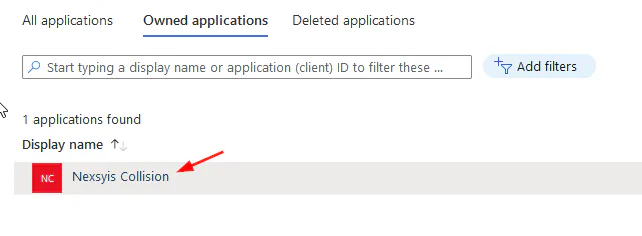
Select the new app registration to open it.
Add API permissions
Section titled “Add API permissions”-
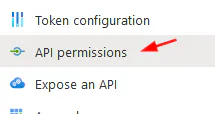
In the menu on the left, select API permissions.
-
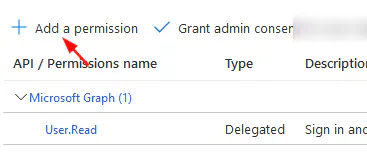
Select Add a permission.
-
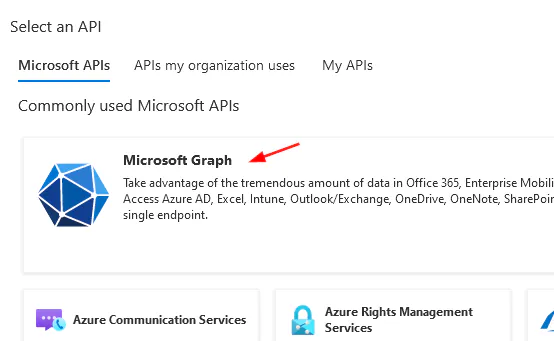
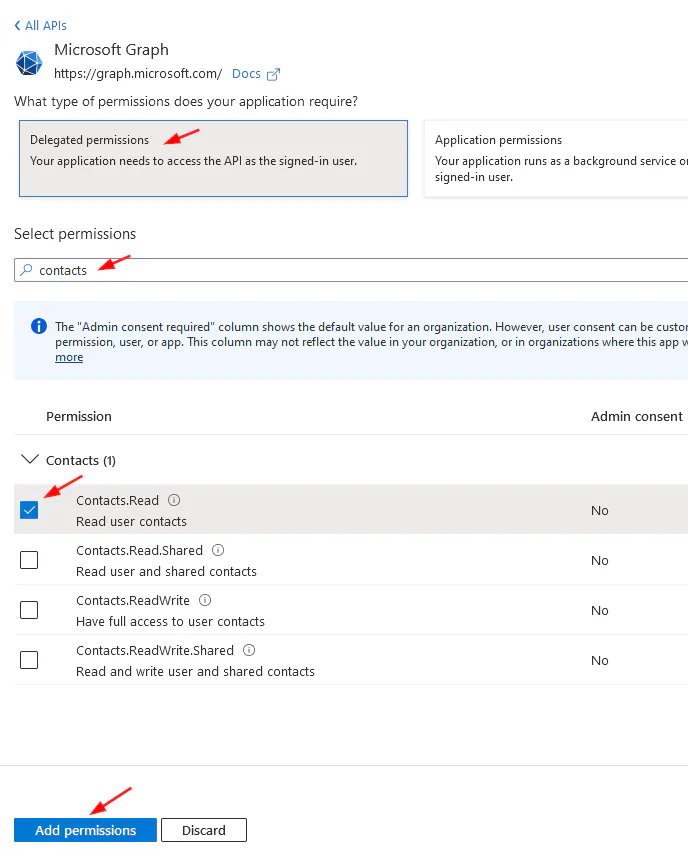
Select Microsoft Graph.
-
Select Delegated permissions.
-
Search for
contacts, then select Contacts.Read. -
Select Add permissions.
-
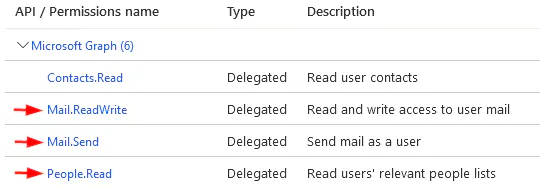
Repeat steps 2–6 to add these permissions:
- Mail: Mail.ReadWrite and Mail.Send
- People: People.Read
Send the IDs to Nexsyis
Section titled “Send the IDs to Nexsyis”-
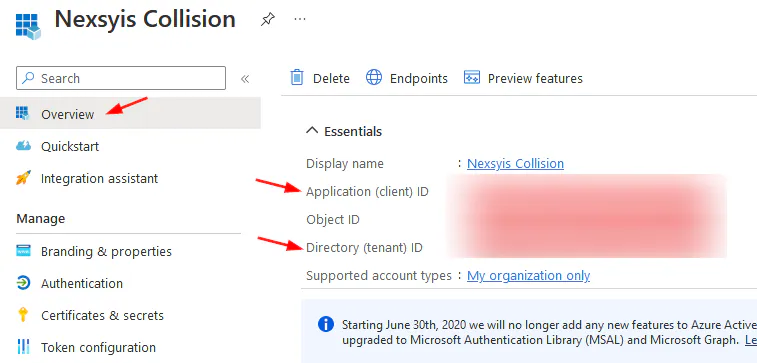
In the menu on the left, select Overview.
-
Copy the Application (client) ID and the Directory (tenant) ID.
-
Send both IDs to your Nexsyis representative.
Add an Office 365 profile in Nexsyis
Section titled “Add an Office 365 profile in Nexsyis”After the app registration is set up, each user adds an Office 365 email profile:
-
In Nexsyis, select the settings (gear) icon, then Tools › Operator Email Setup, and select New.
-
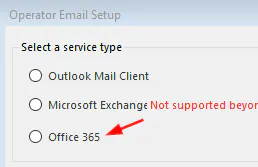
Under Select a service type, select Office 365.
-
Enter your email address, then select Validate Email Account.
-
Sign in to your Microsoft 365 account.
-
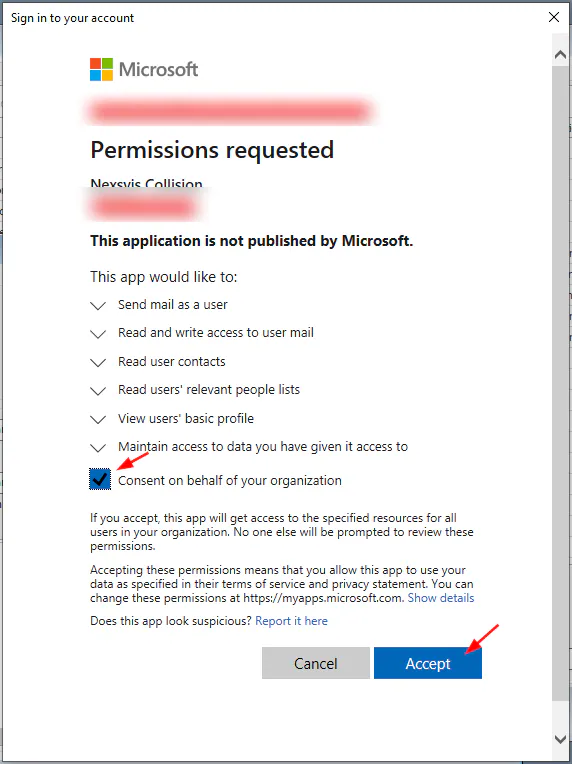
On the Permissions requested screen, select the check box to give access to the Nexsyis Collision app registration, then select Accept.