
Check in a customer
When a customer checks in, fill in the key details on their folder so the repair can be scheduled, tracked and paid for. Most of this happens on the folder’s Summary tab.
Before you begin
Section titled “Before you begin”The customer needs a folder. If there isn’t one yet, create a folder.
On the Summary tab
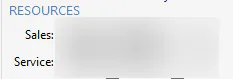
Section titled “On the Summary tab”Resources
Section titled “Resources”Choose the Service resource: the person who handles the repair. This person shows in the Resource column on several screens.
If someone else sold the repair, choose them under Sales. Otherwise, Sales is the same as Service.
Opportunity
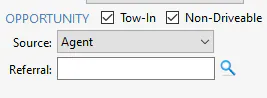
Section titled “Opportunity”- Tow-In: select this if the vehicle was towed in. If you leave it clear, Nexsyis treats the vehicle as a drive-in.
- Non-Driveable: select this if the vehicle can’t be driven.
- Source: the type of referral, for example an insurance company.
- Referral: the specific referral within that source, for example a particular insurer. This field shows after you choose a Source.
- Related: more detail about the referral, for example the person who referred the customer. This field also shows after you choose a Source.
Follow-ups
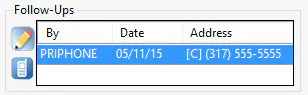
Section titled “Follow-ups”Set how often and how the customer wants to hear about the repair. Select the edit button under Follow-Ups, then select New. For the full steps, see Create and complete follow-ups.
Authorizations
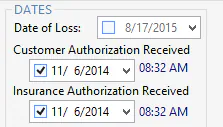
Section titled “Authorizations”If your shop uses text and email customer communication, the folder shows Send Customer e-Authorization instead of Customer Authorization Received.
- After you print the authorization and the customer signs it, select Customer Authorization Received, then select Save. The current date and time are recorded.
- If the repair is an insurance claim, select Insurance Authorization Received when the insurer authorizes the repair, then select Save.
- Scan each signed form and link it to the folder.
Target date
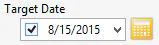
Section titled “Target date”The Target Date is the date you tell the customer the vehicle will be ready. If the repair is going to take longer than promised, change it.
The calculator next to Target Date works out the date from repair hours and insurance requirements. See Set the target date.
Rental
Section titled “Rental”If the customer will be in a rental:
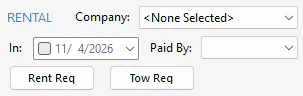
- Under Rental, choose the Company and the date the rental starts.
- In Paid By, choose who pays for the rental: the insurer, your company or the customer.
- To create a rental request form for the rental company, select Rent Req and fill in the details. The form shows under folder reports on the print screen.
For more, see Manage rentals.
Insurance
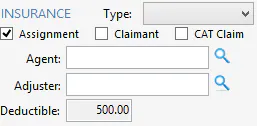
Section titled “Insurance”To set the insurance company, select the edit button next to Insurance in the folder header. If the folder was created from an estimate import, the insurer is already filled in. Add more detail, such as the agent, adjuster and deductible, in the Insurance box.
To add insurance companies, agents and adjusters, see Set up insurance companies, agents and adjusters.
In the folder header
Section titled “In the folder header”Vehicle details
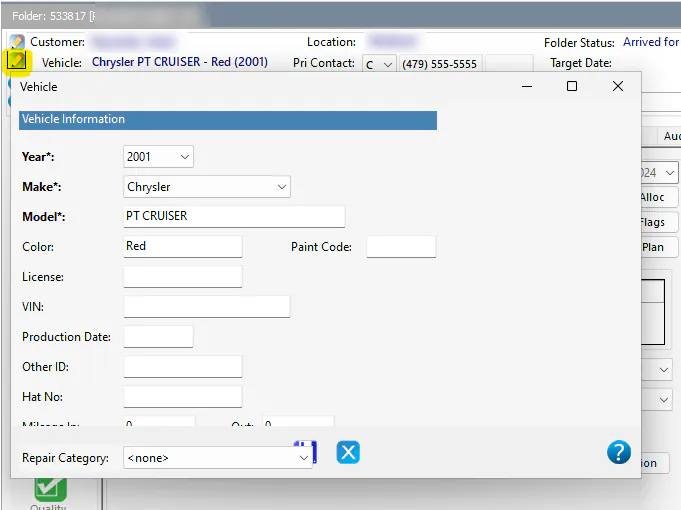
Section titled “Vehicle details”Select the edit button next to Vehicle to enter vehicle details such as the VIN, license and mileage.
Drop appointment
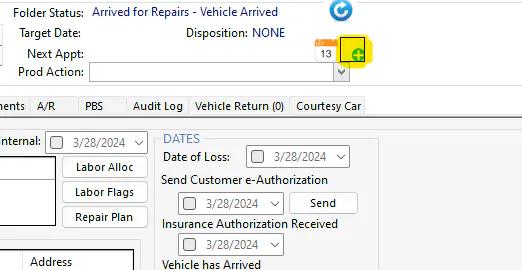
Section titled “Drop appointment”To book a drop appointment, select the new appointment button next to Next Appt. If the folder has no upcoming appointment, the label reads Prior Appts. See Create an appointment.
On other folder tabs
Section titled “On other folder tabs”- Customer tab: record any more contact details for the customer.
- Notes tab: record any notes you need. See Add notes to a folder.
- A/R tab: enter any prepayment. See Enter an AR payment.
Print the paperwork
Section titled “Print the paperwork”- Select the print button on the button bar to open the print screen.
- Print the customer paperwork you need.
- Scan the signed documents and link them to the folder. They show on the Documents tab.
See Print from a folder and Attach documents to a folder.