Set up estimate imports
Set up your estimating system so Nexsyis can import its estimates. How you do this depends on the estimating system.
| Estimating system | Import format |
|---|---|
| CCC | BMS, through CCC Secure Share |
| Mitchell, Audatex/Qapter | EMS |
Set up CCC Secure Share
Section titled “Set up CCC Secure Share”Each location must add Nexsyis as an app in the CCC Secure Share Marketplace. CCC’s instructions are in How to Enable Apps for Secure Share.
- In CCC, go to Configure › CCC Secure Share.
- Search for Nexsyis in the Marketplace and add it to My Apps.
- Email nexsupport@nexsyis.com to let Nexsyis Support know. Support finishes the setup in Nexsyis.
To send estimates, import them and choose how supplements import, see Convert to CCC Secure Share imports.
Set up EMS for Mitchell and Audatex/Qapter
Section titled “Set up EMS for Mitchell and Audatex/Qapter”The default EMS path for new shops is C:\NexEMS\Export. The path is set for the whole shop, so each user doesn’t need to set it up. If you aren’t sure what your shop’s EMS paths are, email nexsupport@nexsyis.com.
If a user needs more than one EMS path, see Set an operator’s EMS path.
Setting up EMS takes two steps:
- Create the EMS folders in Windows.
- Point your estimating system’s EMS export to the folder.
Create the EMS folders in Windows
Section titled “Create the EMS folders in Windows”These steps create the default folders C:\NexEMS\Export and C:\NexEMS\Import. Use either method. If you need help creating Windows folders, contact your IT support.
Method 1: File Explorer
Section titled “Method 1: File Explorer”-
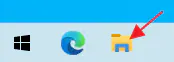
Select the File Explorer (folder) icon on the taskbar.
-
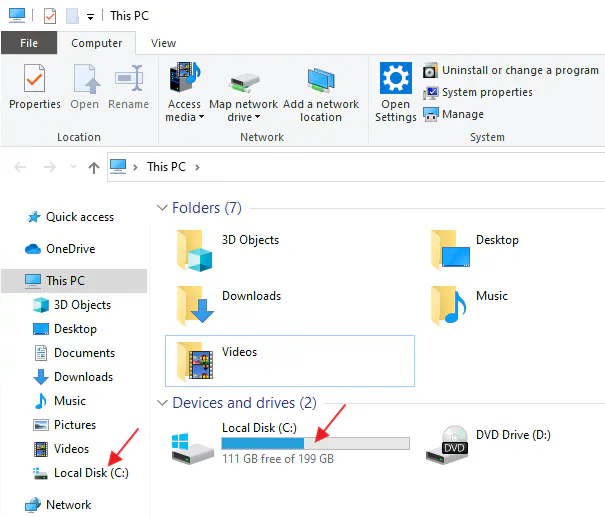
Double-click the C: drive, either in the left menu or in the main pane.
-
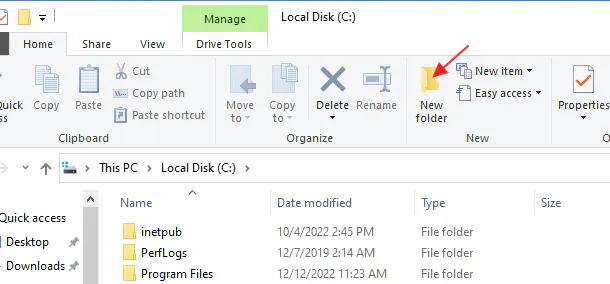
Select New folder at the top.
-
Type
NexEMSas the folder name and press Enter.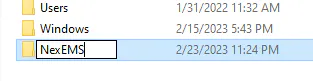
-
Double-click the NexEMS folder to open it. Create an
Exportfolder and anImportfolder the same way.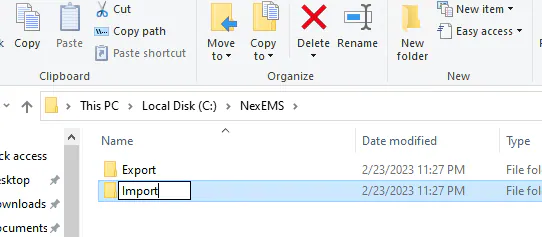
Method 2: Command prompt
Section titled “Method 2: Command prompt”-
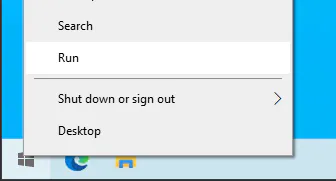
Right-click the Windows Start button and select Run.
-
In the Run box, type
cmdand select OK.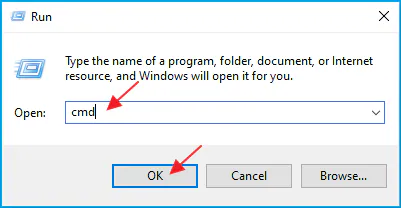
-
In the command prompt, type
md C:\NexEMS\Exportand press Enter. -
Type
md C:\NexEMS\Importand press Enter.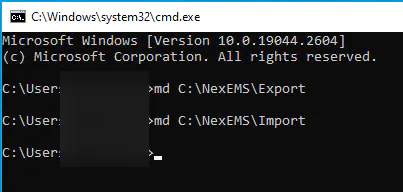
-
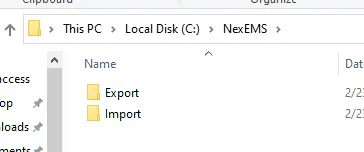
Open the C: drive to check that the folders were created.
Set the EMS path in Mitchell Connect
Section titled “Set the EMS path in Mitchell Connect”These steps use C:\NexEMS\Export as the example path.
-
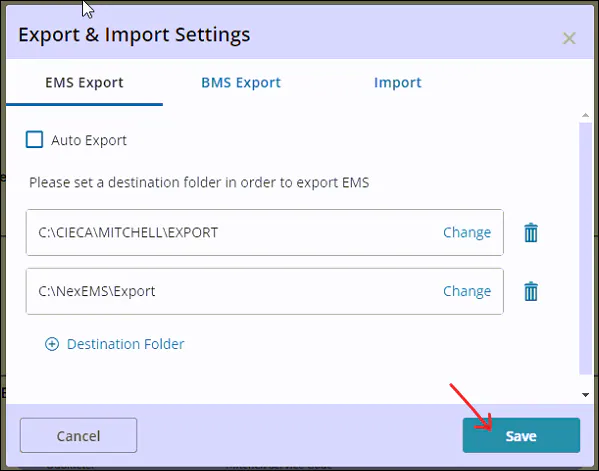
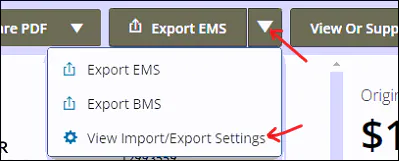
Open an estimate. In the top menu, select the down arrow next to Export EMS, then View Import/Export Settings.
-
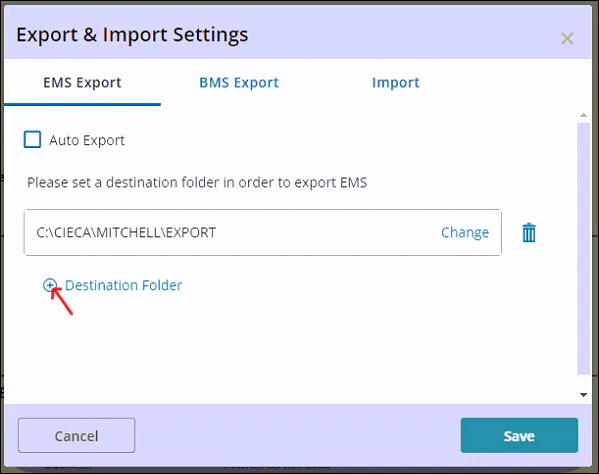
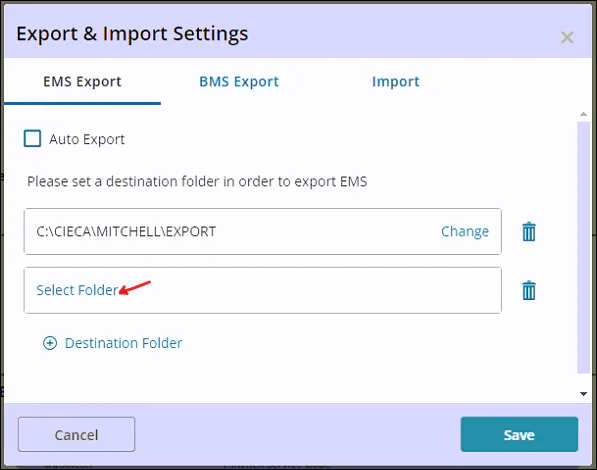
On the EMS Export tab, select the plus sign next to Destination Folder.
-
Select Select Folder.
-
Browse to your Nexsyis EMS path, in this example
C:\NexEMS\Export, and select OK.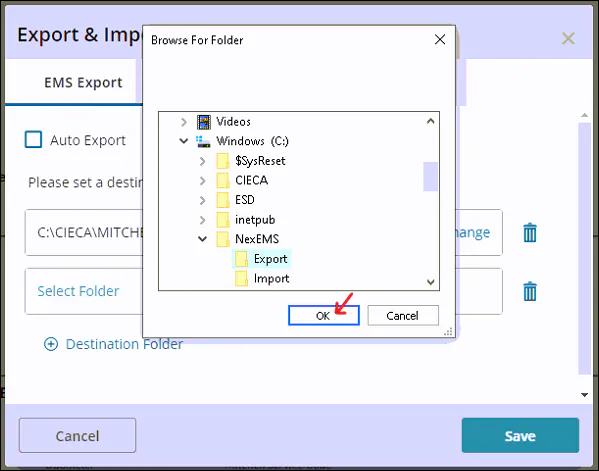
-
Select Save.