
Attach parts return slips
Link the signed return slip to the part’s return line. You then have a record that the vendor picked up the part if it’s ever questioned.
Print the return slip
Section titled “Print the return slip”When you reject a part, the Return Documents screen opens. Select the print button at the bottom left to print the return slips. Nexsyis prints 2 copies by default: one for you and one for the vendor.
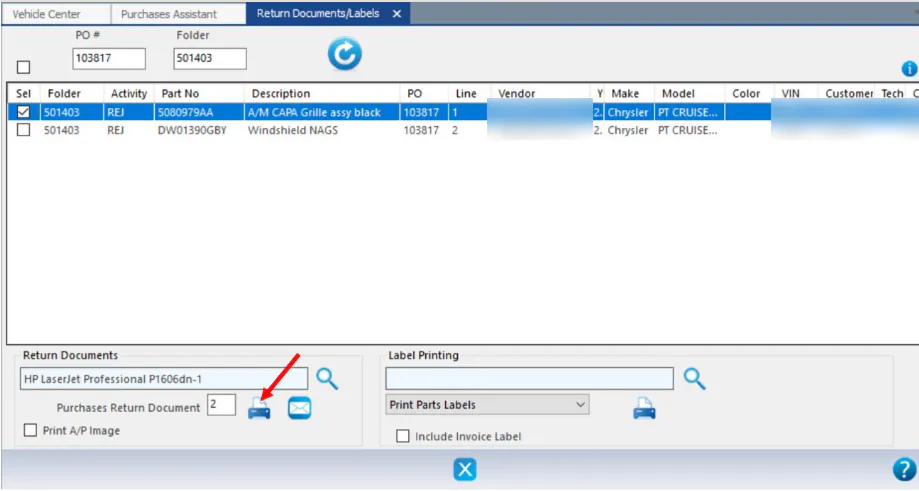
When the vendor picks up the part, ask them to sign and date the slip.
Link the signed slip
Section titled “Link the signed slip”-
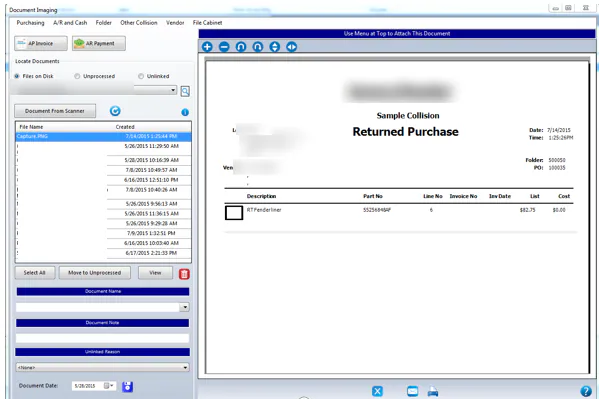
Scan the signed slip into document imaging.
-
On the Imaging screen, find the document. From the Purchasing menu, select Parts Return Slip.
-
The Purchase Assistant opens. Enter the folder number or PO number to find the red return line.
-
Select the box for each line the slip belongs to.
-
Select the blue link button at the bottom right.
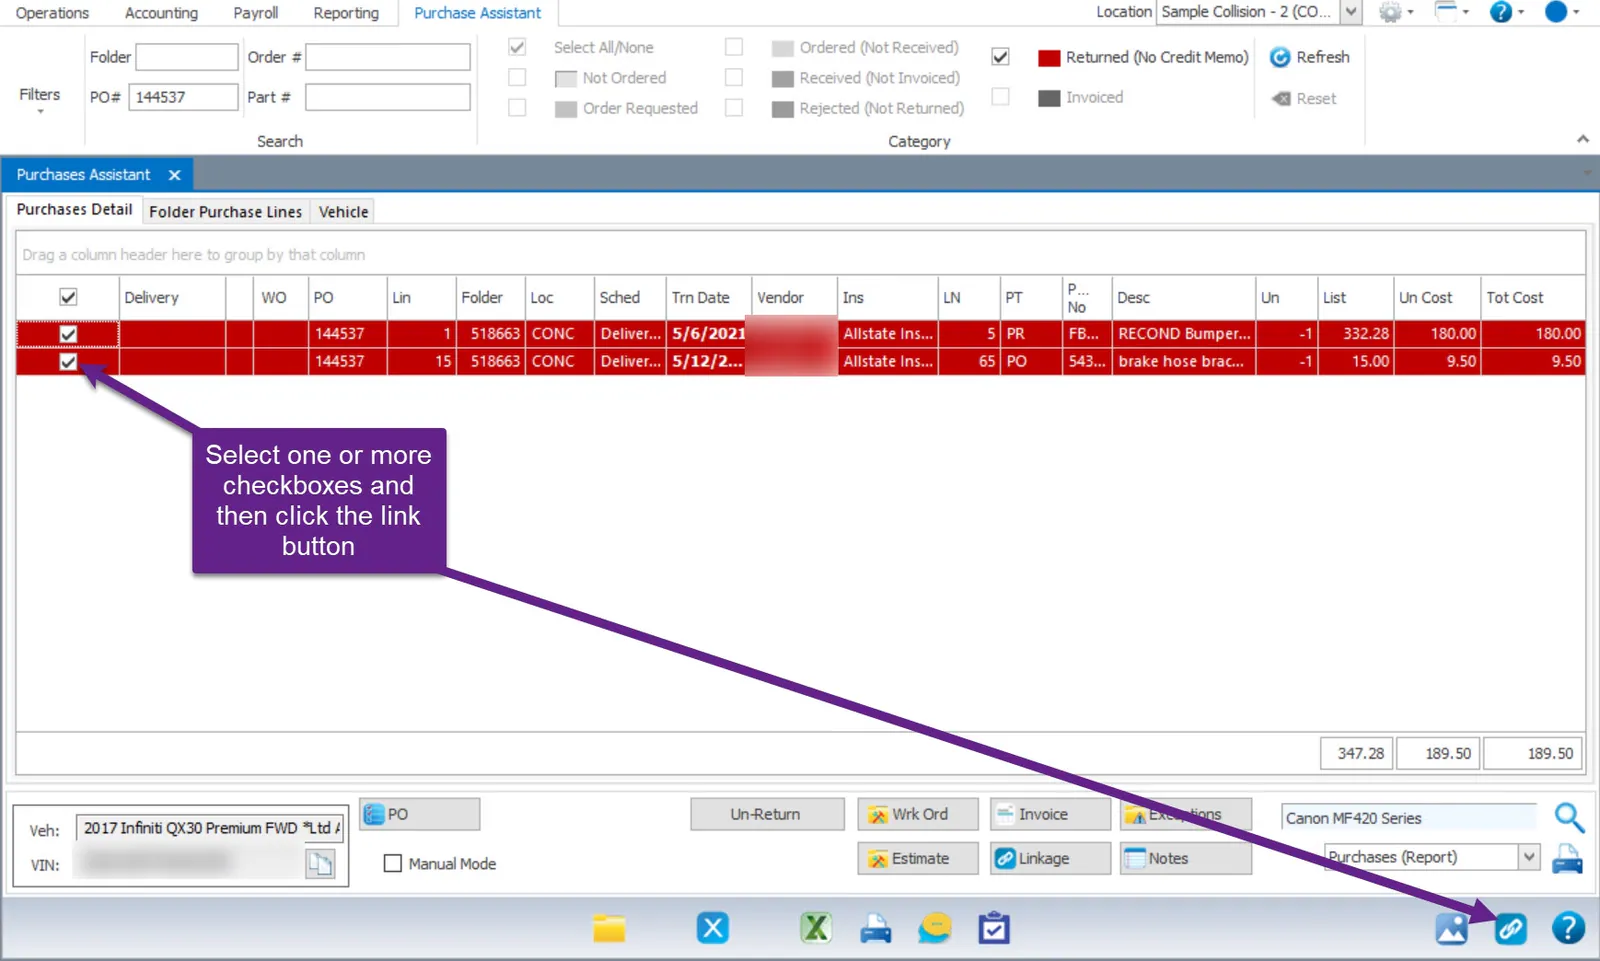
An image icon shows next to the PO number, and in the first column, to show the slip is linked.
