
Process an assignment
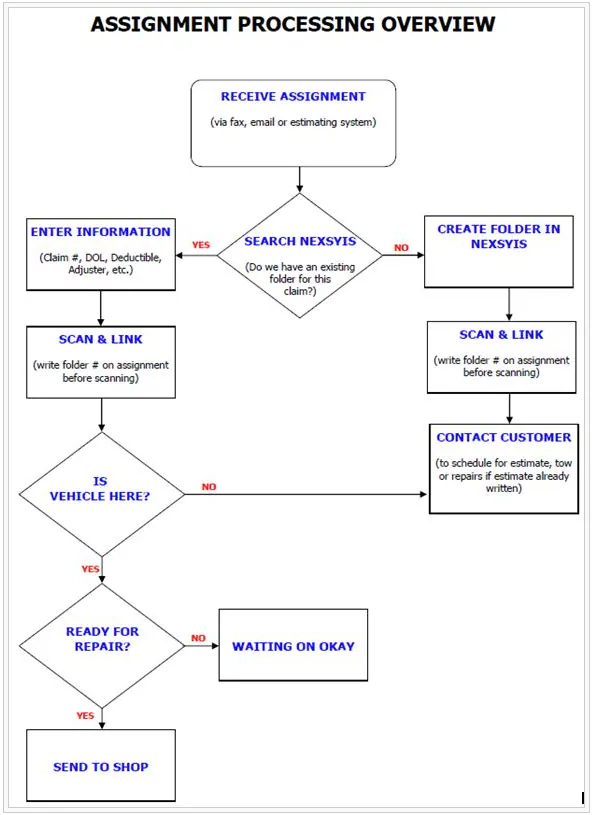
When you receive a repair assignment by fax, email or estimating system, record it on the customer’s folder so the repair can start.
Find or create the folder
Section titled “Find or create the folder”- Press F4 to open the folder search screen, and check whether a folder already exists for this claim.
- If there’s no folder, create a folder first.
Record the assignment
Section titled “Record the assignment”-
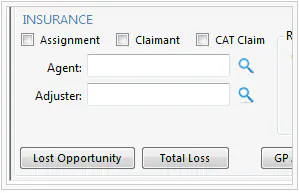
Record the claim details. Enter the claim number in Claim # in the folder header. On the folder’s Summary tab, enter the Date of Loss under DATES, and the deductible and adjuster in the INSURANCE section.
-
Select Assignment if the repair is an assignment from the customer’s insurance company, or Claimant if the repair is billed to the other party’s insurance company.
-
Enter the deductible. A claimant has no deductible.
-
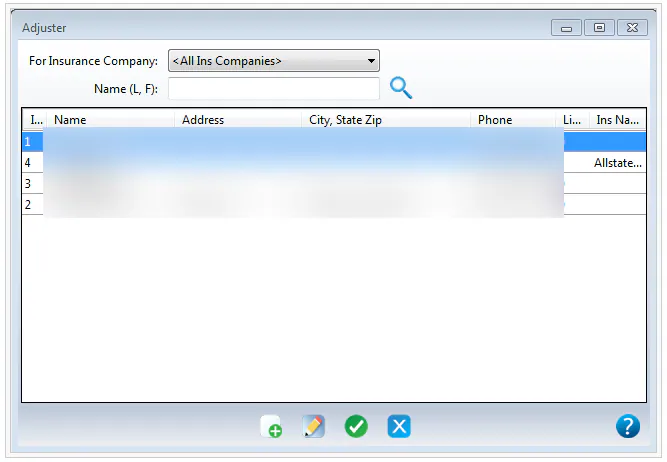
Select the adjuster and agent for the claim with the search buttons next to Adjuster and Agent. Choose them from the list that opens. If they aren’t listed, select New at the bottom of the window to add them.
-
Write the folder number on the assignment document, then scan it and link it to the folder. See Attach documents to a folder.
Get the vehicle ready for repair
Section titled “Get the vehicle ready for repair”-
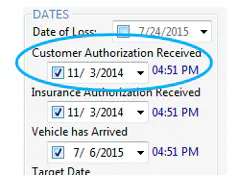
If the vehicle has been dropped off, make sure you have the authorizations you need to start the repair, and select Customer Authorization Received under DATES on the folder’s Summary tab.
-
Once the authorization forms are signed and the boxes are selected, send the vehicle to be repaired.
If the vehicle isn’t at the shop, contact the customer to schedule an estimate, a tow-in, or the repair if the estimate is already written.