
Get e-authorization from a customer
Send the customer a link to review the estimate, photos and documents and sign the repair authorization online. The signed documents are saved on the folder’s Documents tab.
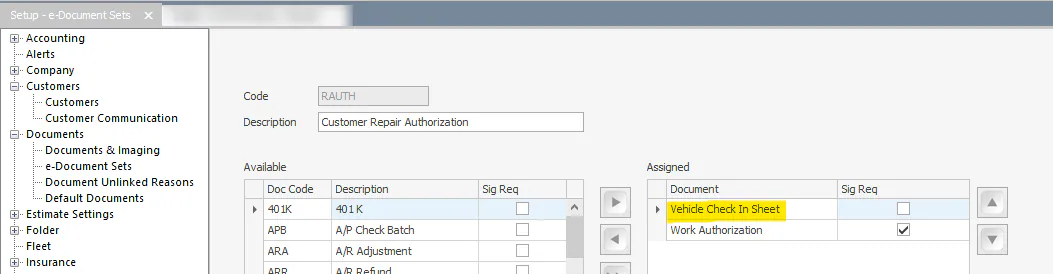
Before you begin: your company sets which documents are in the repair authorization set. To add custom documents, contact Nexsyis. See Set up e-document sets.
Prepare the folder
Section titled “Prepare the folder”-
Check the customer’s last name. The customer enters their last name to confirm who they are, so it must be spelled correctly.
-
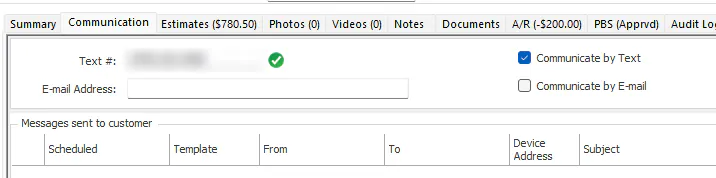
Check the contact details. On the Communication tab, make sure Communicate by Text or Communicate by E-mail is selected, with a valid phone number or email address.
-
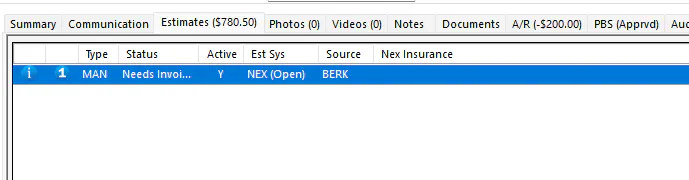
Import the estimates the customer needs to authorize.
-
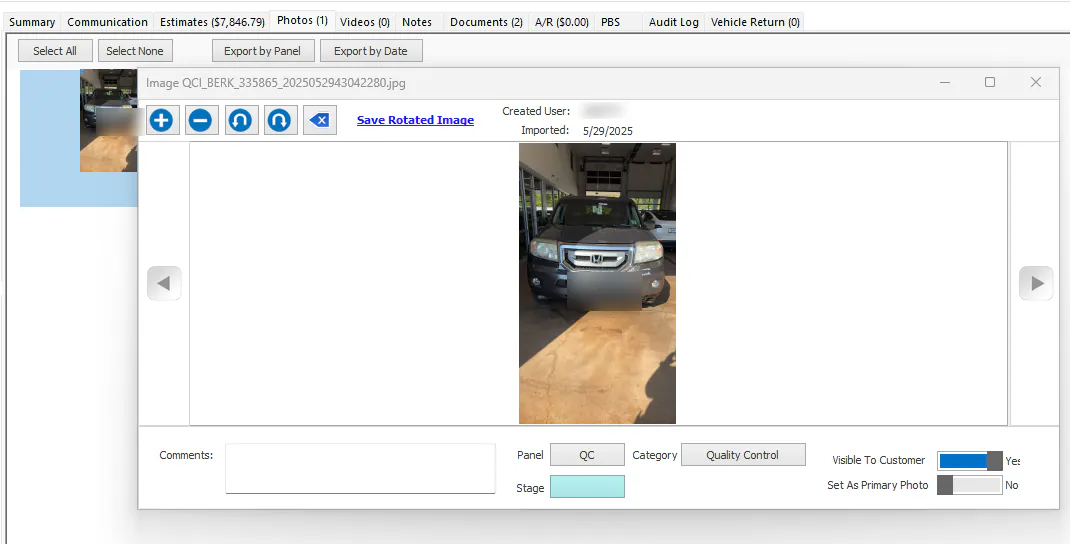
Add the photos the customer needs to see, and mark them Visible to Customer.
-
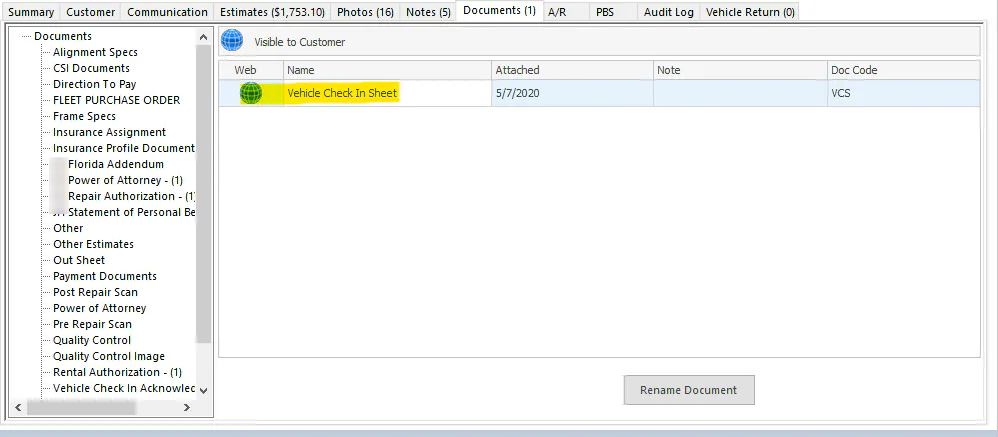
Attach the documents in your repair authorization set and mark them Visible to Customer. For example, a scanned vehicle check-in sheet along with the work authorization the customer signs.
Send the authorization request
Section titled “Send the authorization request”-
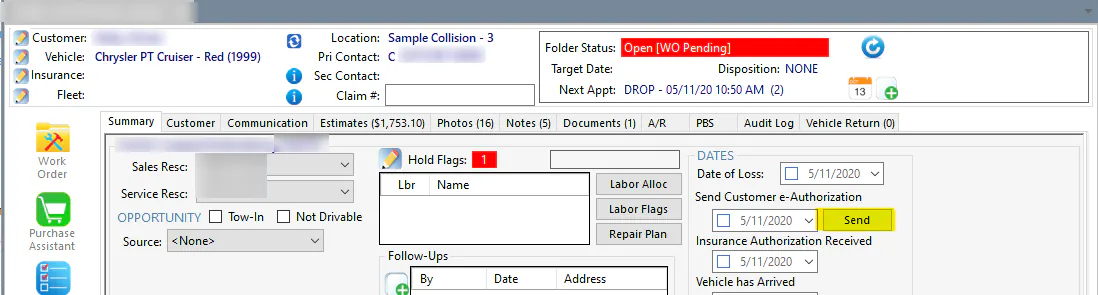
On the folder’s Summary tab, select Send next to Send Customer e-Authorization.
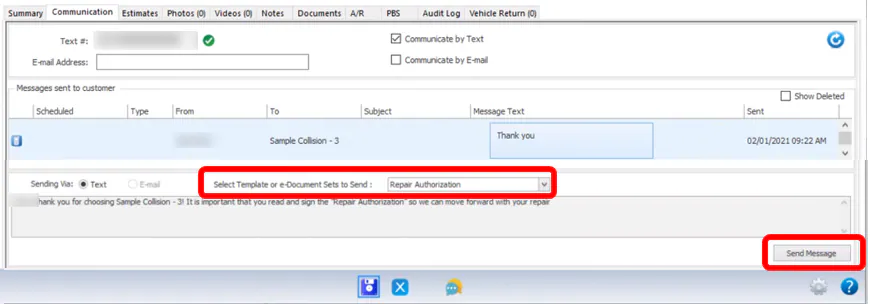
You can also choose the Repair Authorization template on the Communication tab and select Send Message.
The button changes to Re-Send, and the messages sent to the customer show on the Communication tab.
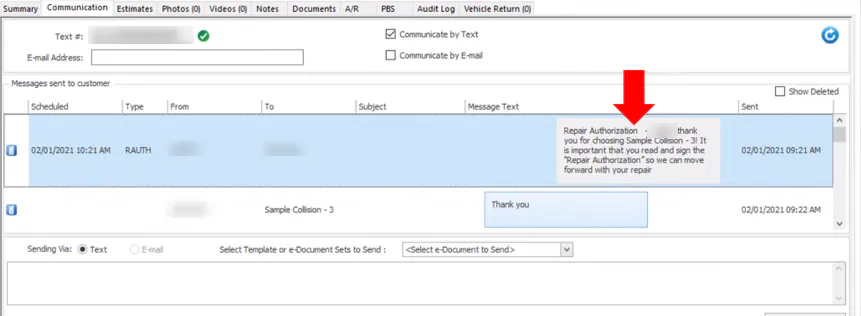
The customer gets a text or email with a link. It opens a page that walks them through the estimate, photos and documents, and asks them to sign the documents that need a signature.
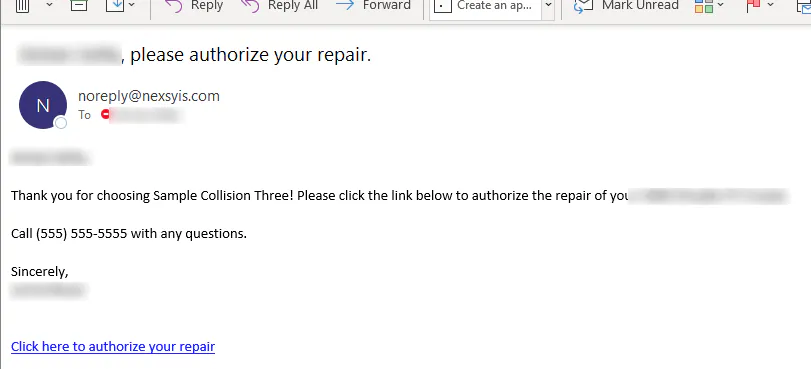
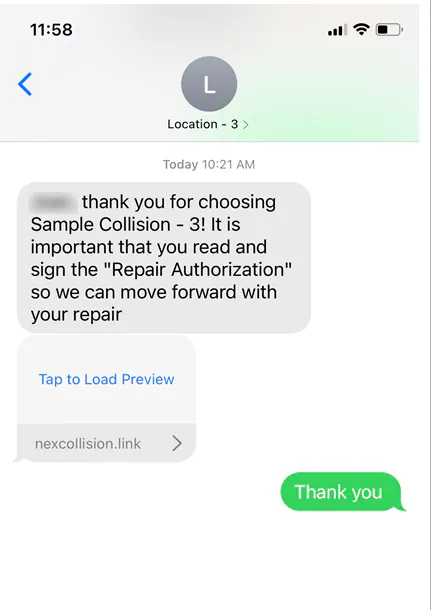
When the customer signs, copies of the signed documents are saved to the folder’s Documents tab, and the customer gets a link to view them in the Customer Portal.

Accept the authorization
Section titled “Accept the authorization”When the customer signs:
- a Customer message in the Message Center confirms it’s done
- an email goes to your location’s notification addresses
- the Re-Send button turns red and changes to Accept, next to Review Customer e-Authorization
- Review the signed documents on the Documents tab.
- Select Accept.
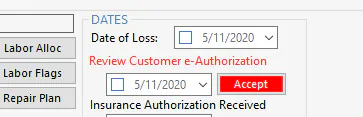
Customer Authorization Received is selected, with the date and time the customer signed.