Block time when a resource is unavailable
Block out time when a resource, such as an estimator, can’t take appointments, for example for a meeting or a personal appointment. The Scheduling screen then shows no slots for that resource during that time.
Before you begin
Section titled “Before you begin”-
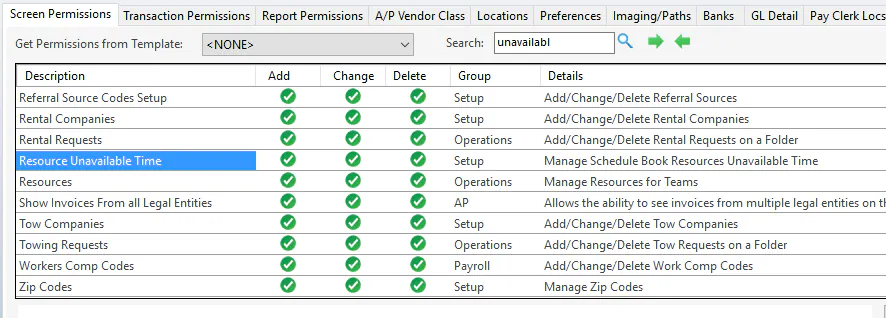
You need the screen permission Resource Unavailable Time.
-
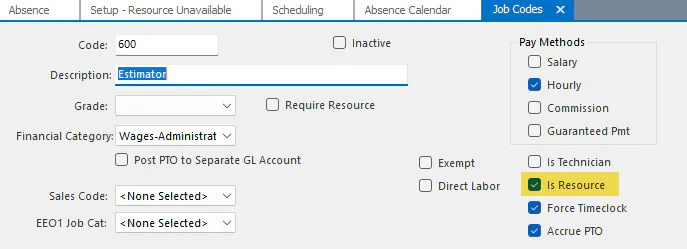
The resource’s job code must have Is Resource selected. This also controls who appears in the Sales Resource, Service Resource and Appointment Resource lists.
-
For a full day or more off, enter an absence request instead. Approved absences clear the resource’s schedule automatically.
Add unavailable time
Section titled “Add unavailable time”-
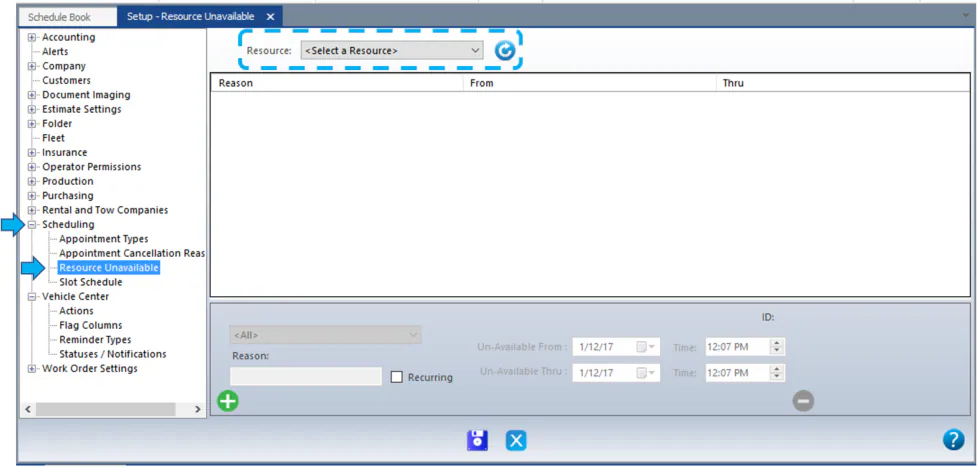
Open Setup › Scheduling › Resource Unavailable.
-
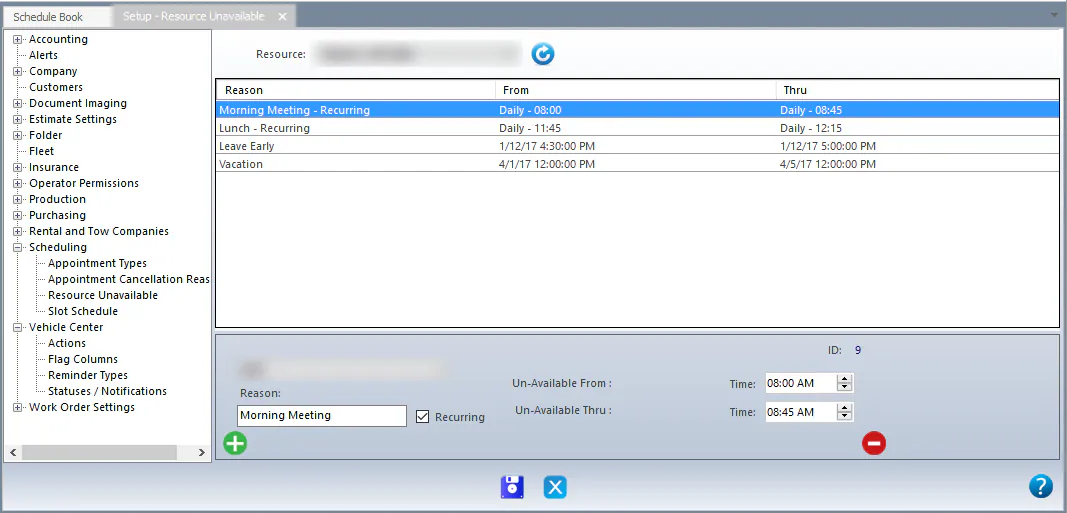
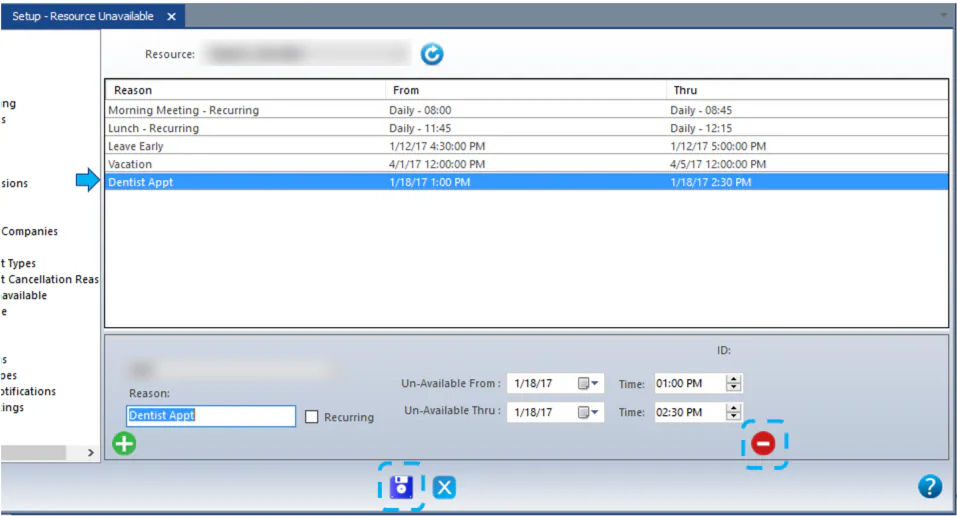
Choose the Resource at the top of the screen, then select Refresh. Any unavailable time already set up for that resource is listed.
-
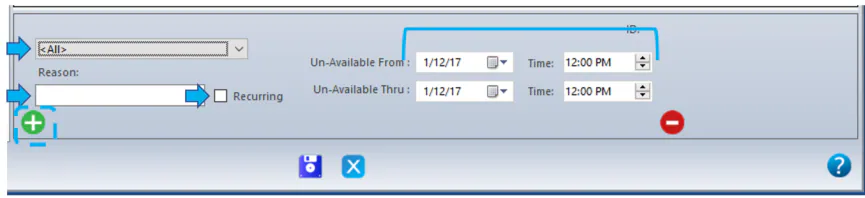
At the bottom of the screen, select the green plus button.
-
Choose the location.
-
Enter the Reason. It shows in the Notes column of the Scheduling screen.
-
Enter the Un-Available From and Un-Available Thru dates and times.
For time that repeats every day, such as a lunch break, select Recurring. You then enter times only, without dates.
-
Select Save.
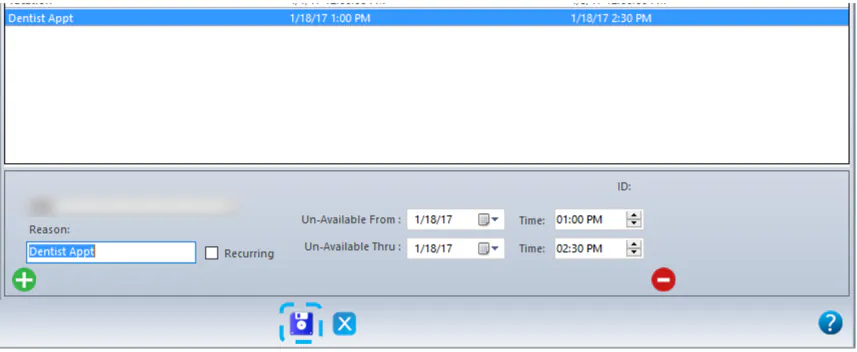
The resource’s existing unavailable time is listed at the top of the screen.
Change unavailable time
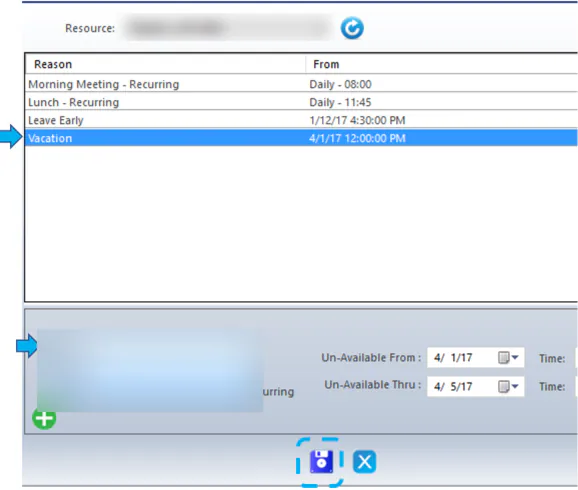
Section titled “Change unavailable time”For example, when the resource moves to a new location:
- Open Setup › Scheduling › Resource Unavailable and choose the resource.
- Select the entry at the top of the screen.
- Make your changes at the bottom of the screen.
- Select Save.
- Repeat for the resource’s other recurring or upcoming entries.
Remove unavailable time
Section titled “Remove unavailable time”- Select the entry at the top of the screen.
- At the bottom of the screen, select the red minus button.
- Select Save.
See unavailable time on the Scheduling screen
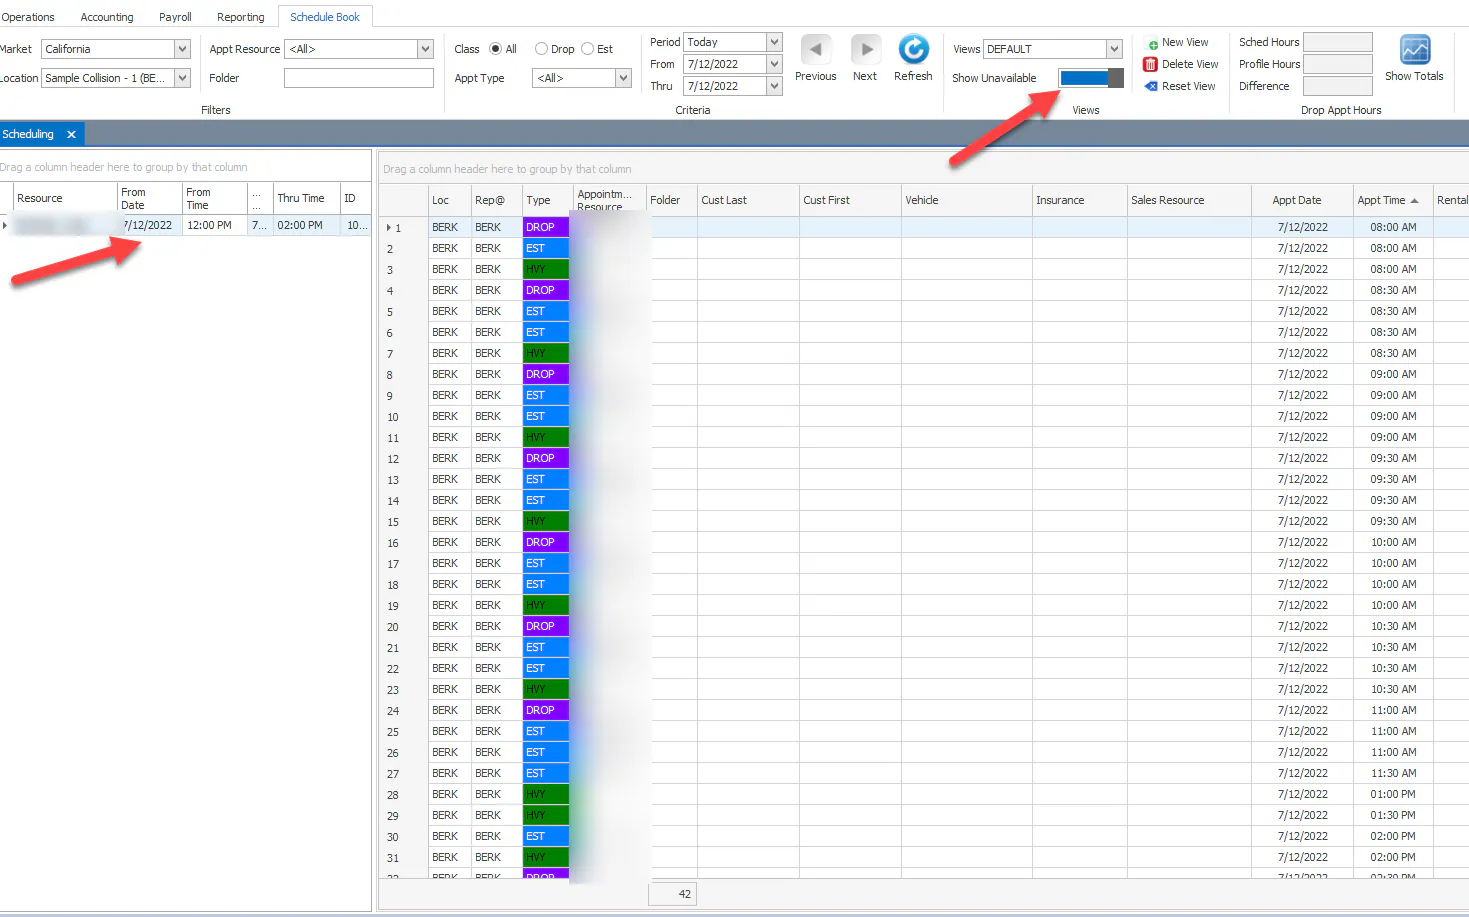
Section titled “See unavailable time on the Scheduling screen”On the Scheduling screen, turn on Show Unavailable. The panel on the left lists resources who are out at any time that day, and there are no open slots for them while they’re unavailable.